The life I’ve been dreaming of for the past 15 years or so has finally begun. We are starting our travels. Now, we won’t be living full time in the RV like I had envisioned but we will be travelling as much as we can stand. It started this past July 19th as we headed down to Galup, New Mexico. The rest of our church was going to make the drive in two days but I don’t like driving that much so we broke up the journey into three days.
Day 1: Colonel Allensworth State Historic Park
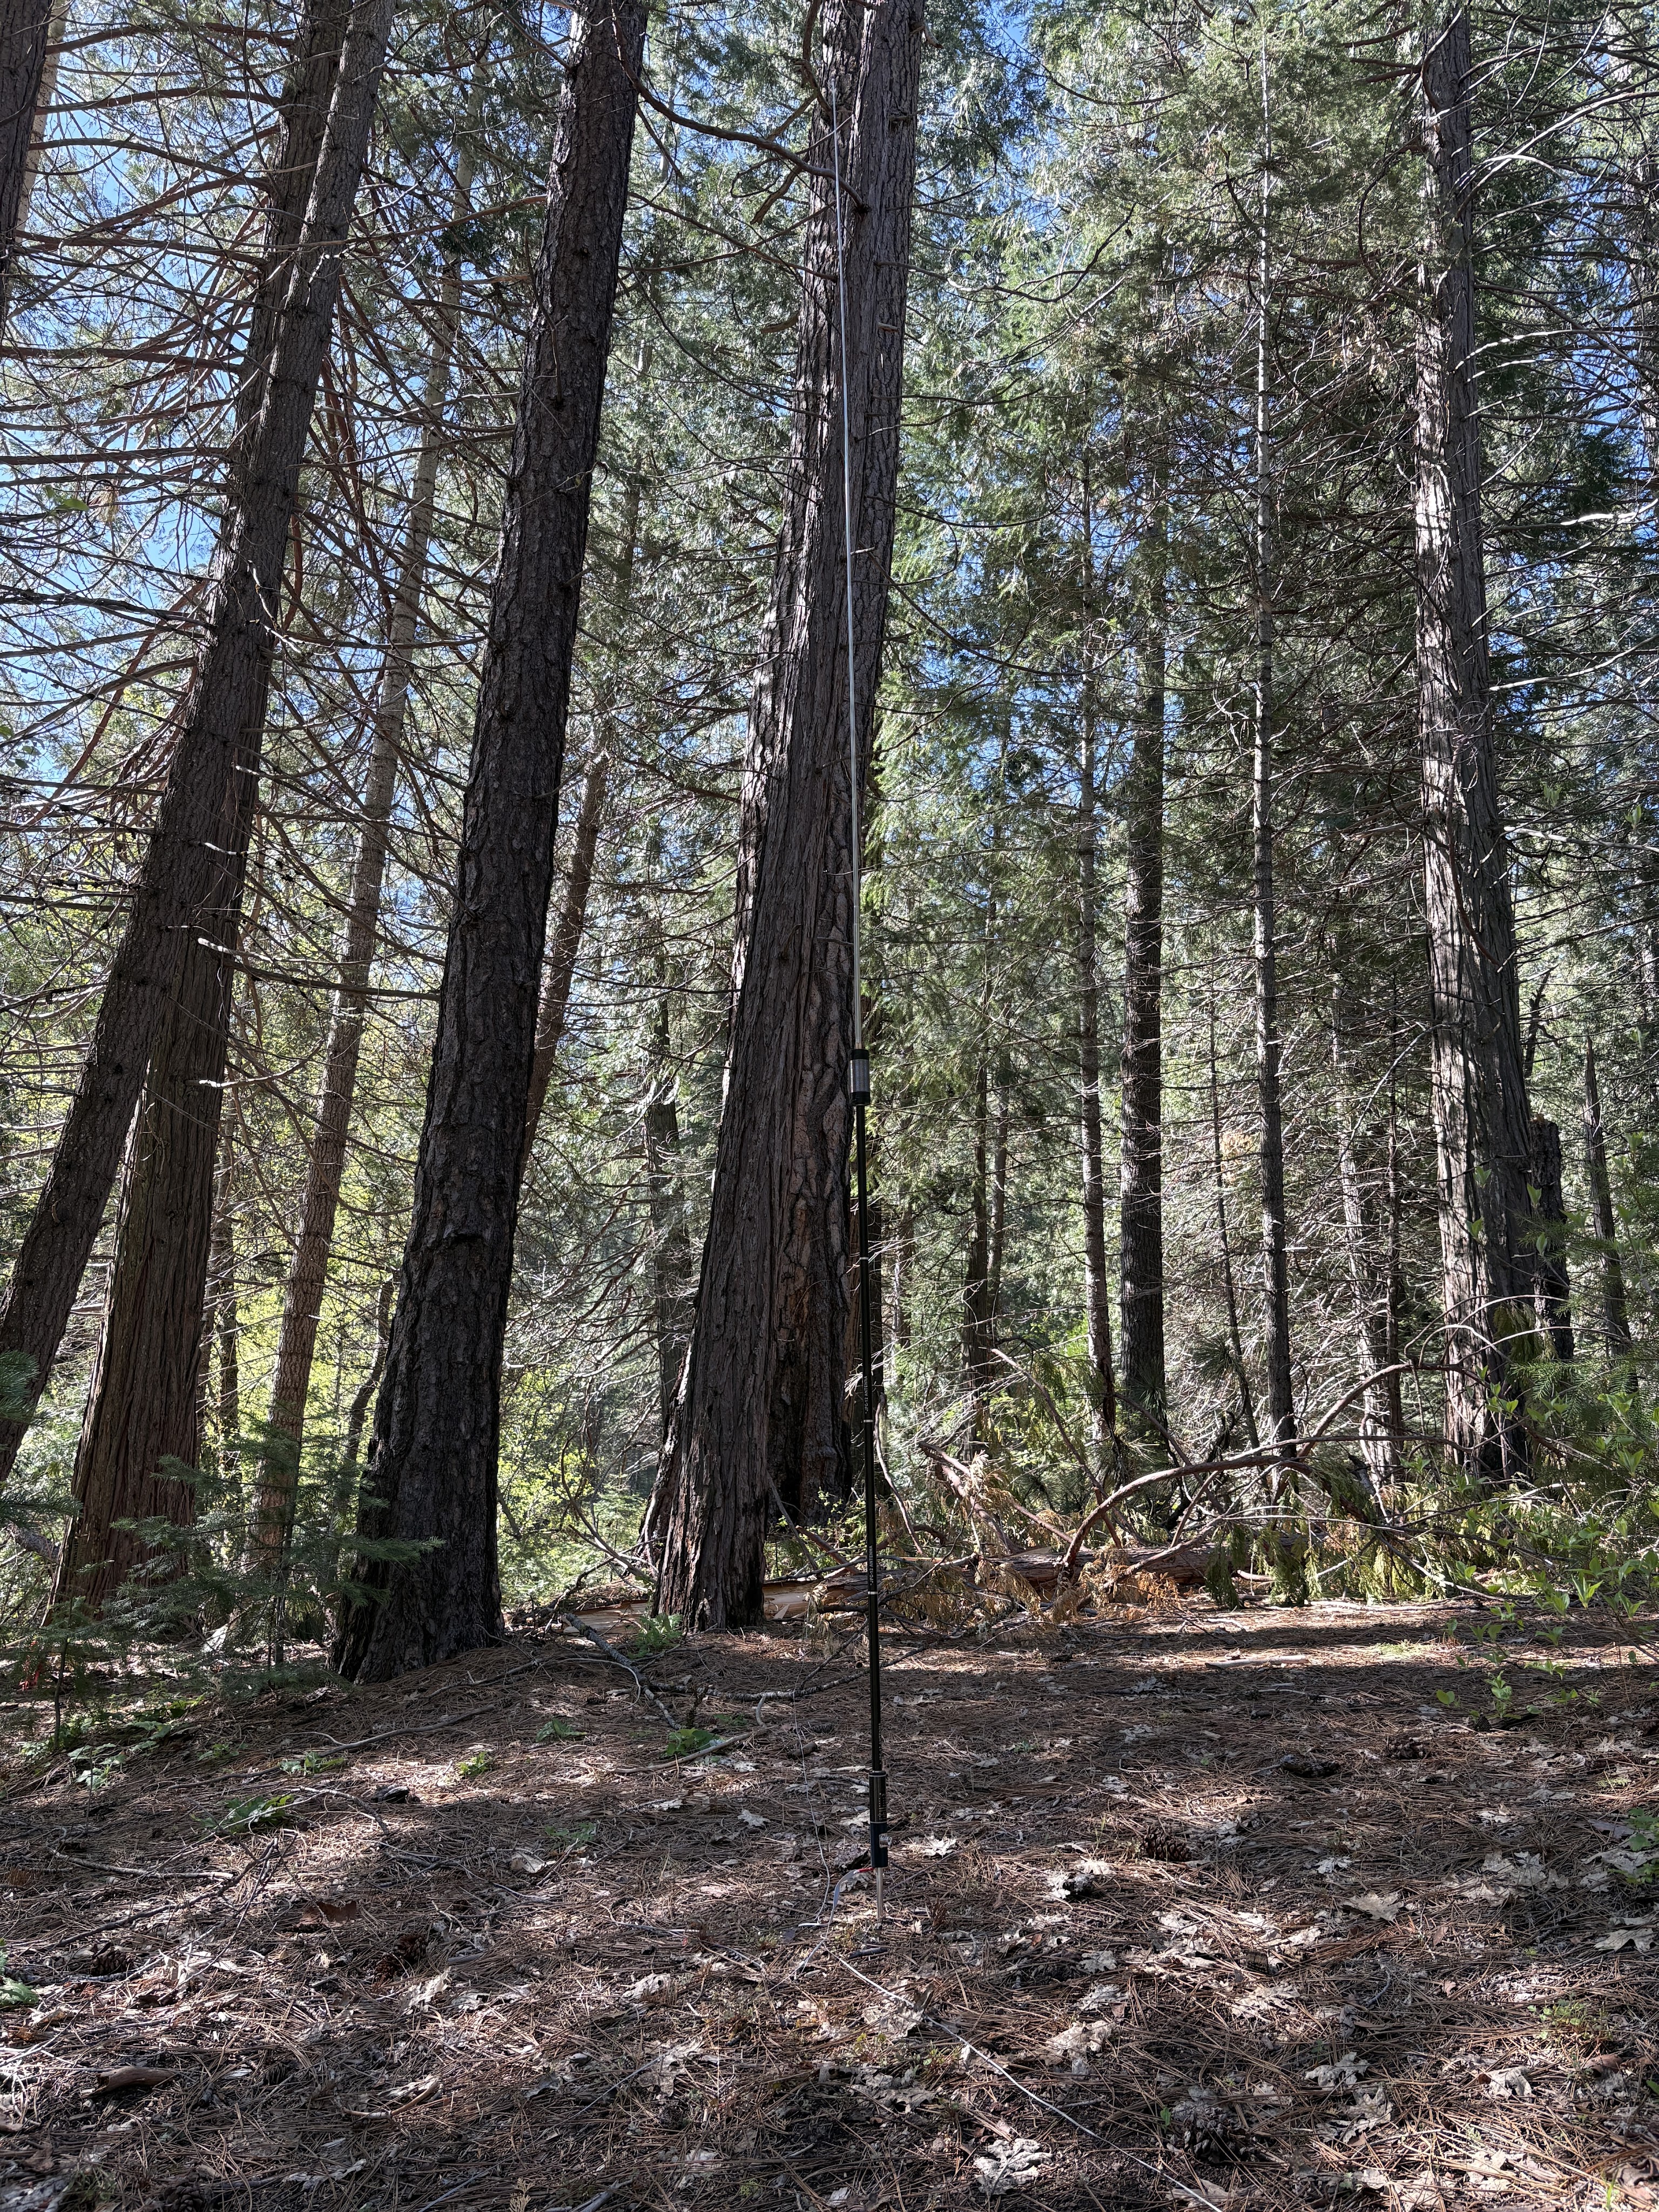
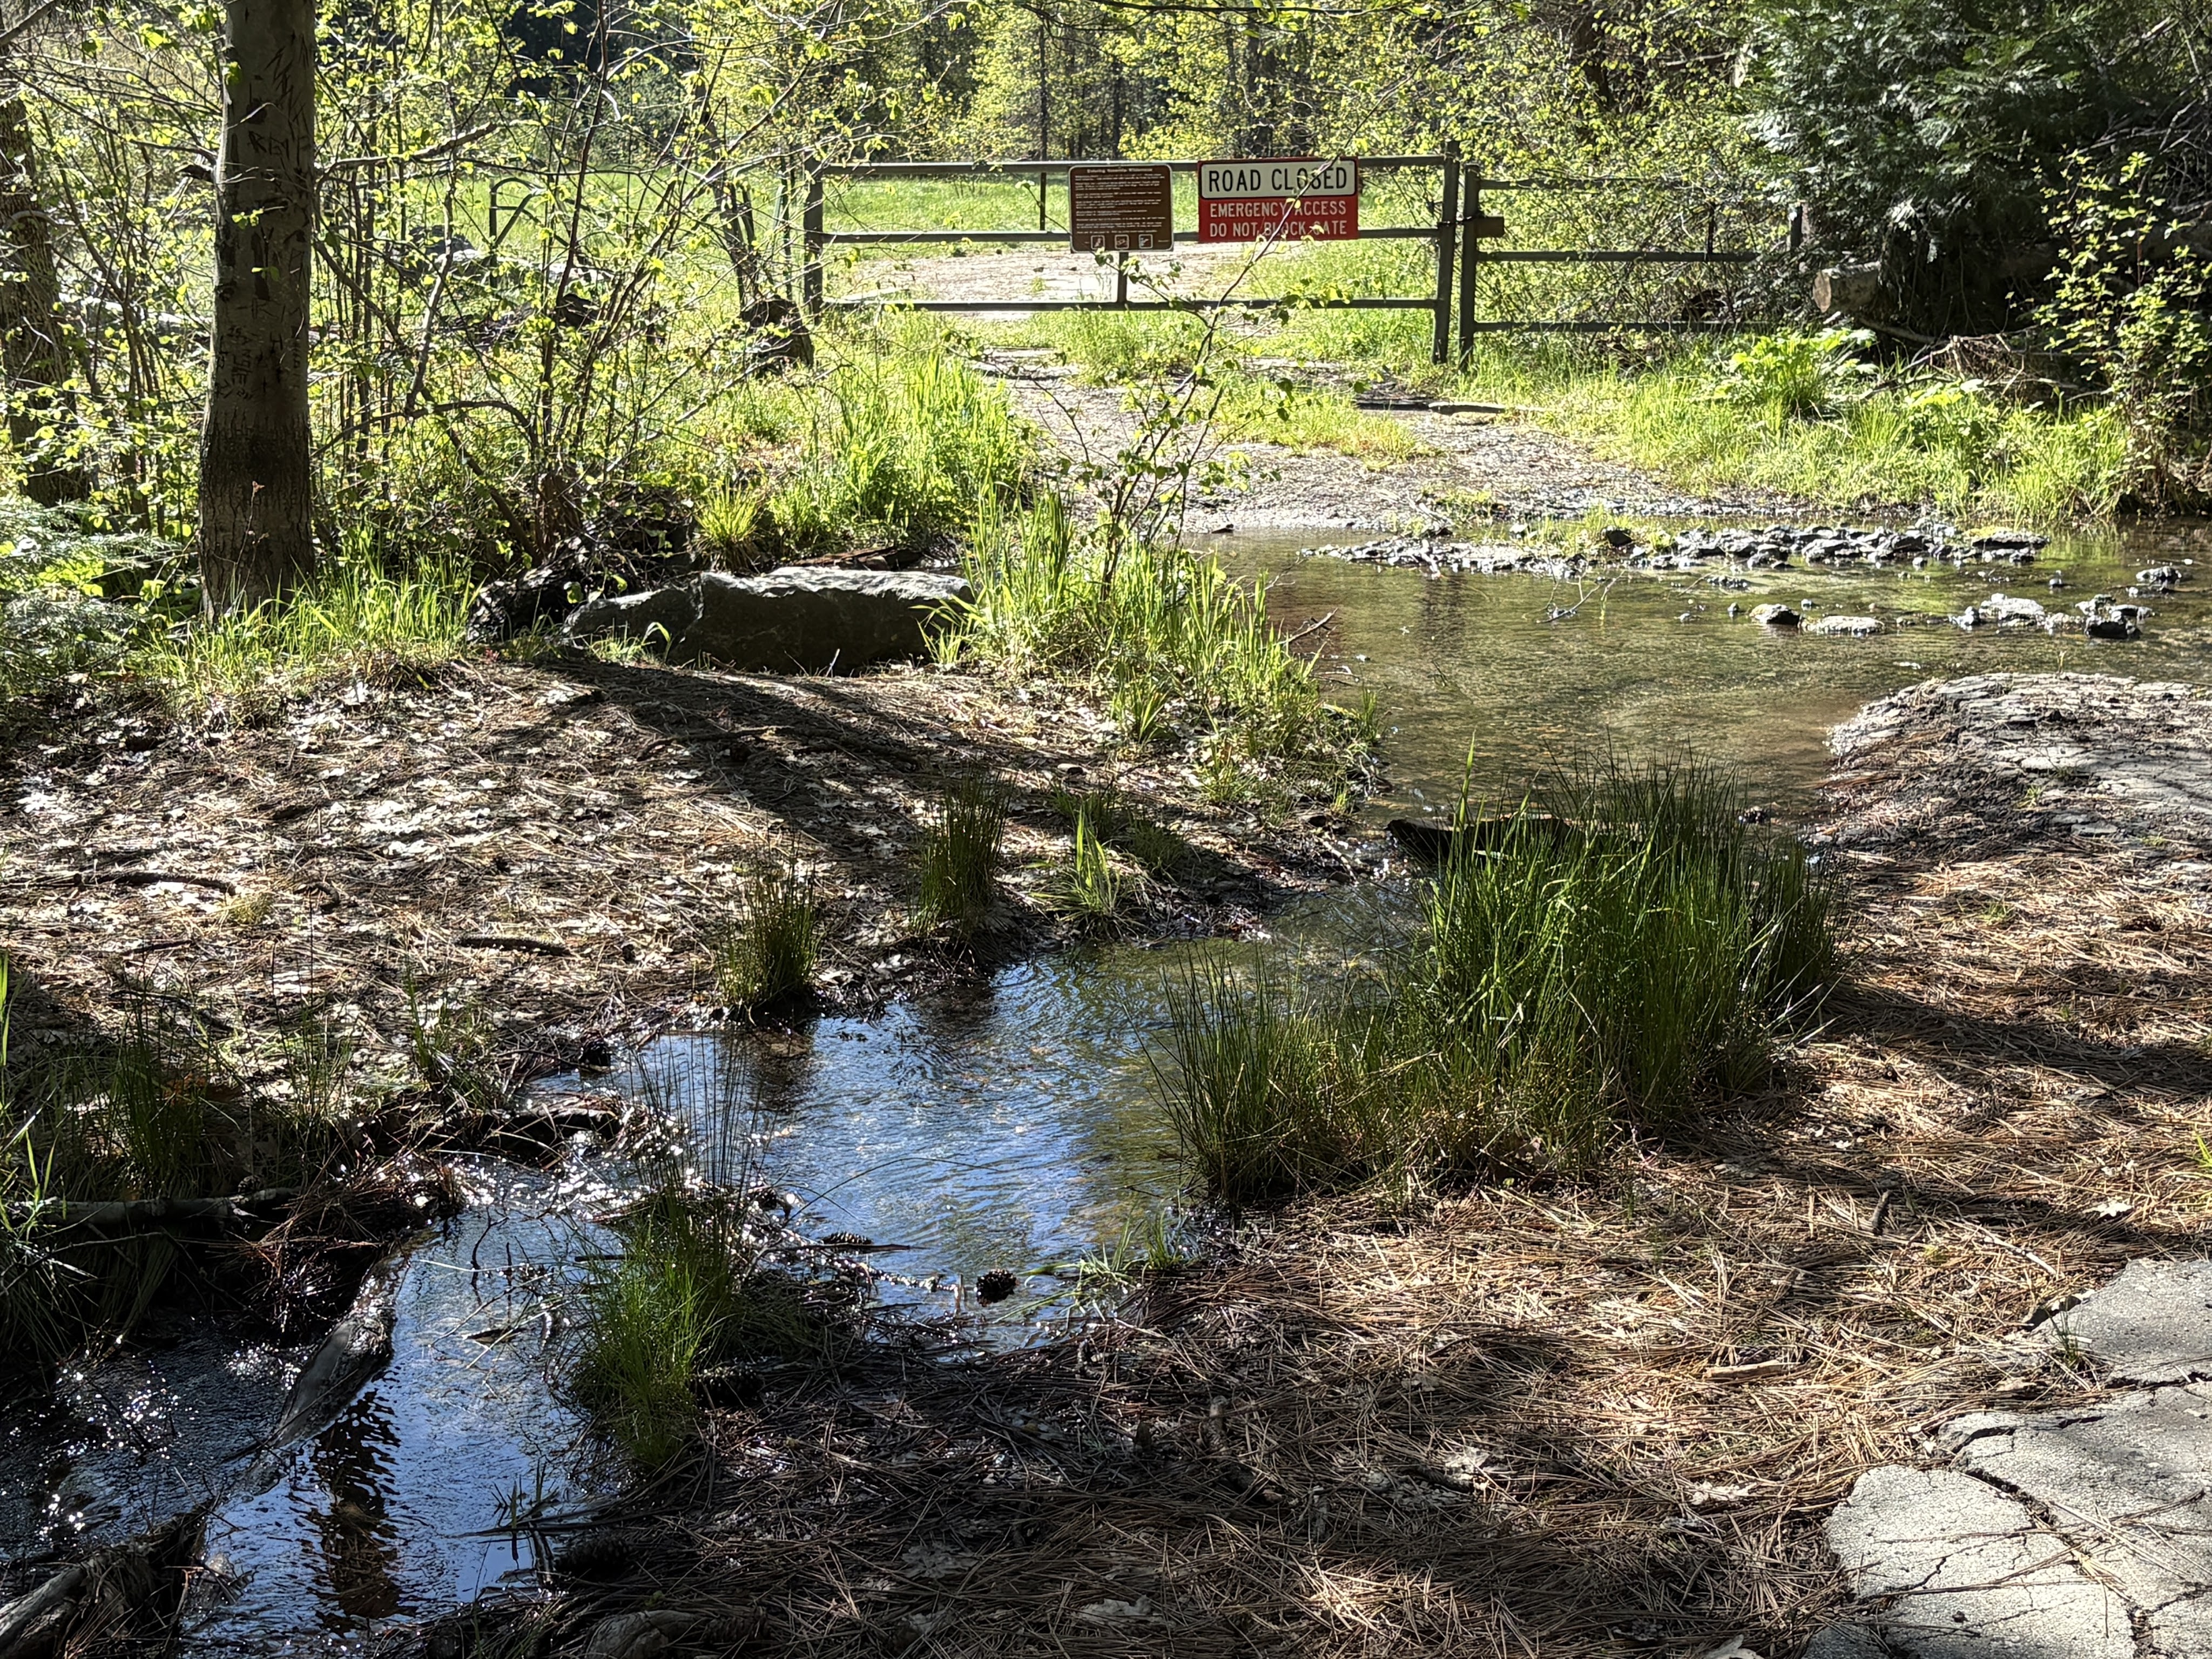
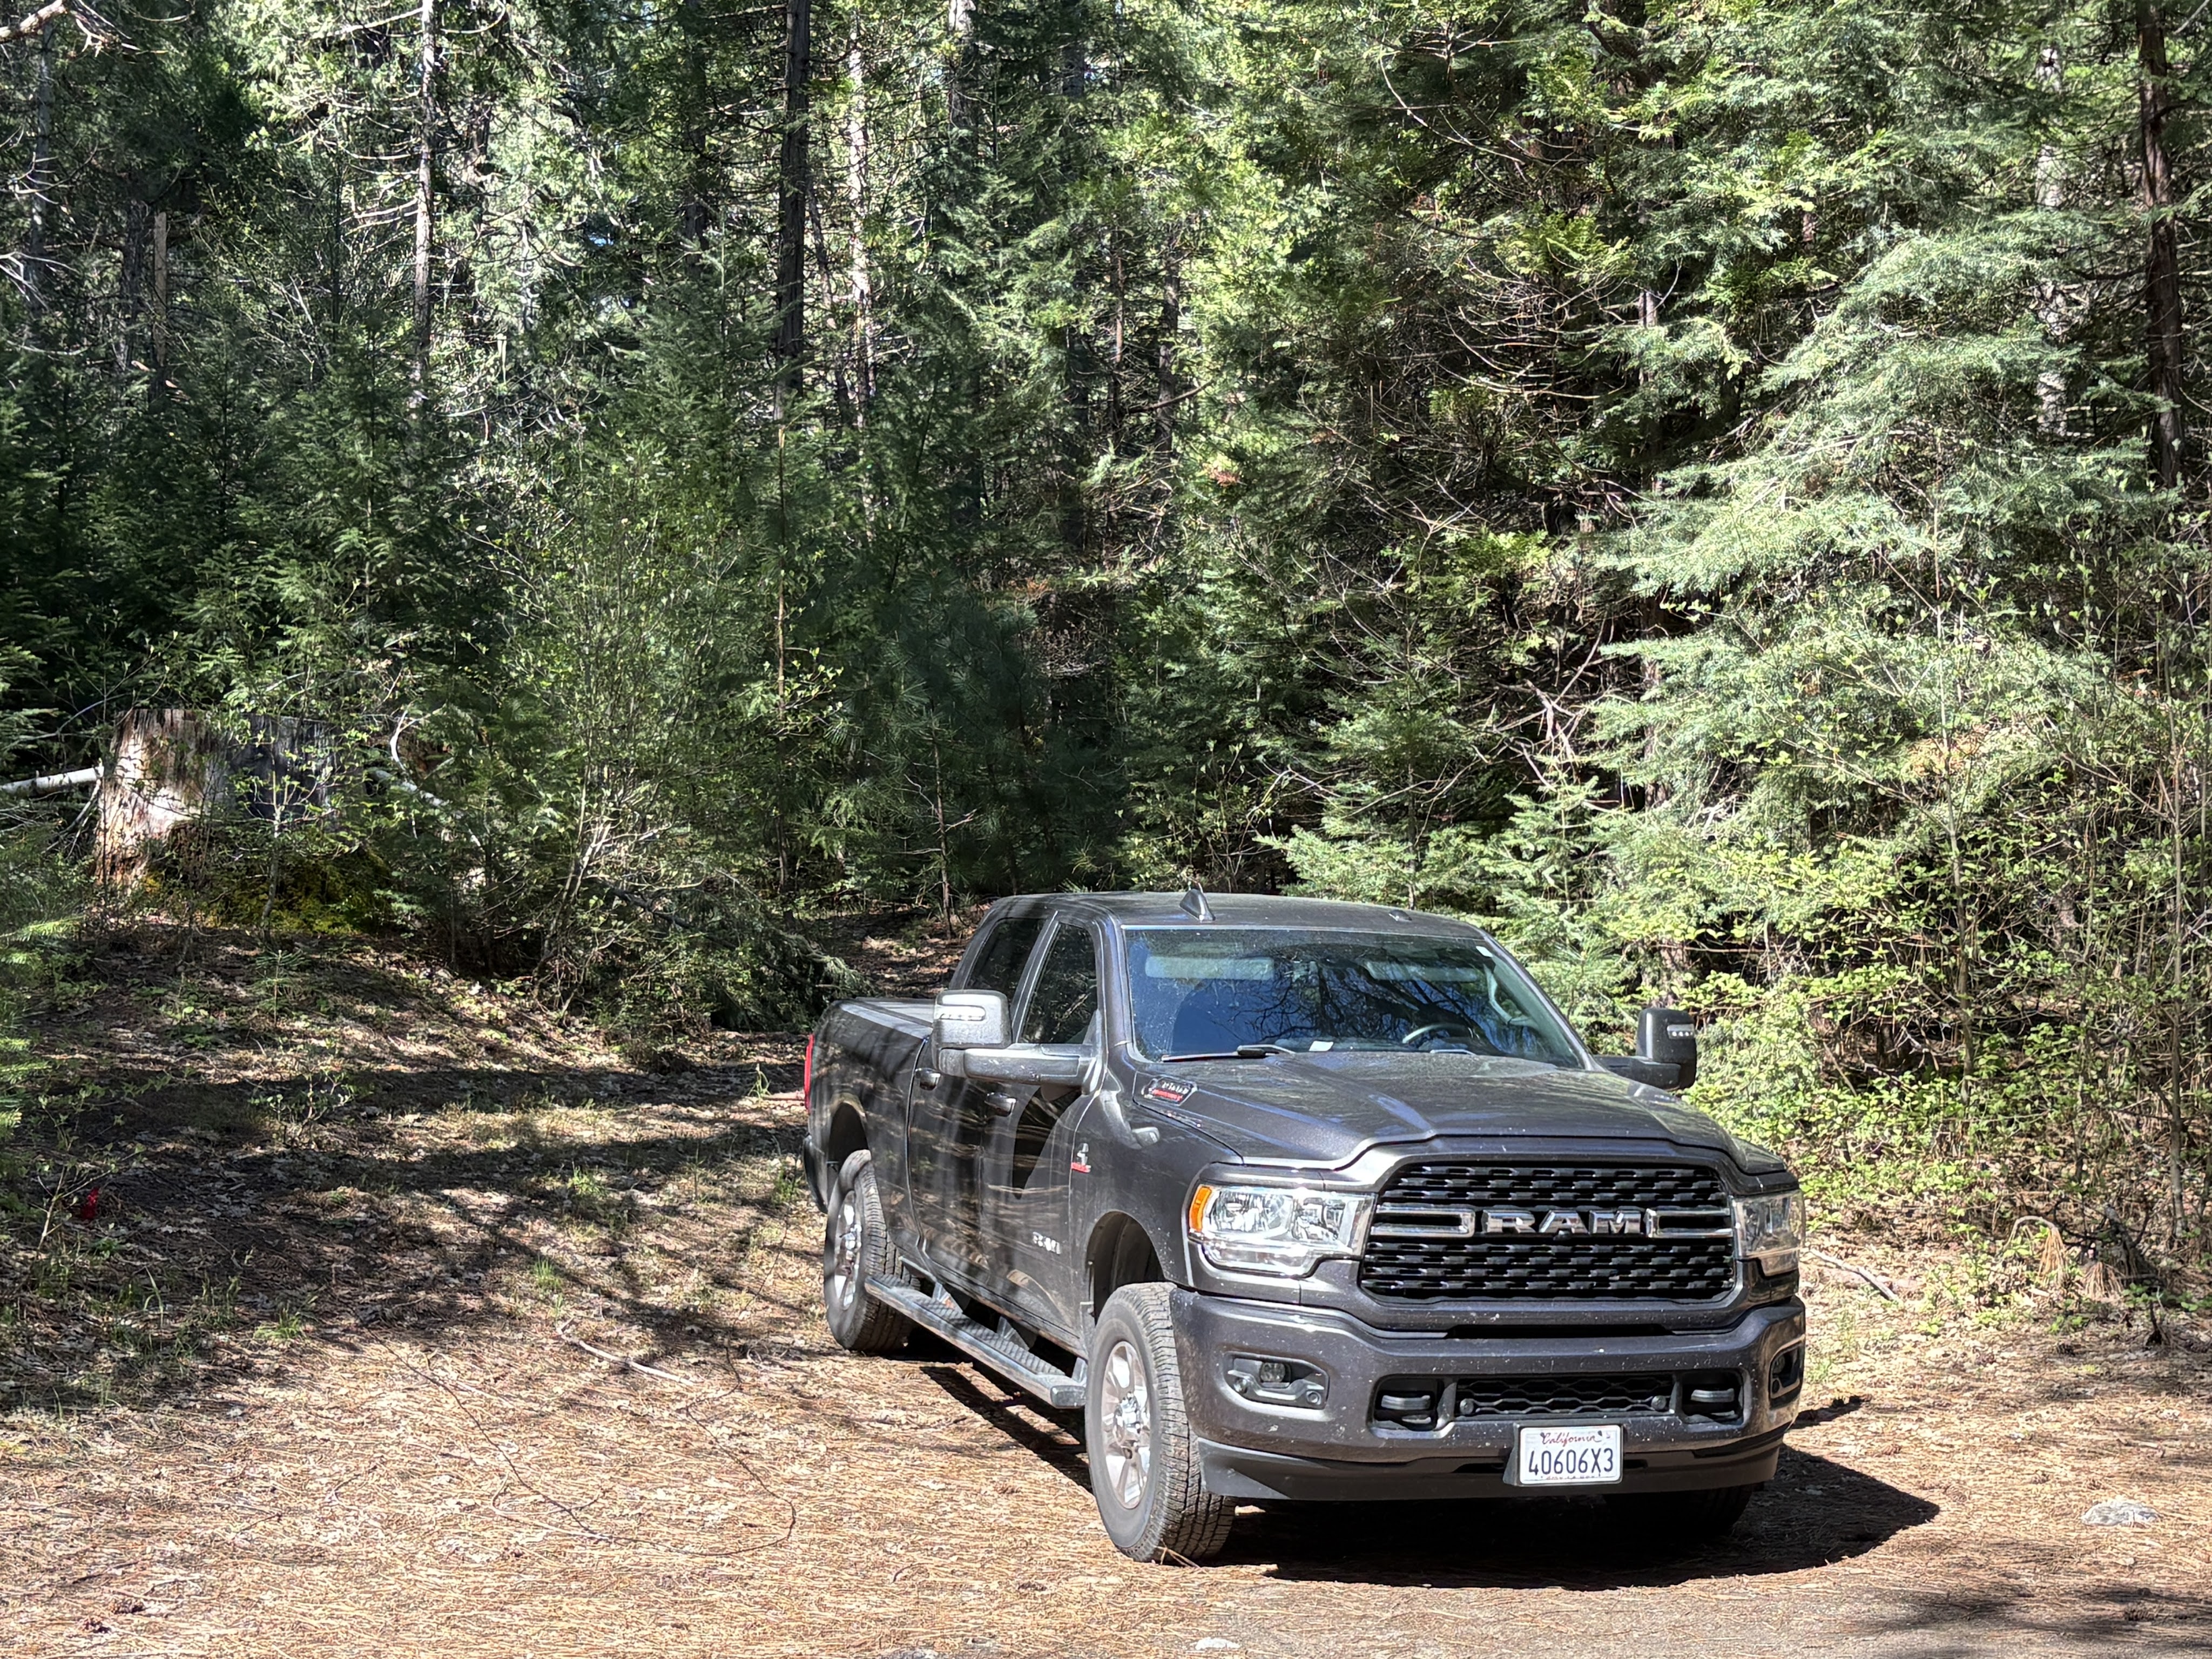
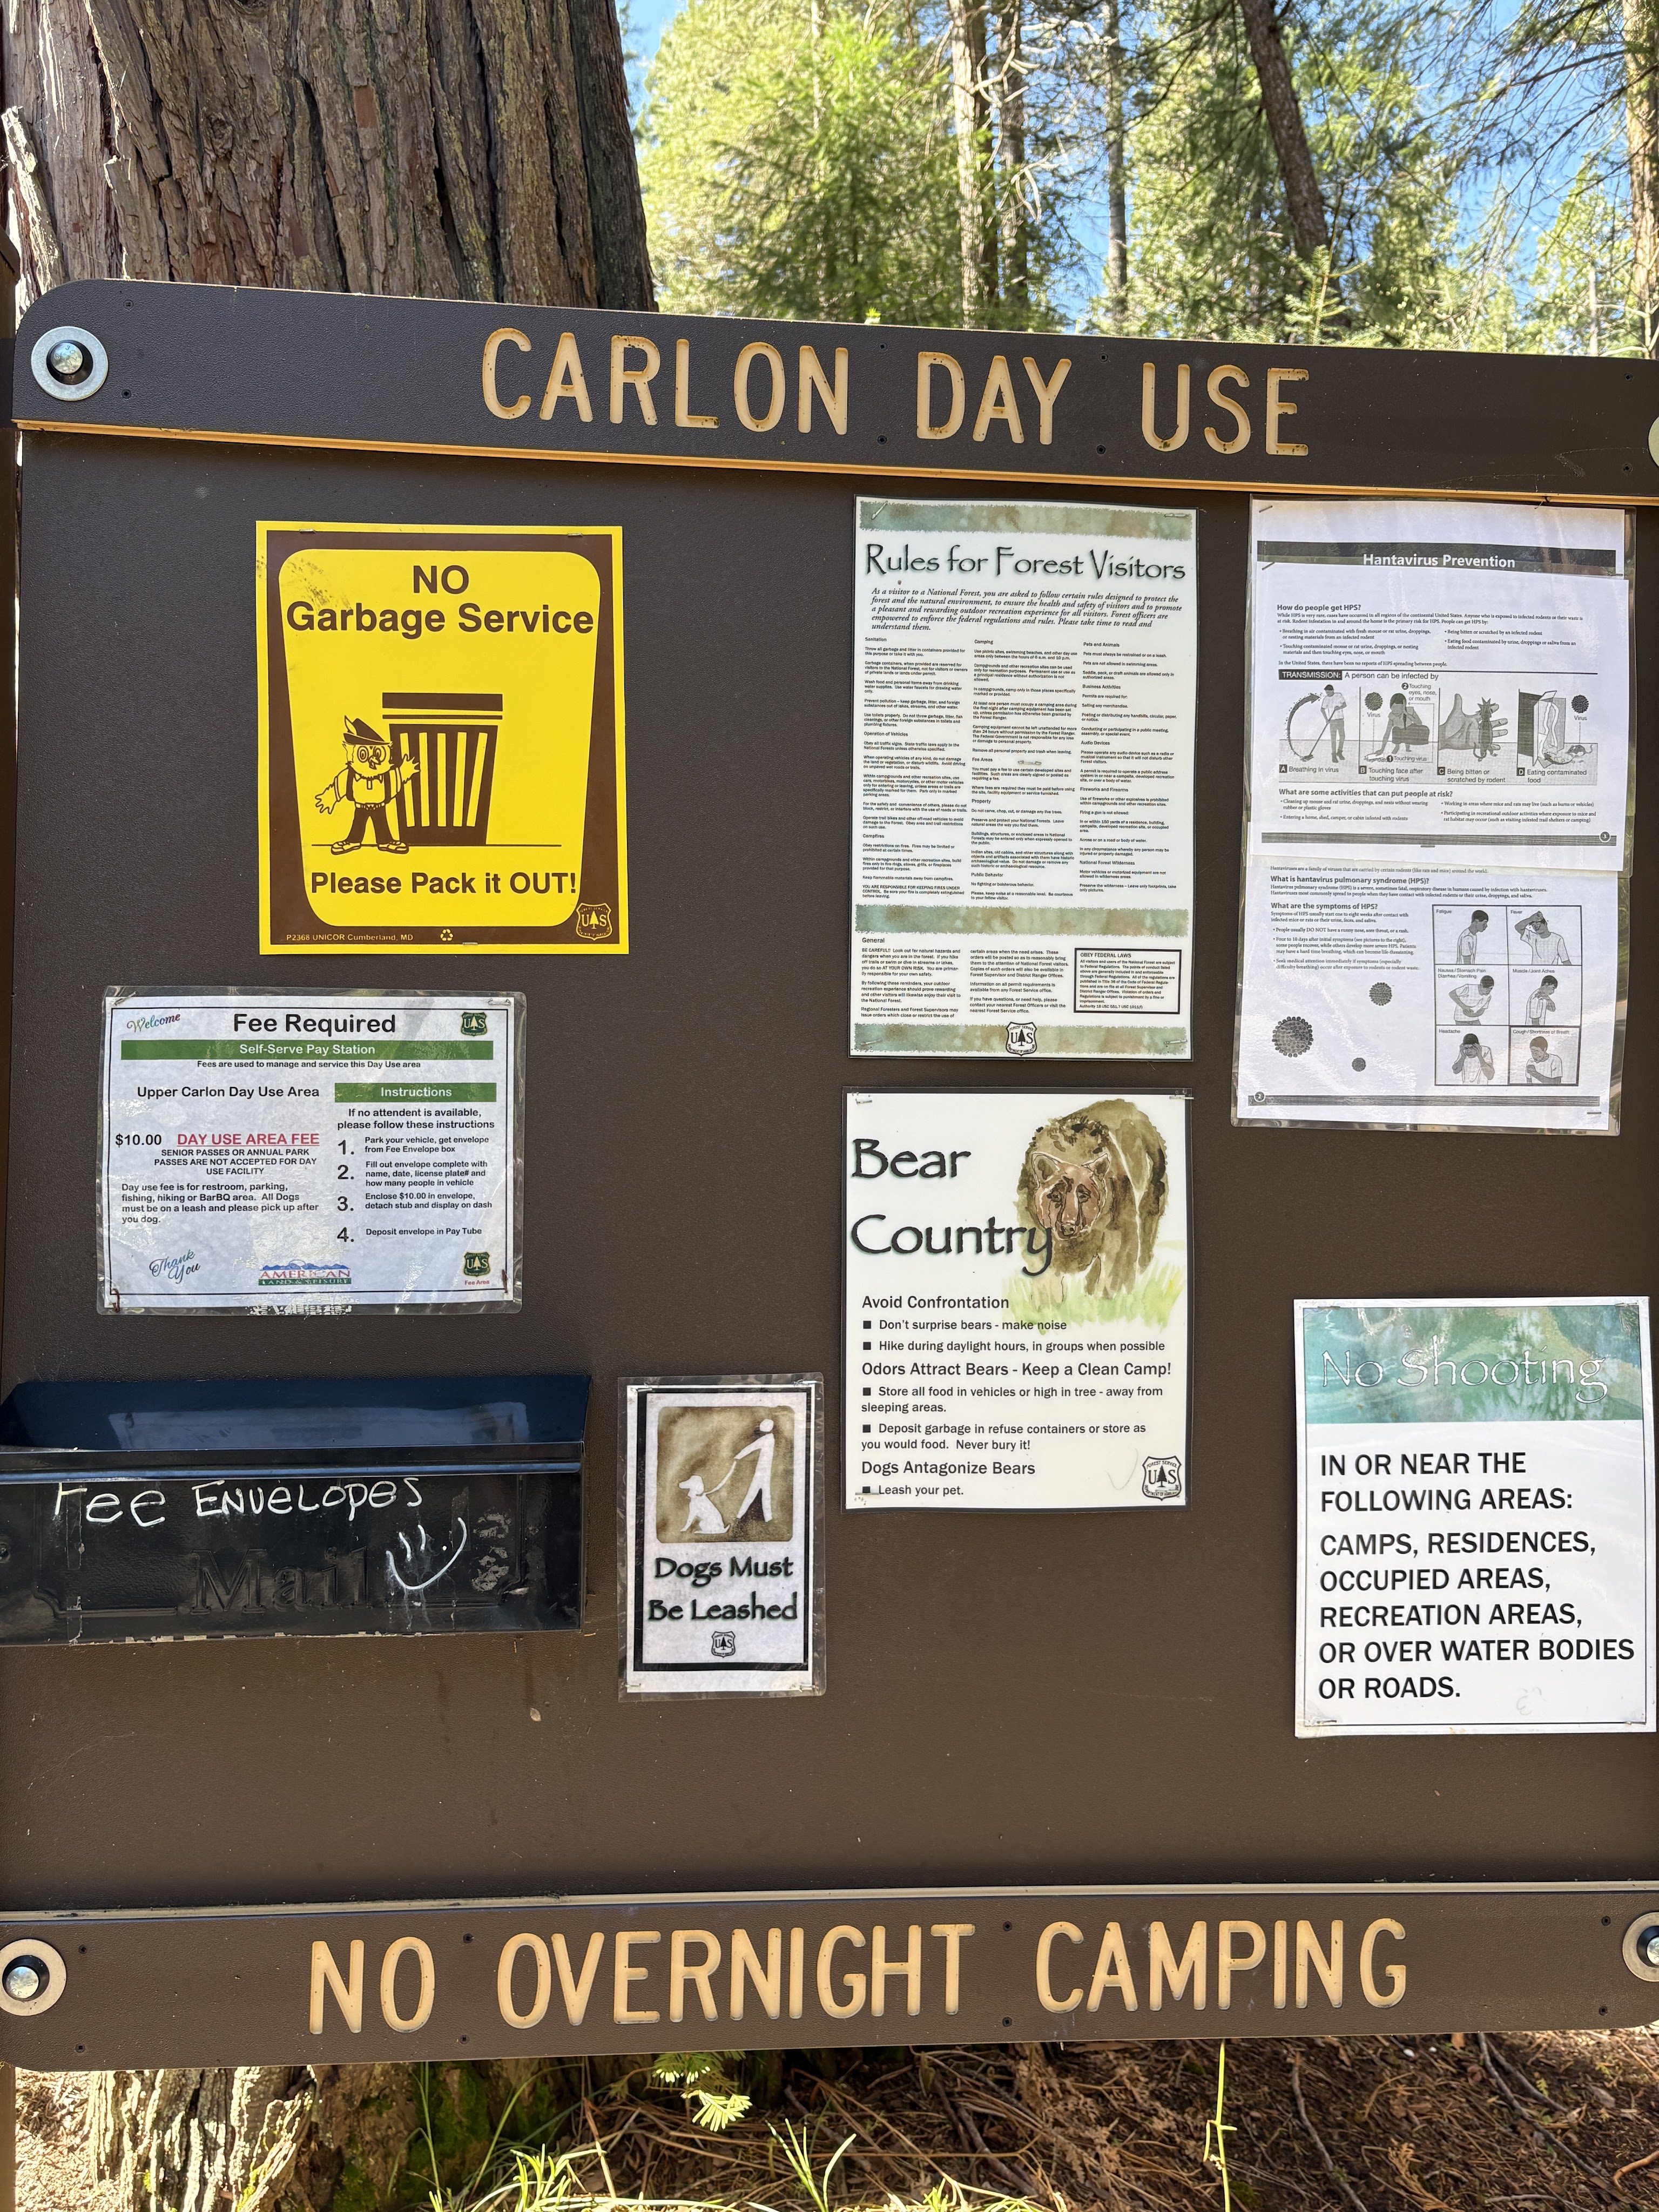
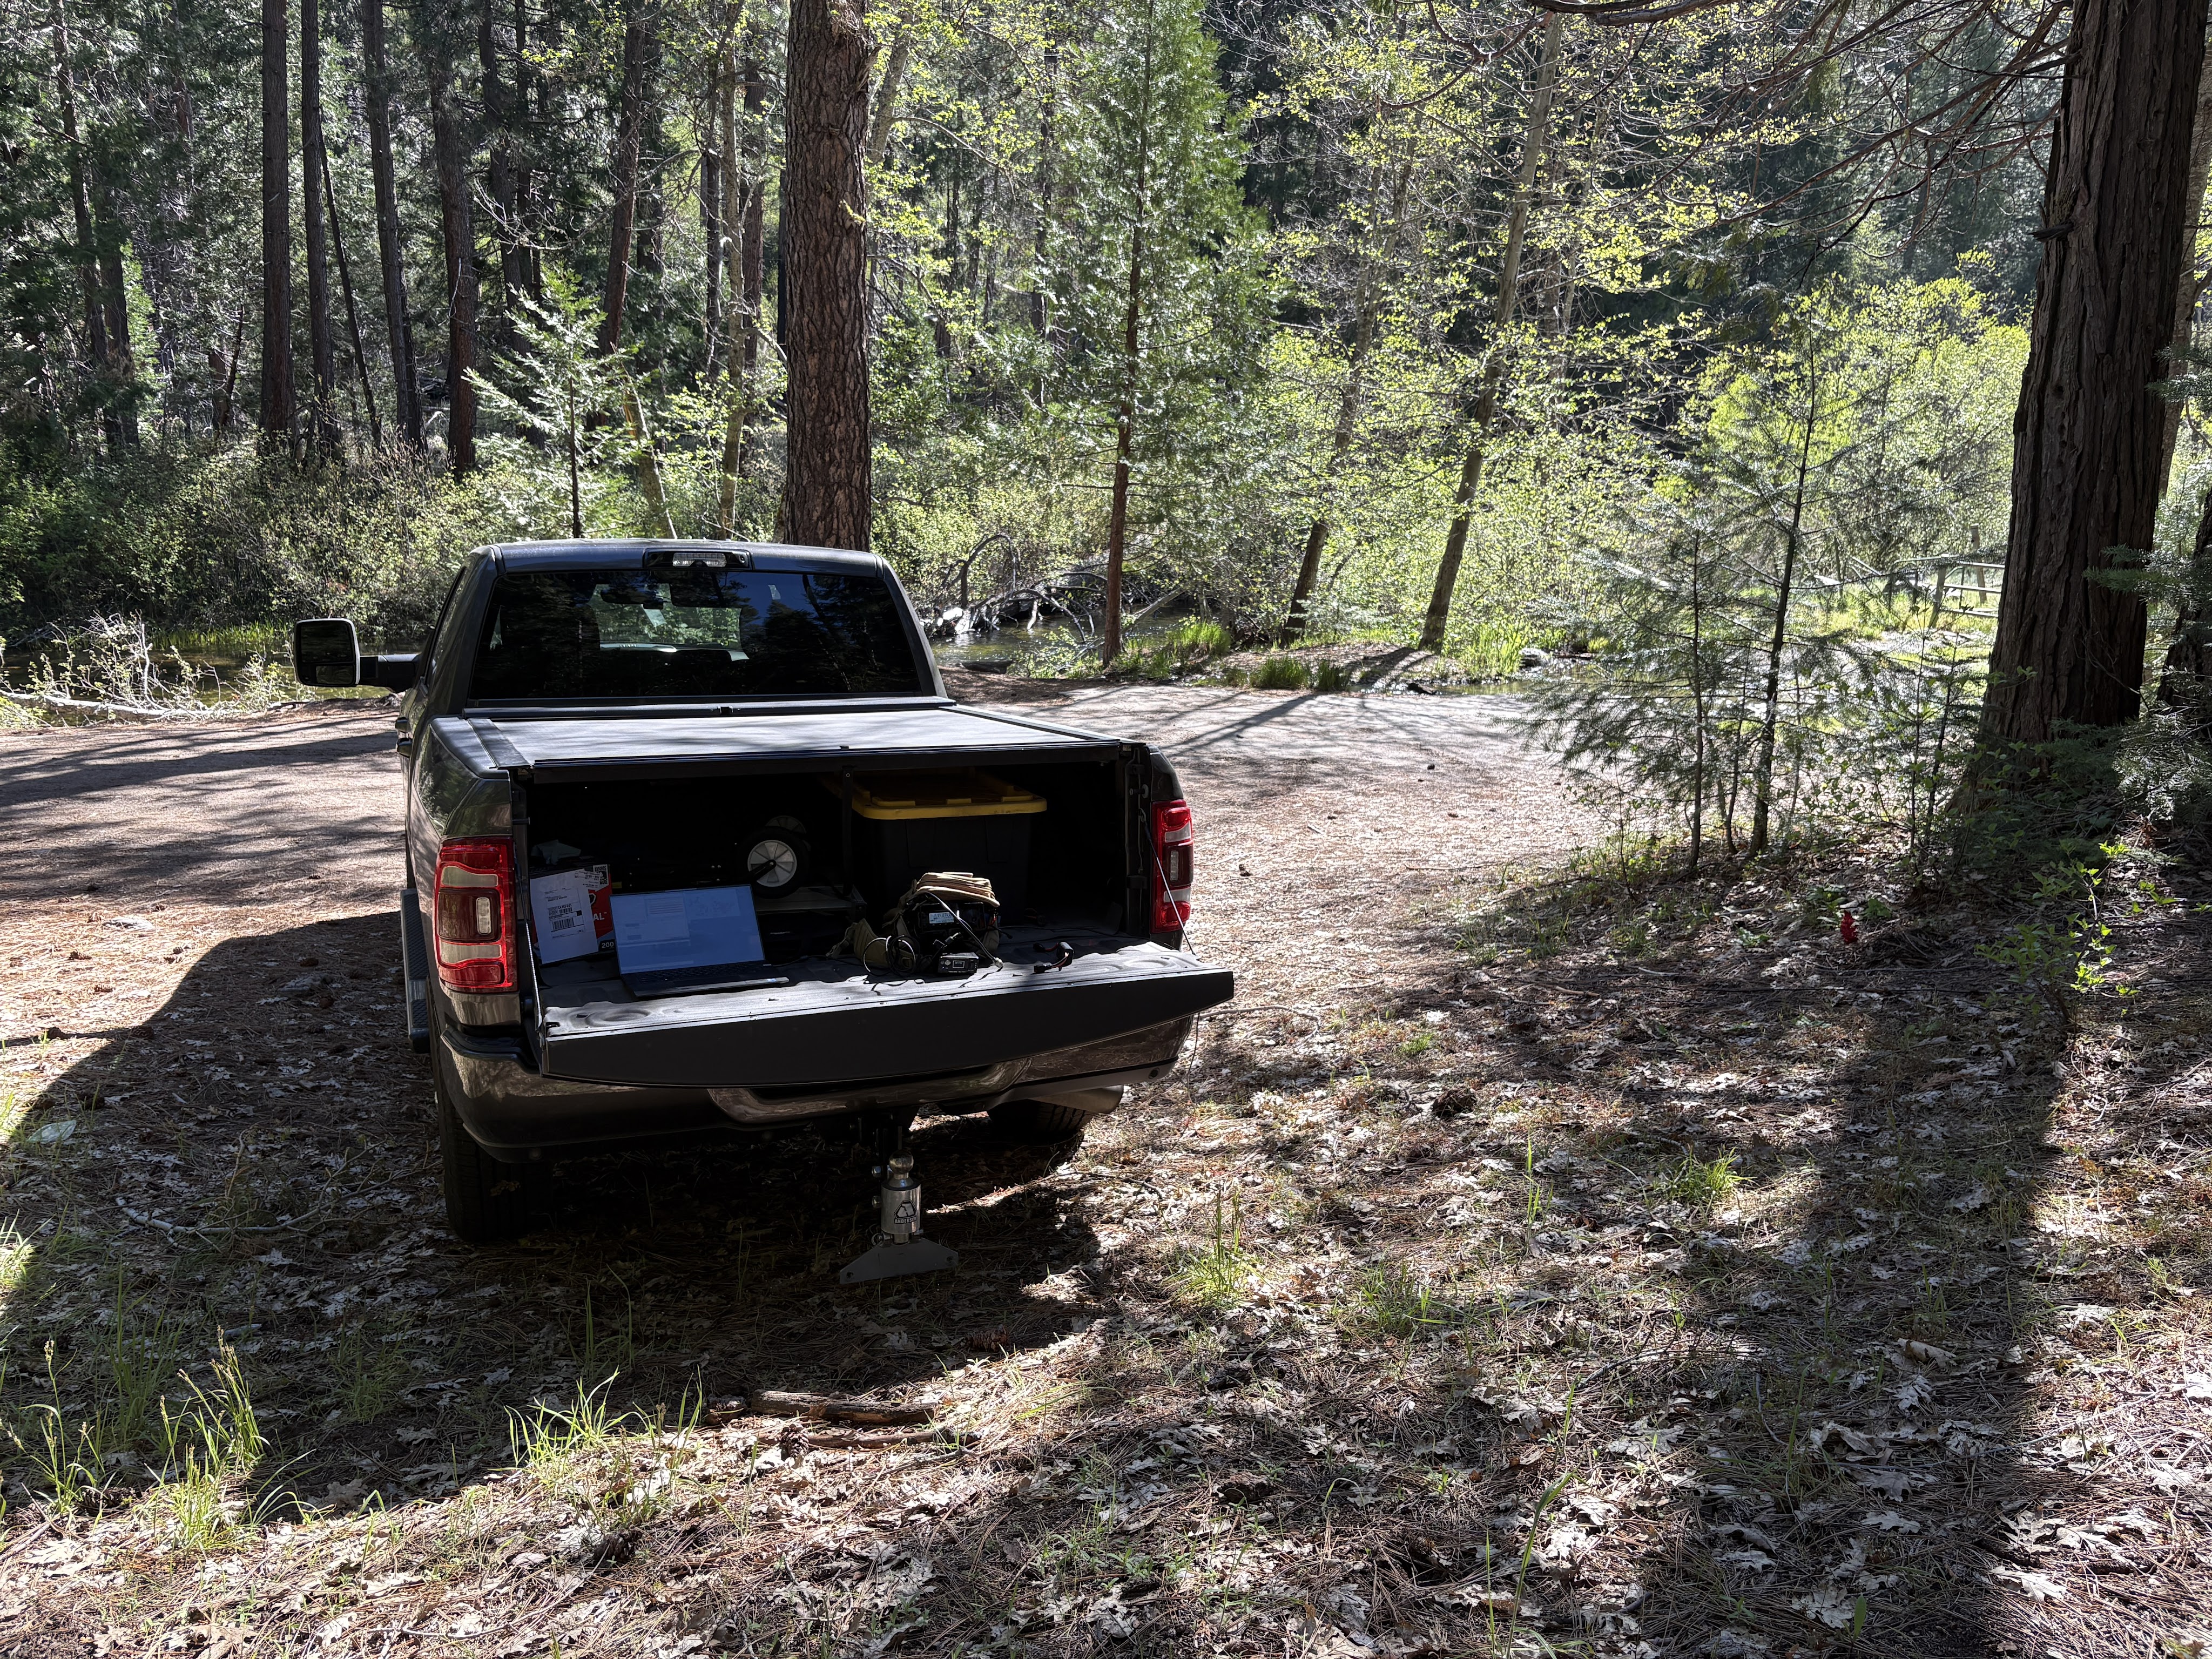
This was a very short drive, only about two and a half hours from home but it dovetailed nicely into one of my hobbies; ham radio. I like to do POTA activations and this was a new park I had not activated yet. In fact, there were three parks all in close proximity that I could activate. So this was a logical (to me anyway) first night stop. If you want to know more about Colonel Allensworth State Historic Park just click on the link. Short story is it is the first town in California started by and for African-Americans. The other two parks near by were Pixley National Wildife Refuge and Kern National Wildlife Refuge. I was able to successfully activate those three parks by the way.
Day 2:
The second night we stayed in Kingman, Arizona at Sunset RV Park. A rather unremarkable, closely packed park. But, it was quiet and the guy at the front desk was friendly enough so it served as a good overnight stop.
Day 3:
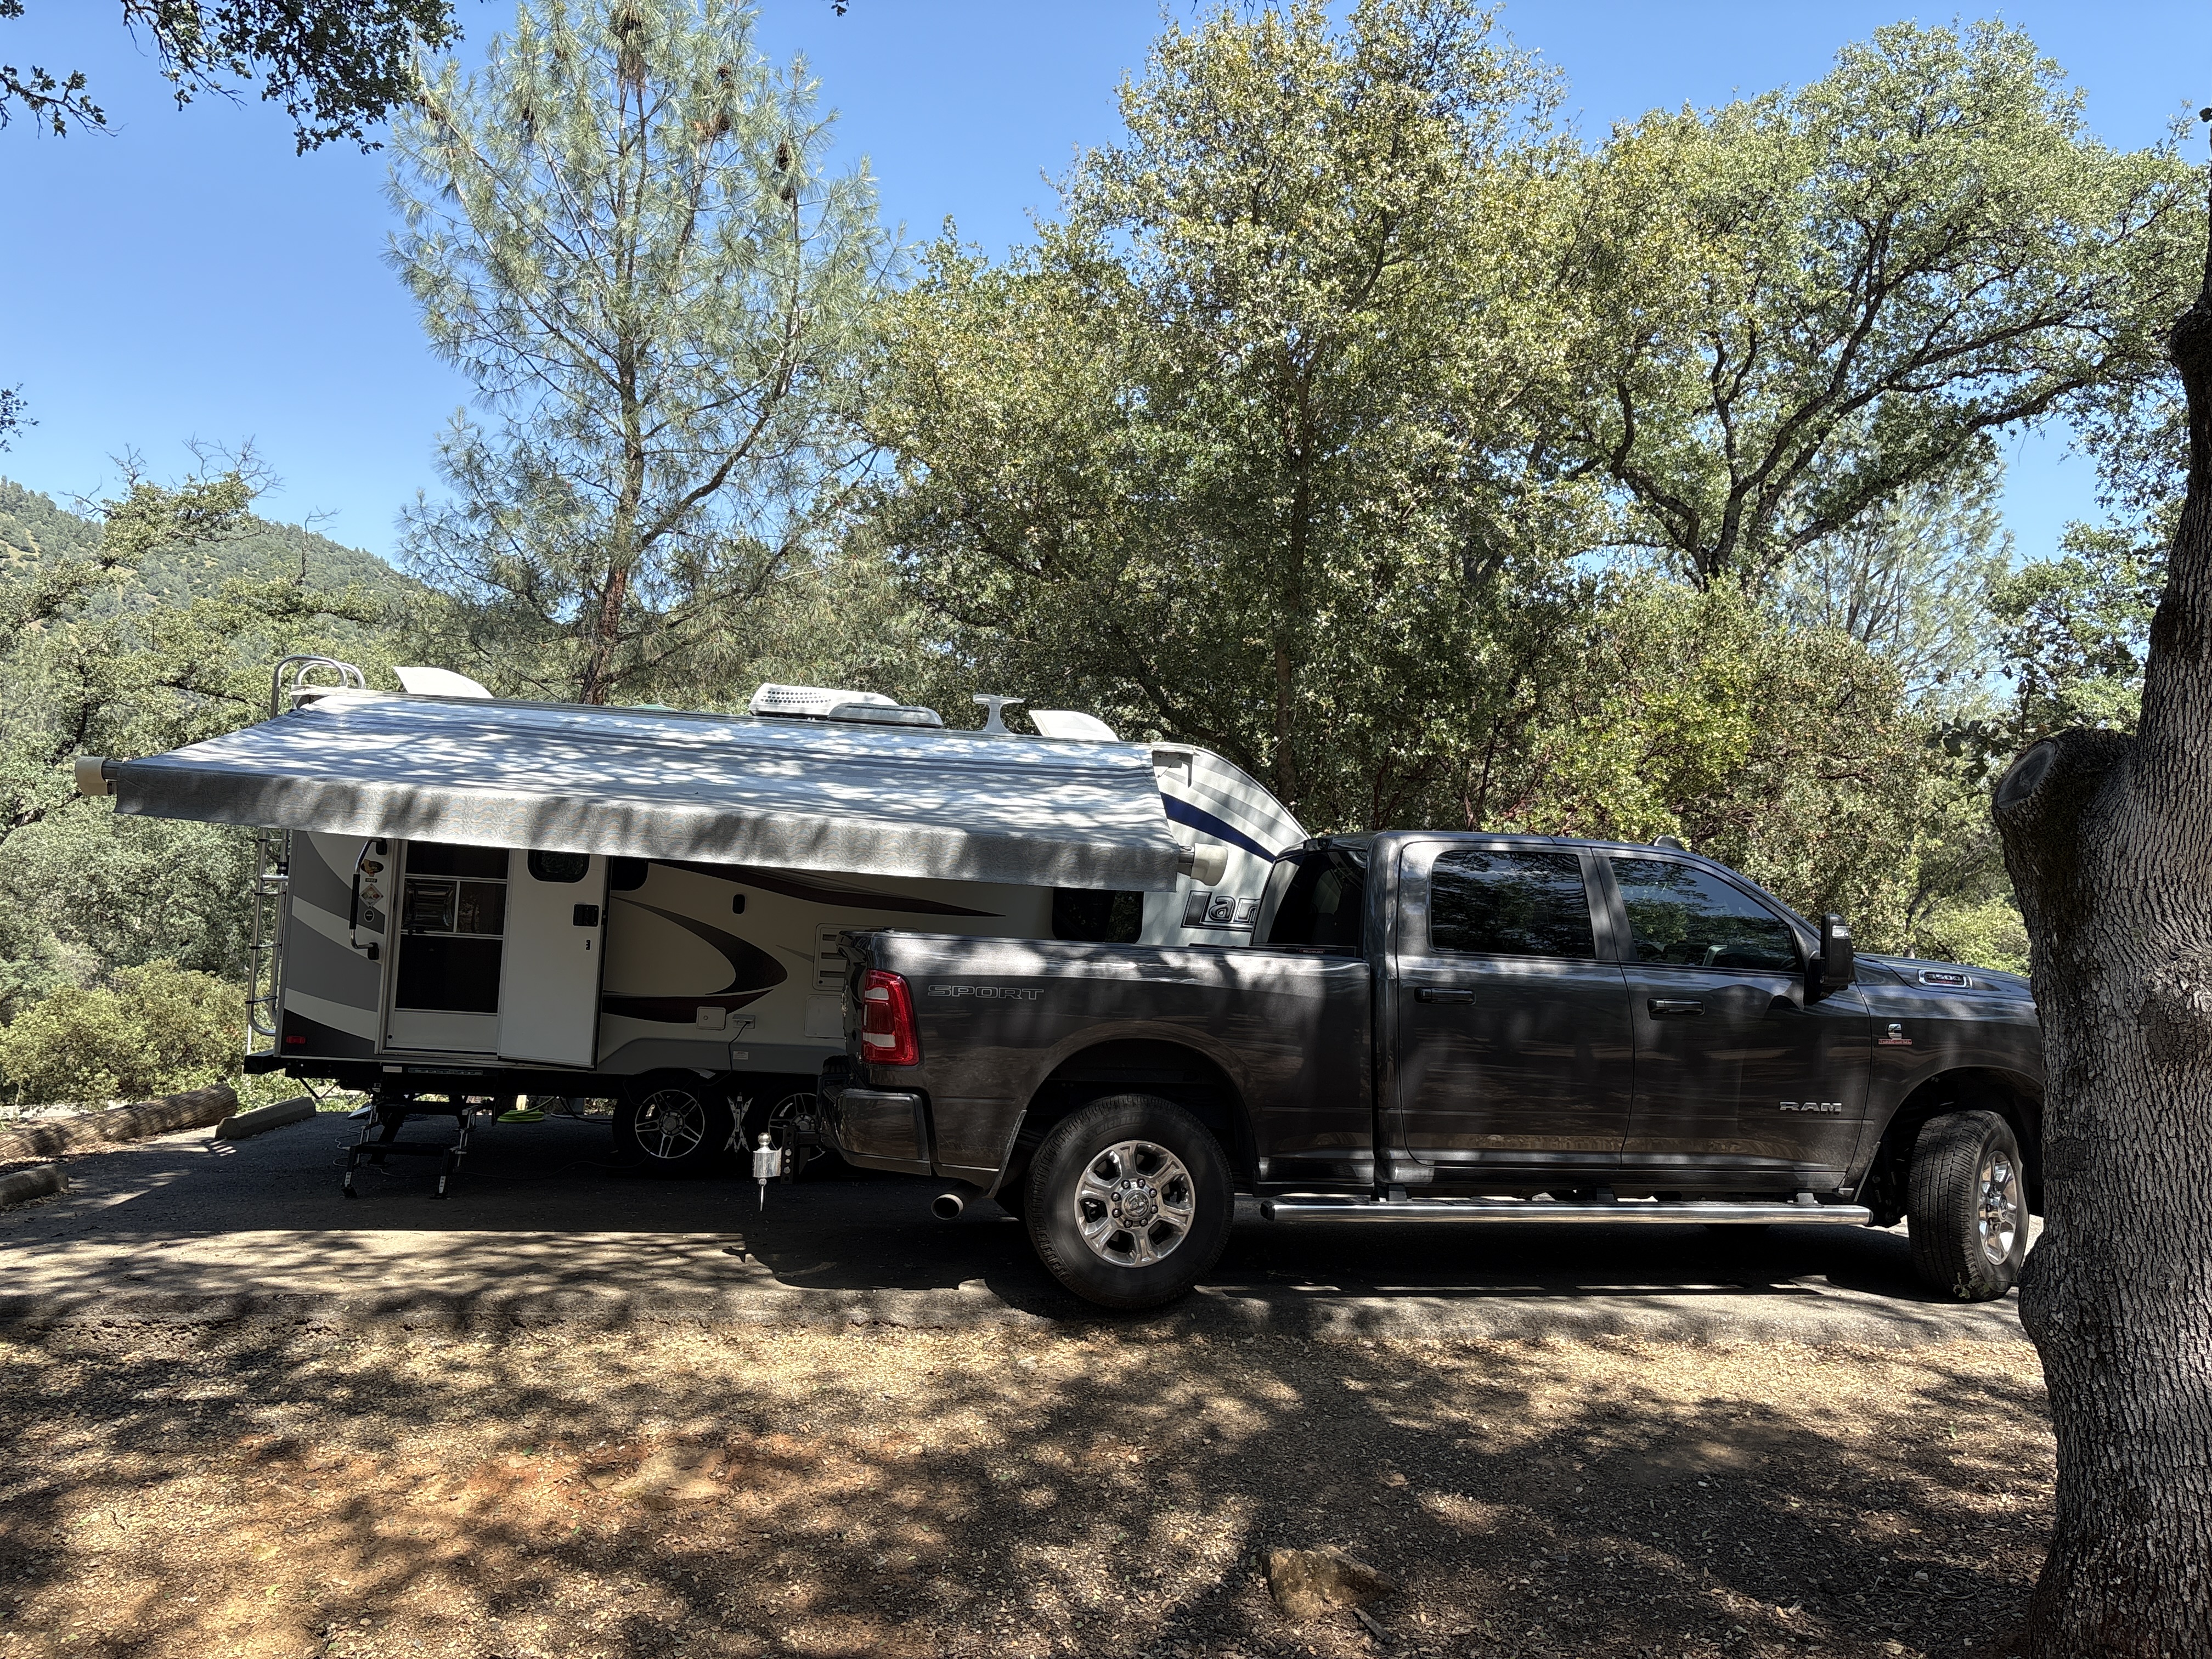
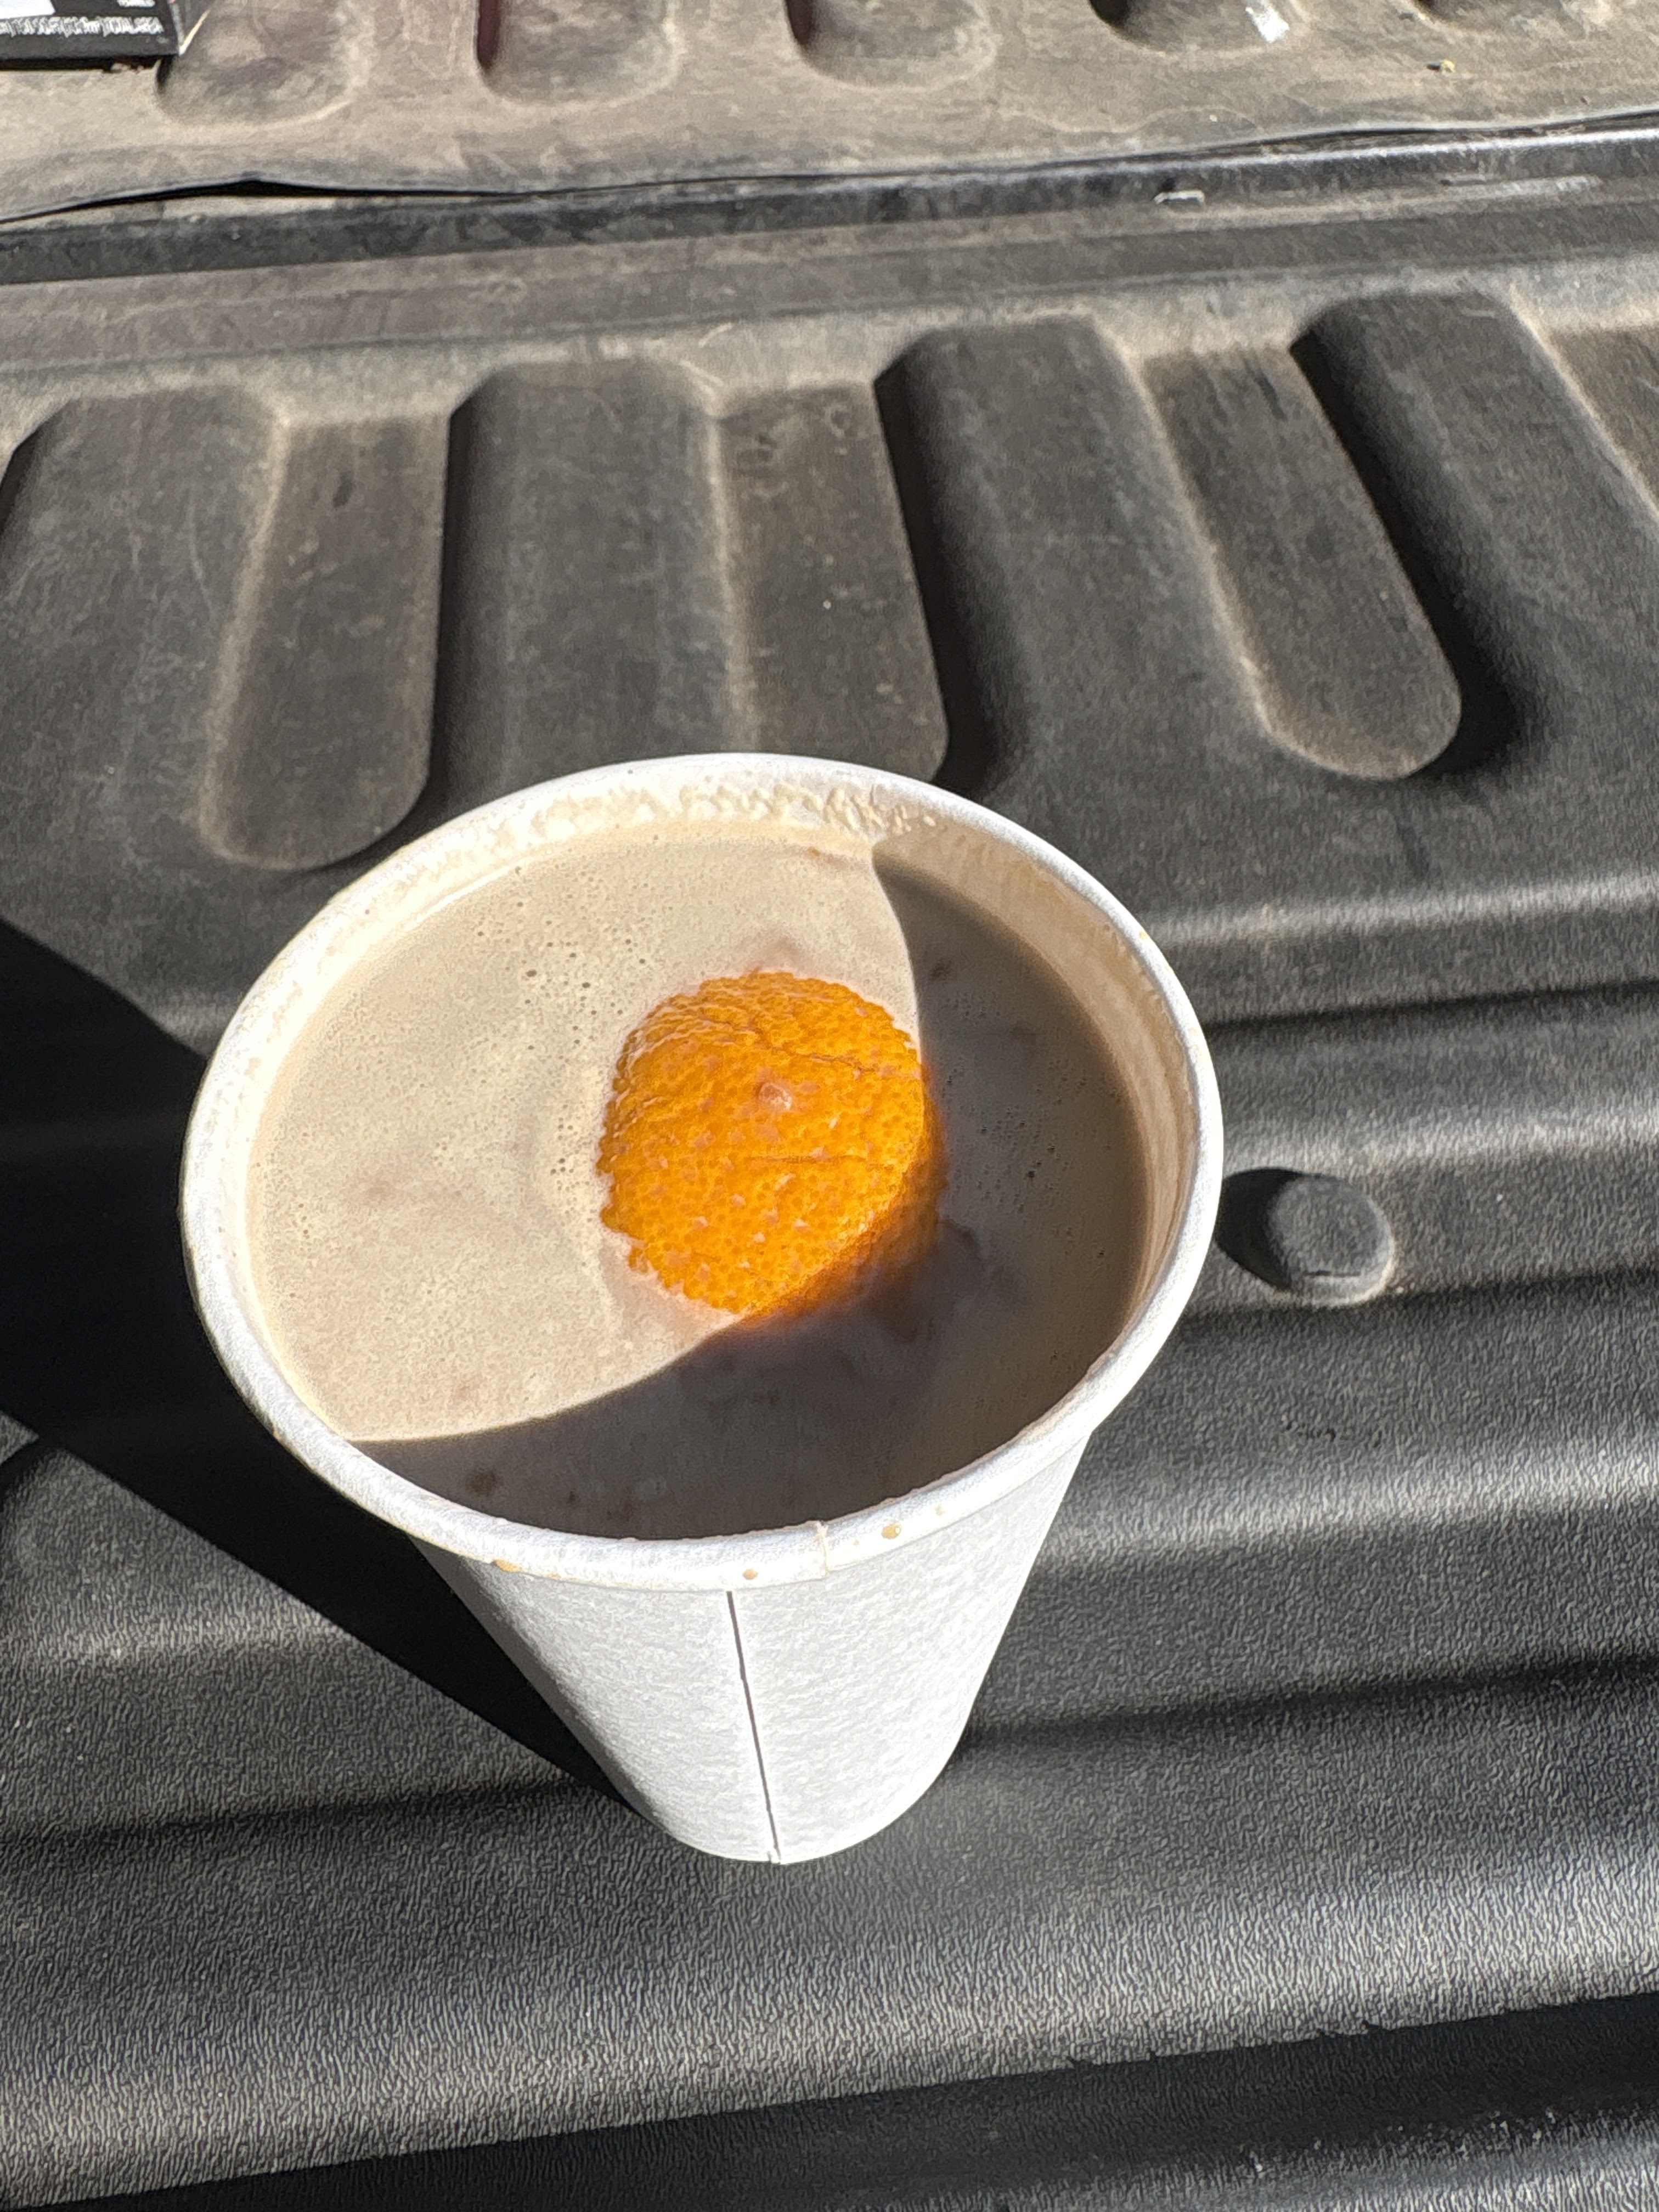
We really wanted to get on the road so we kept our morning preparations kind of light, packed up and got on the road. That turned out to be a good call as we were just ahead of a huge monsoonal system that was just dumping rain right behind us on the highway. We take some time to stop in Willams to grab a cup of coffee at Brewed Awakenings. The coffee was so-so but it was caffeinated which is what I needed. It also provided a good leg stretch as we had to park about 4 or 5 blocks away down on the street next to Safeway. Coffee in hand it was back on the road. A LONG drive later and we were pulling into USA RV Park in Gallup, NM. This would be our home for the next 5 nights. I got the trailer setup and Star Link deployed and then we just crashed and napped for the rest of the day.
Pro-tip: If you have a newer Star Link dish with the kick stand or even a Star Link Mini. Don’t bother trying to orient it. Simply lay it down flat on the ground facing up and you are good to go as long as there aren’t too many obstructions directly above it. Star Link has put so many satellites in orbit that it is now no longer necessary to orient the dish in any direction. Just straight up.
Day 4:
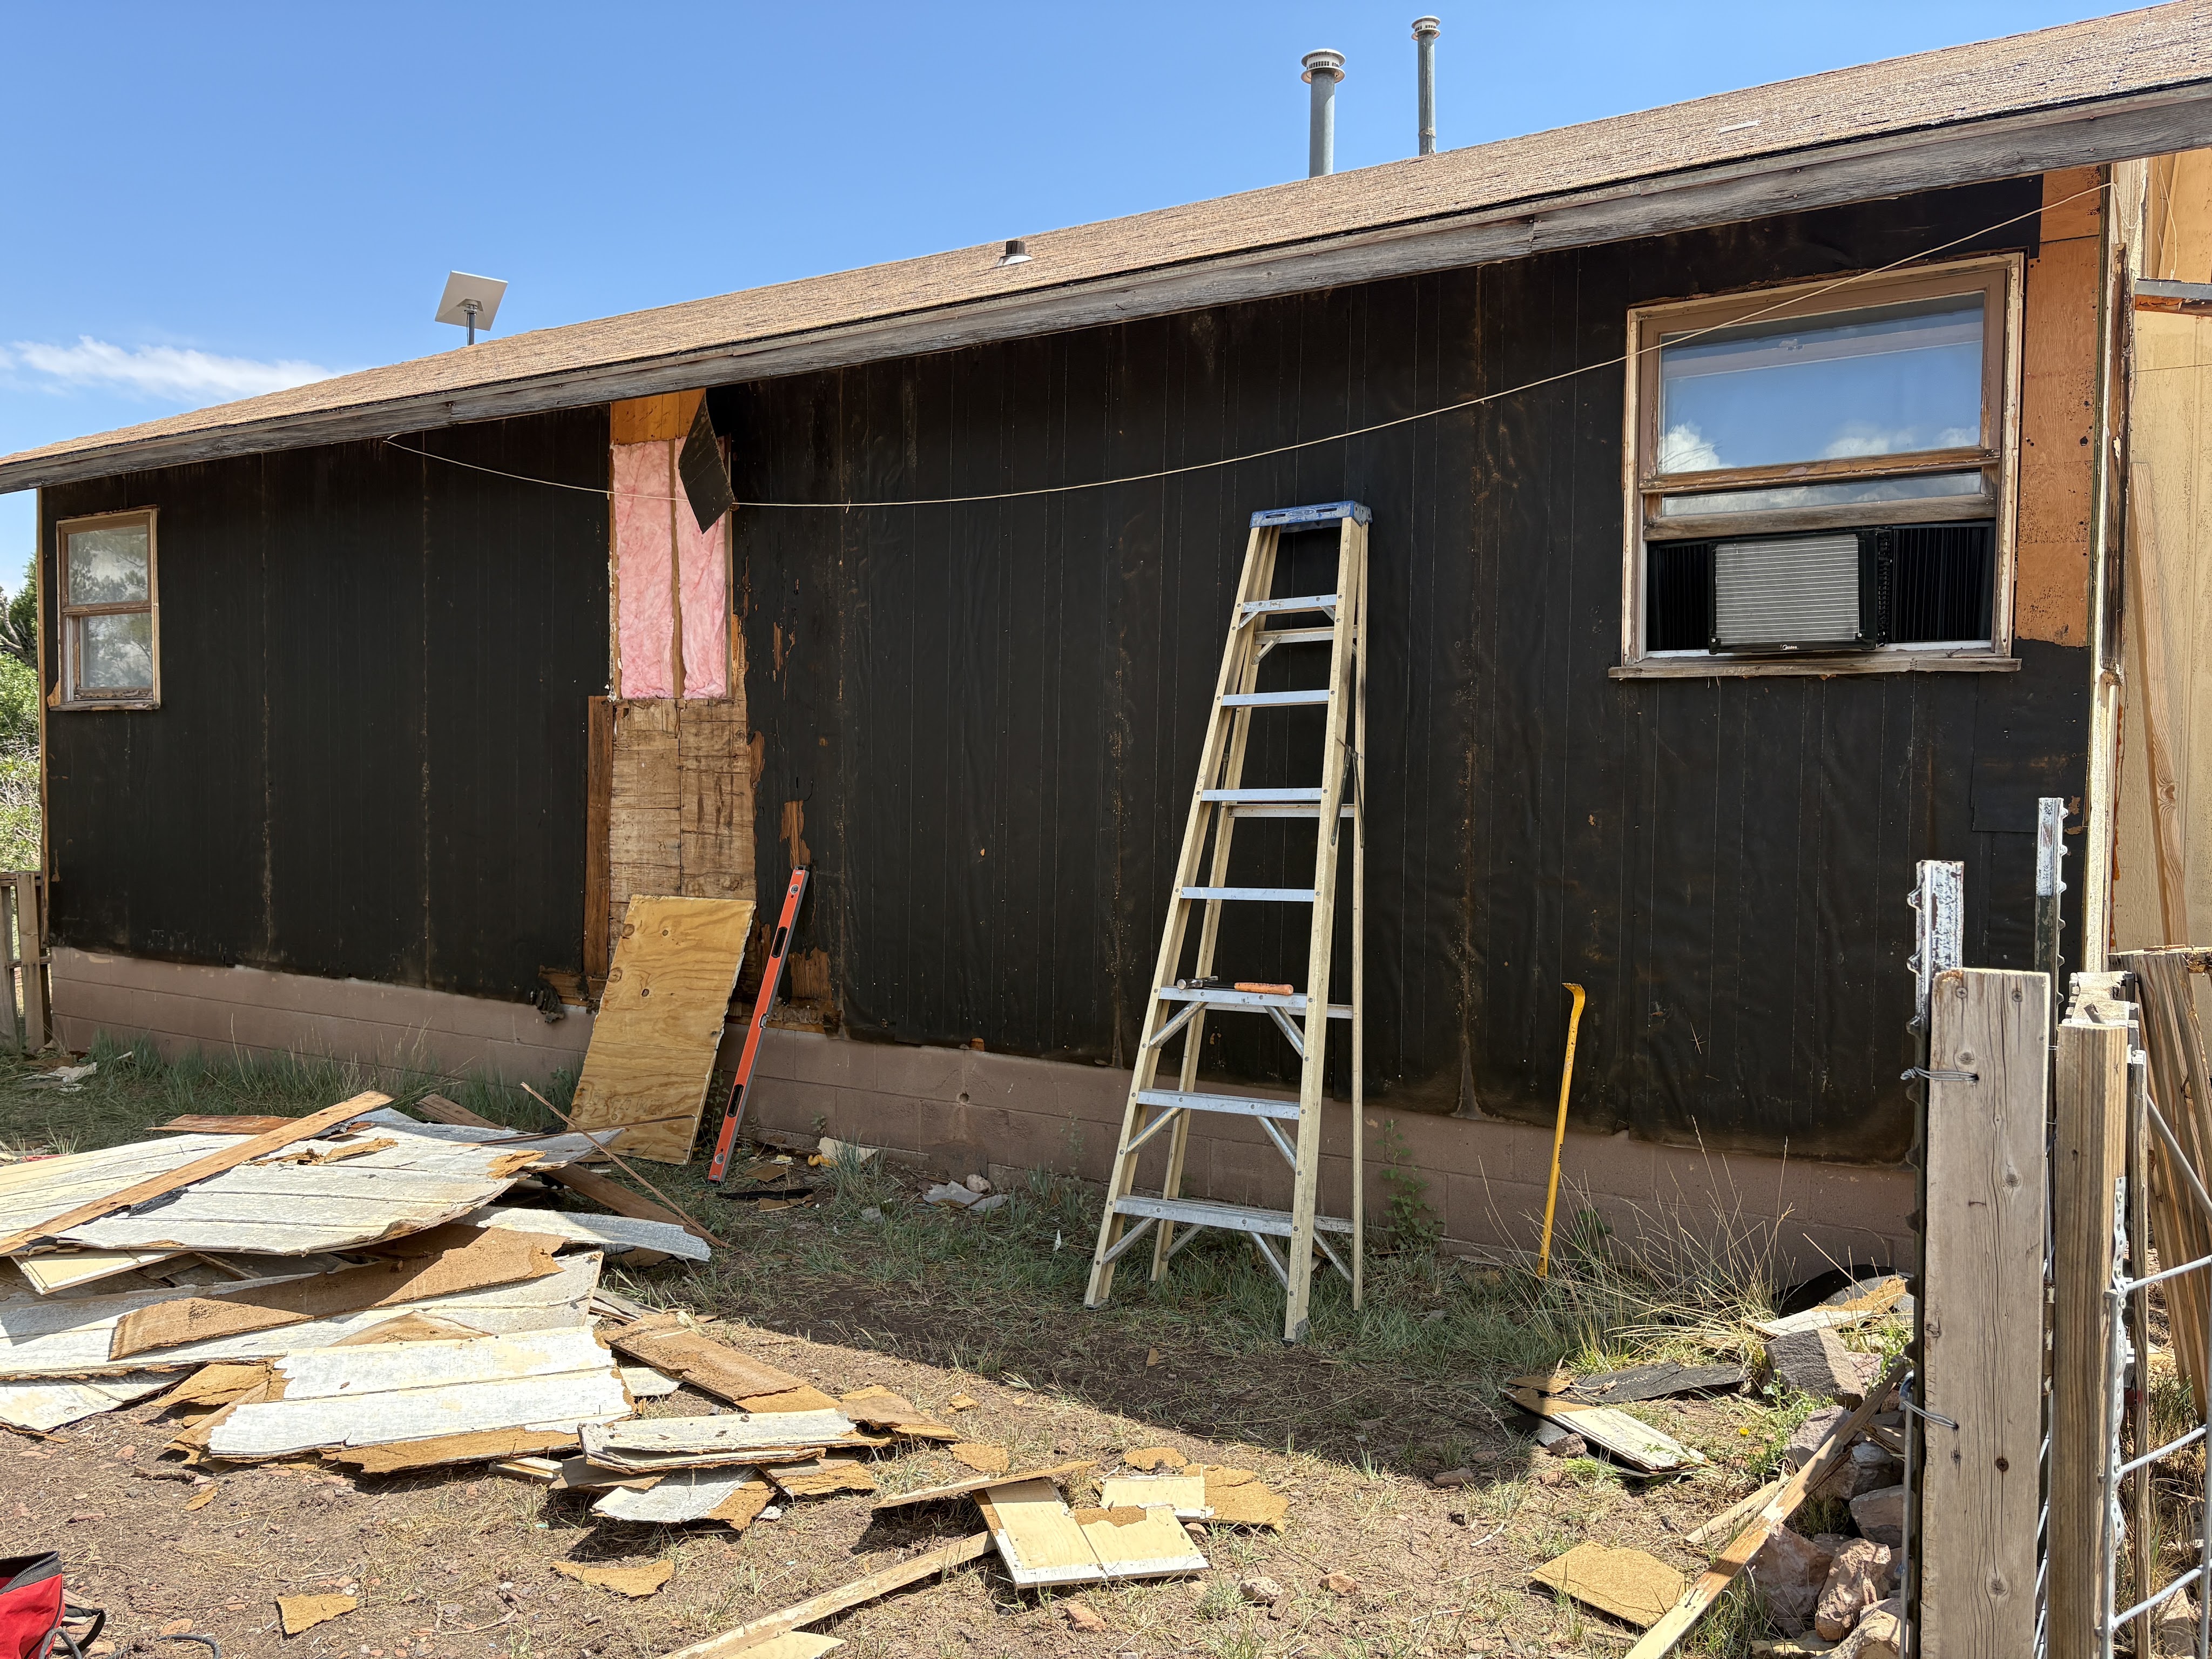
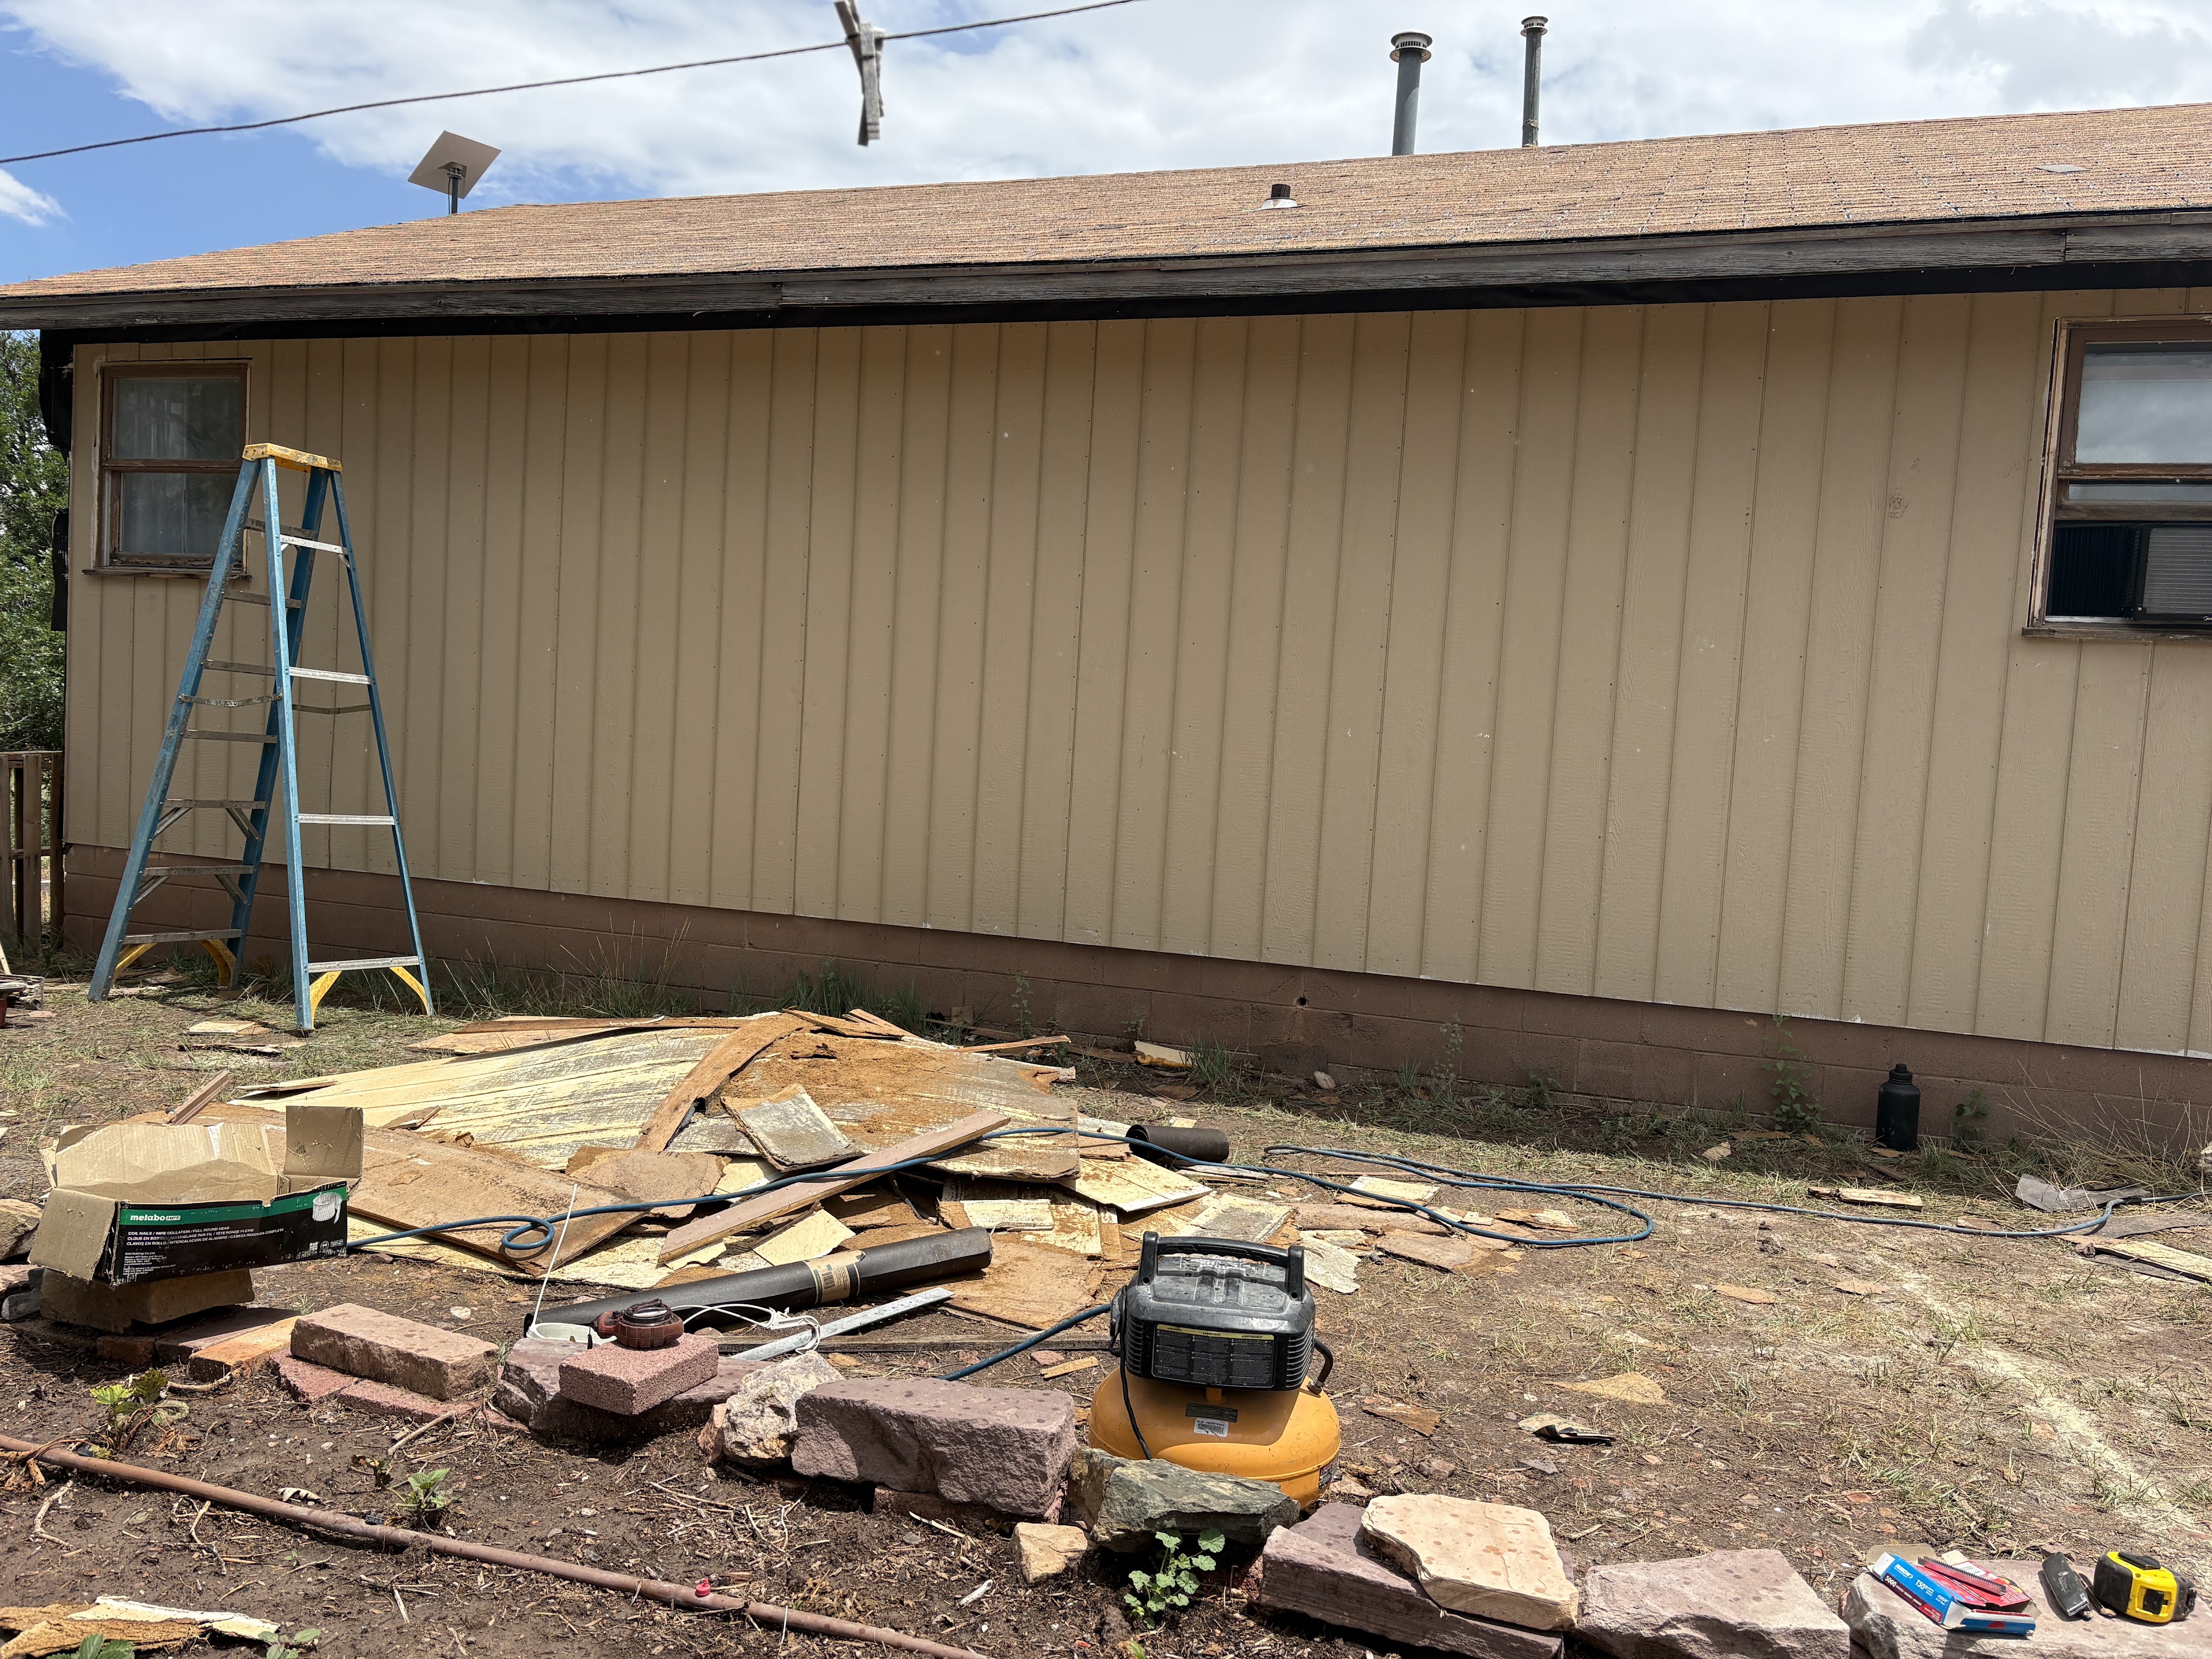
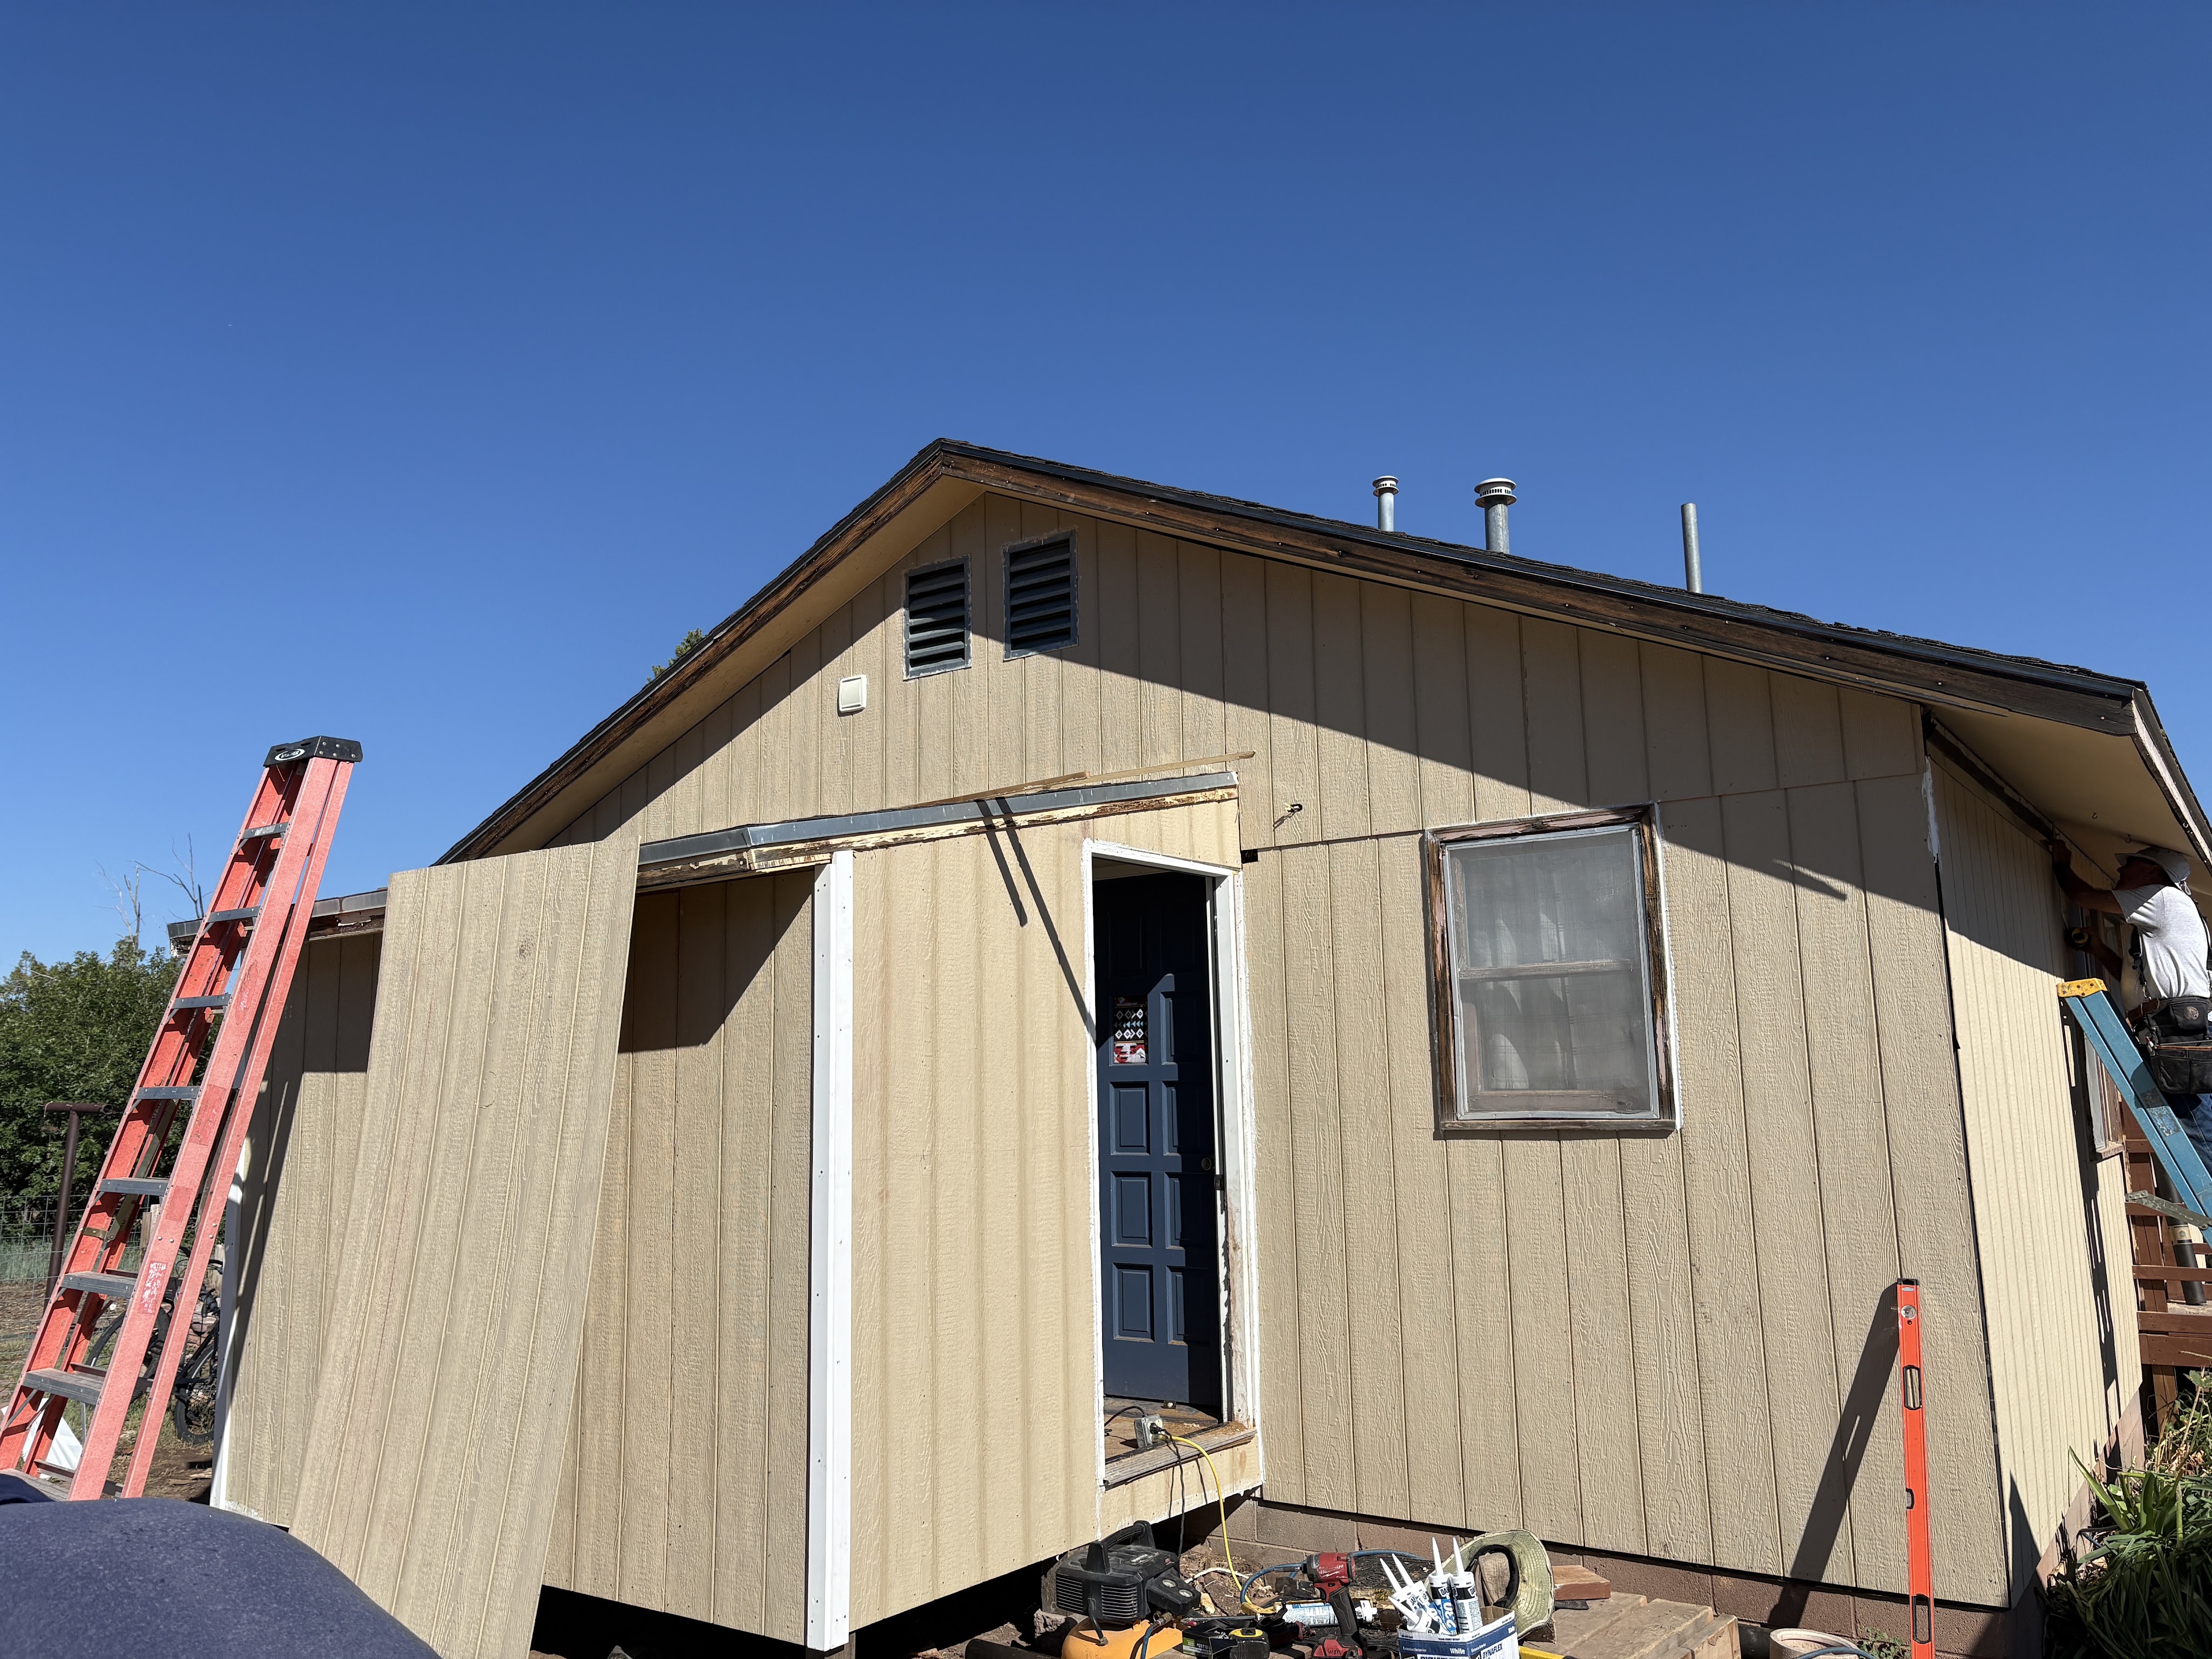
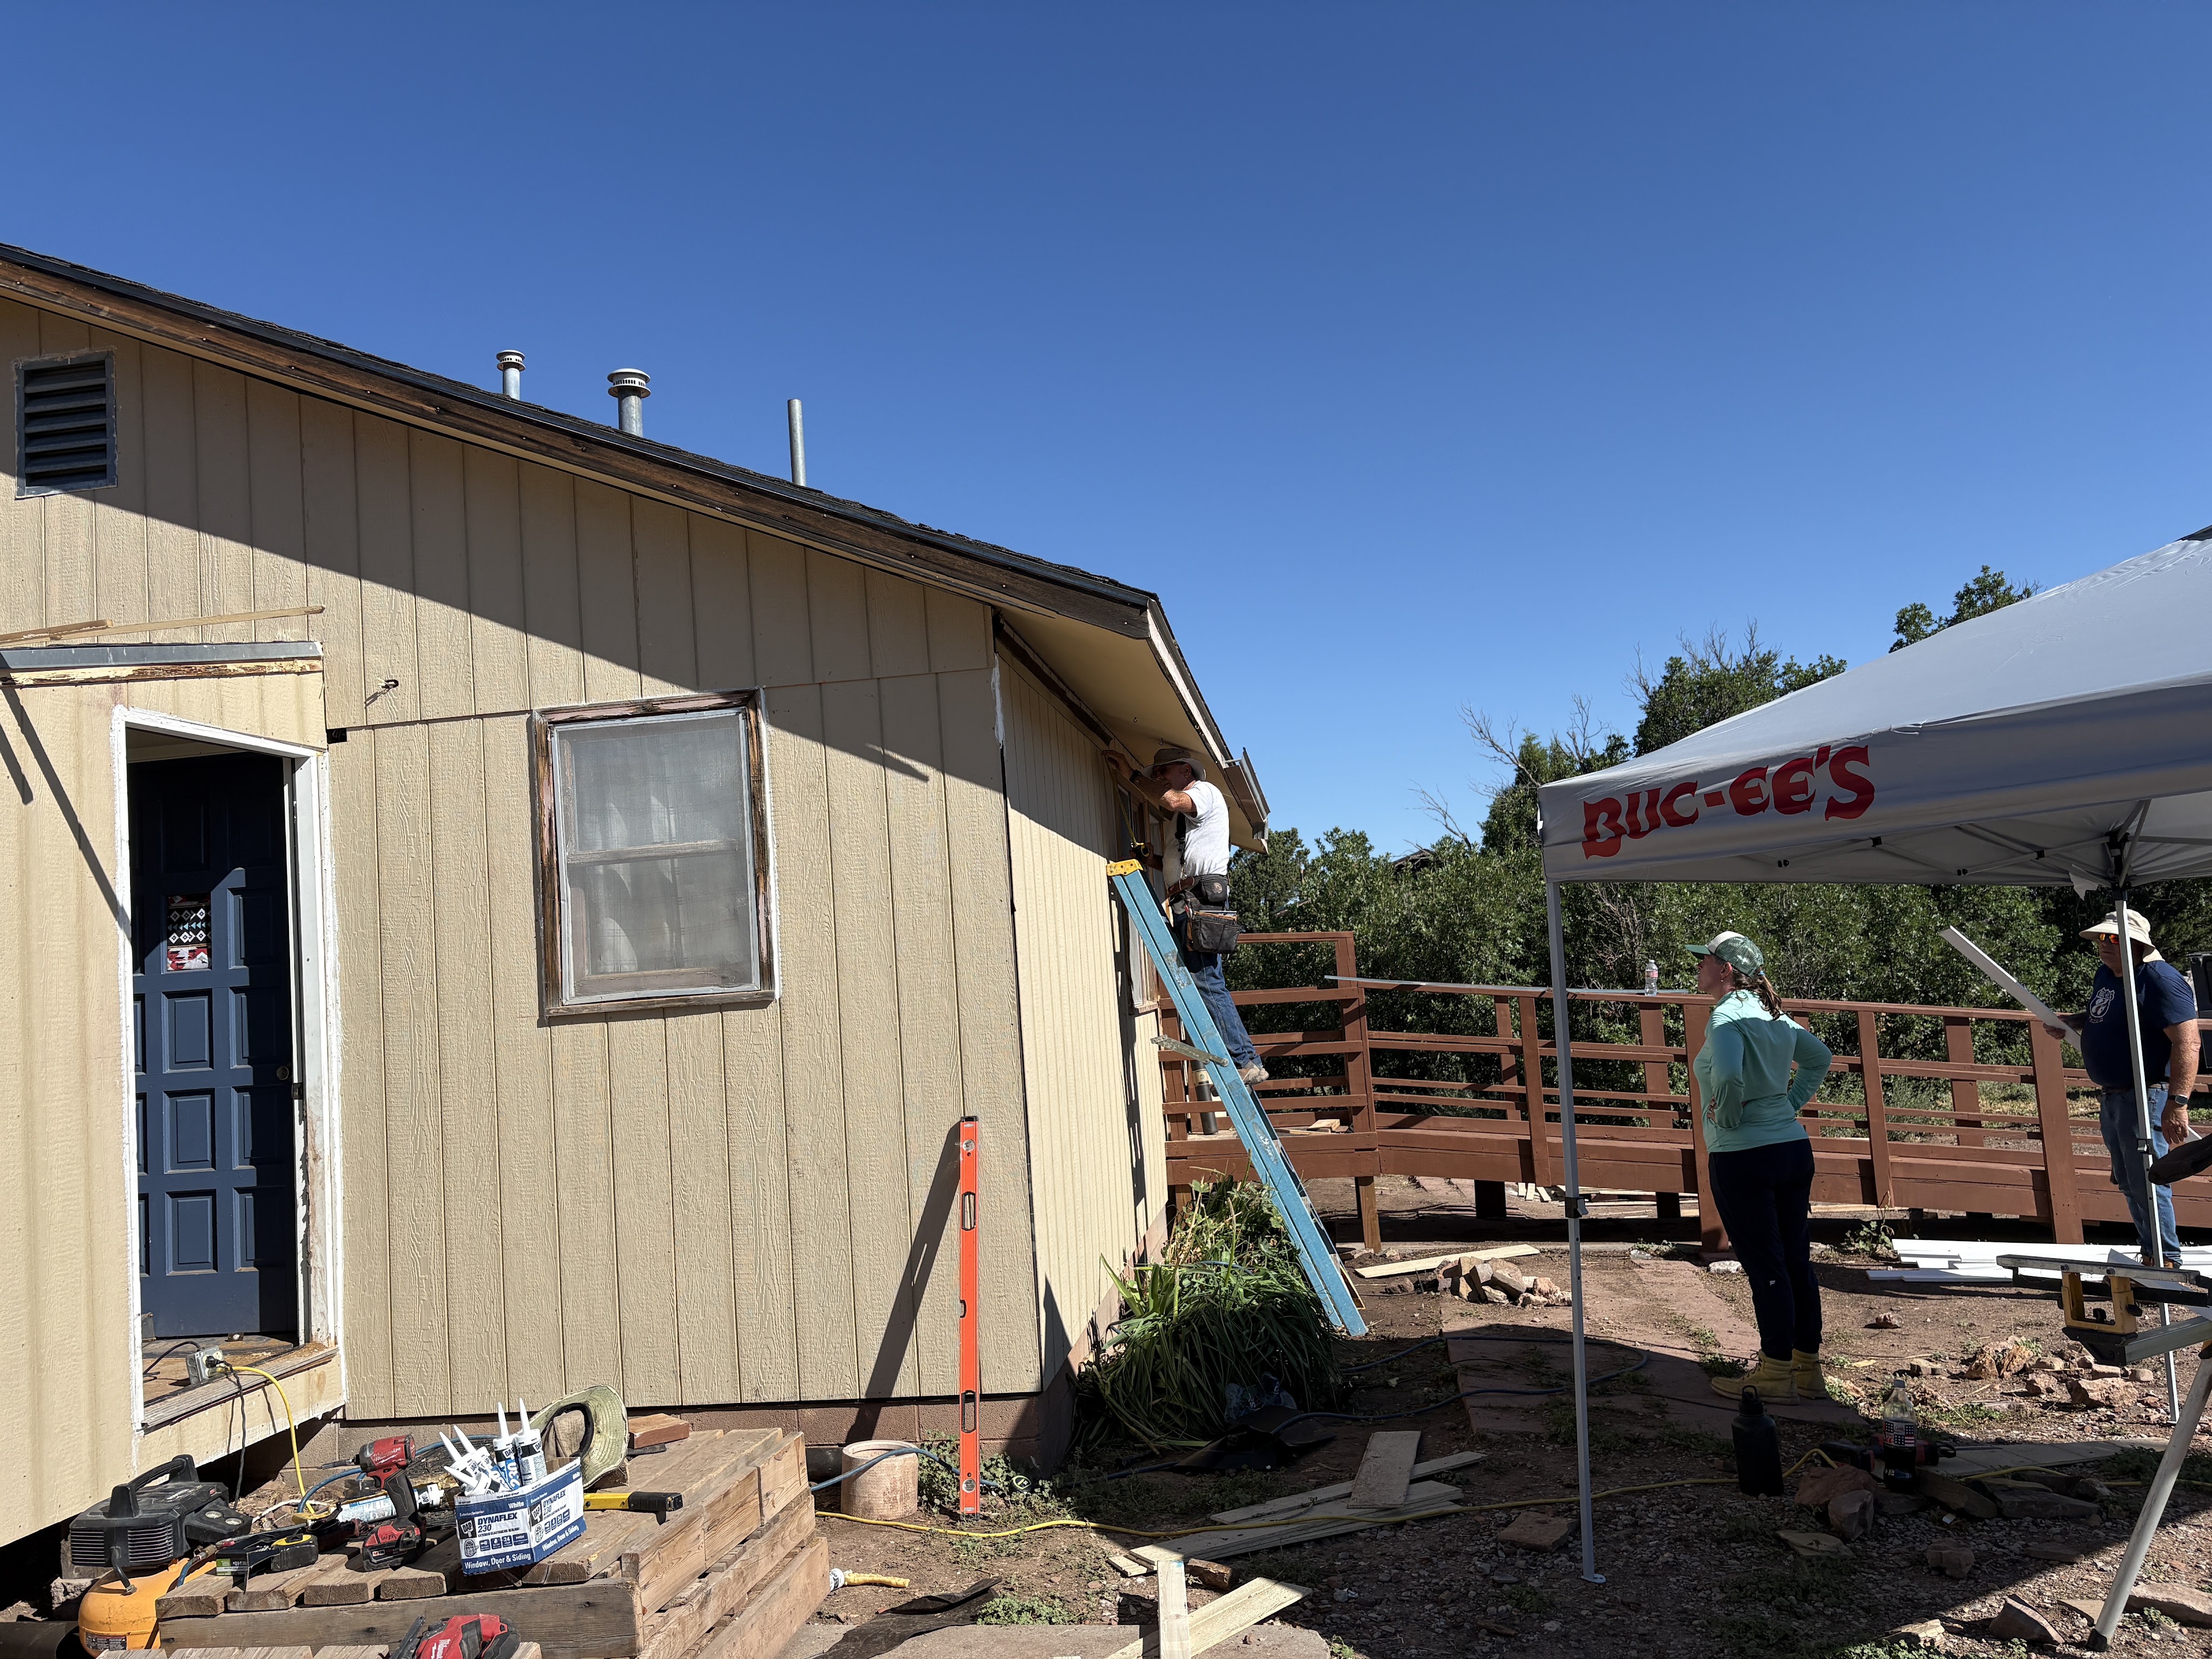
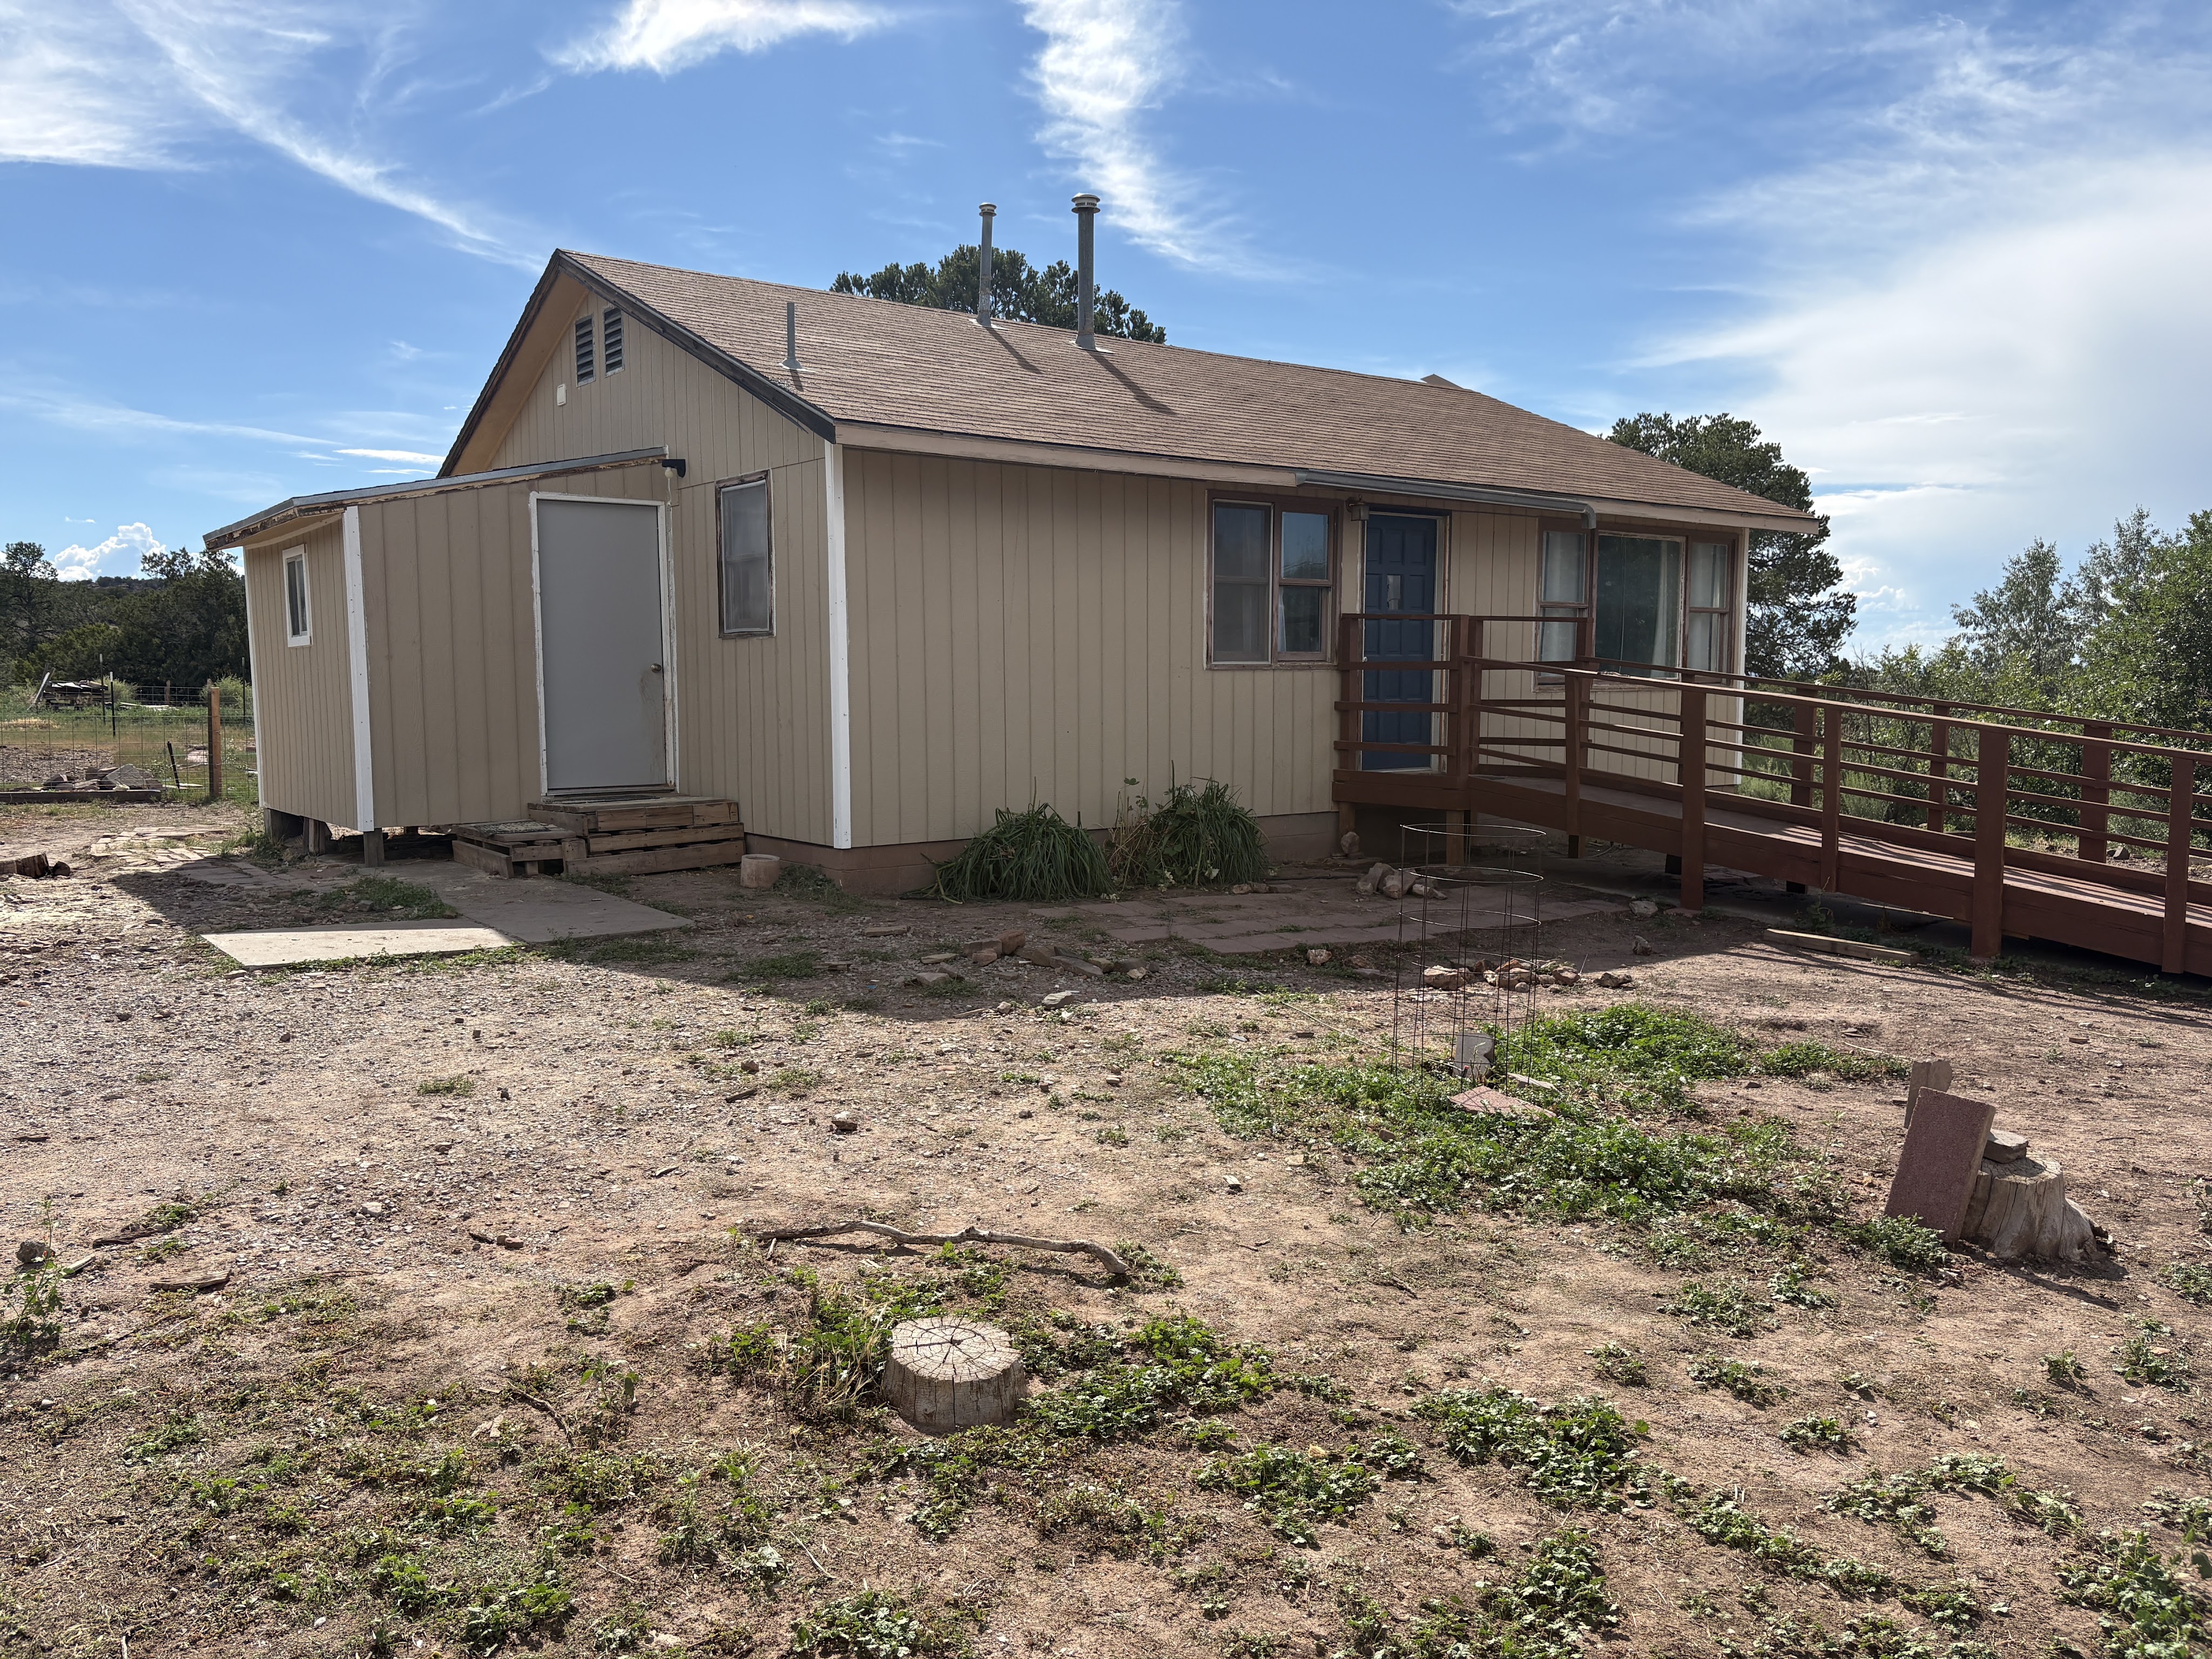
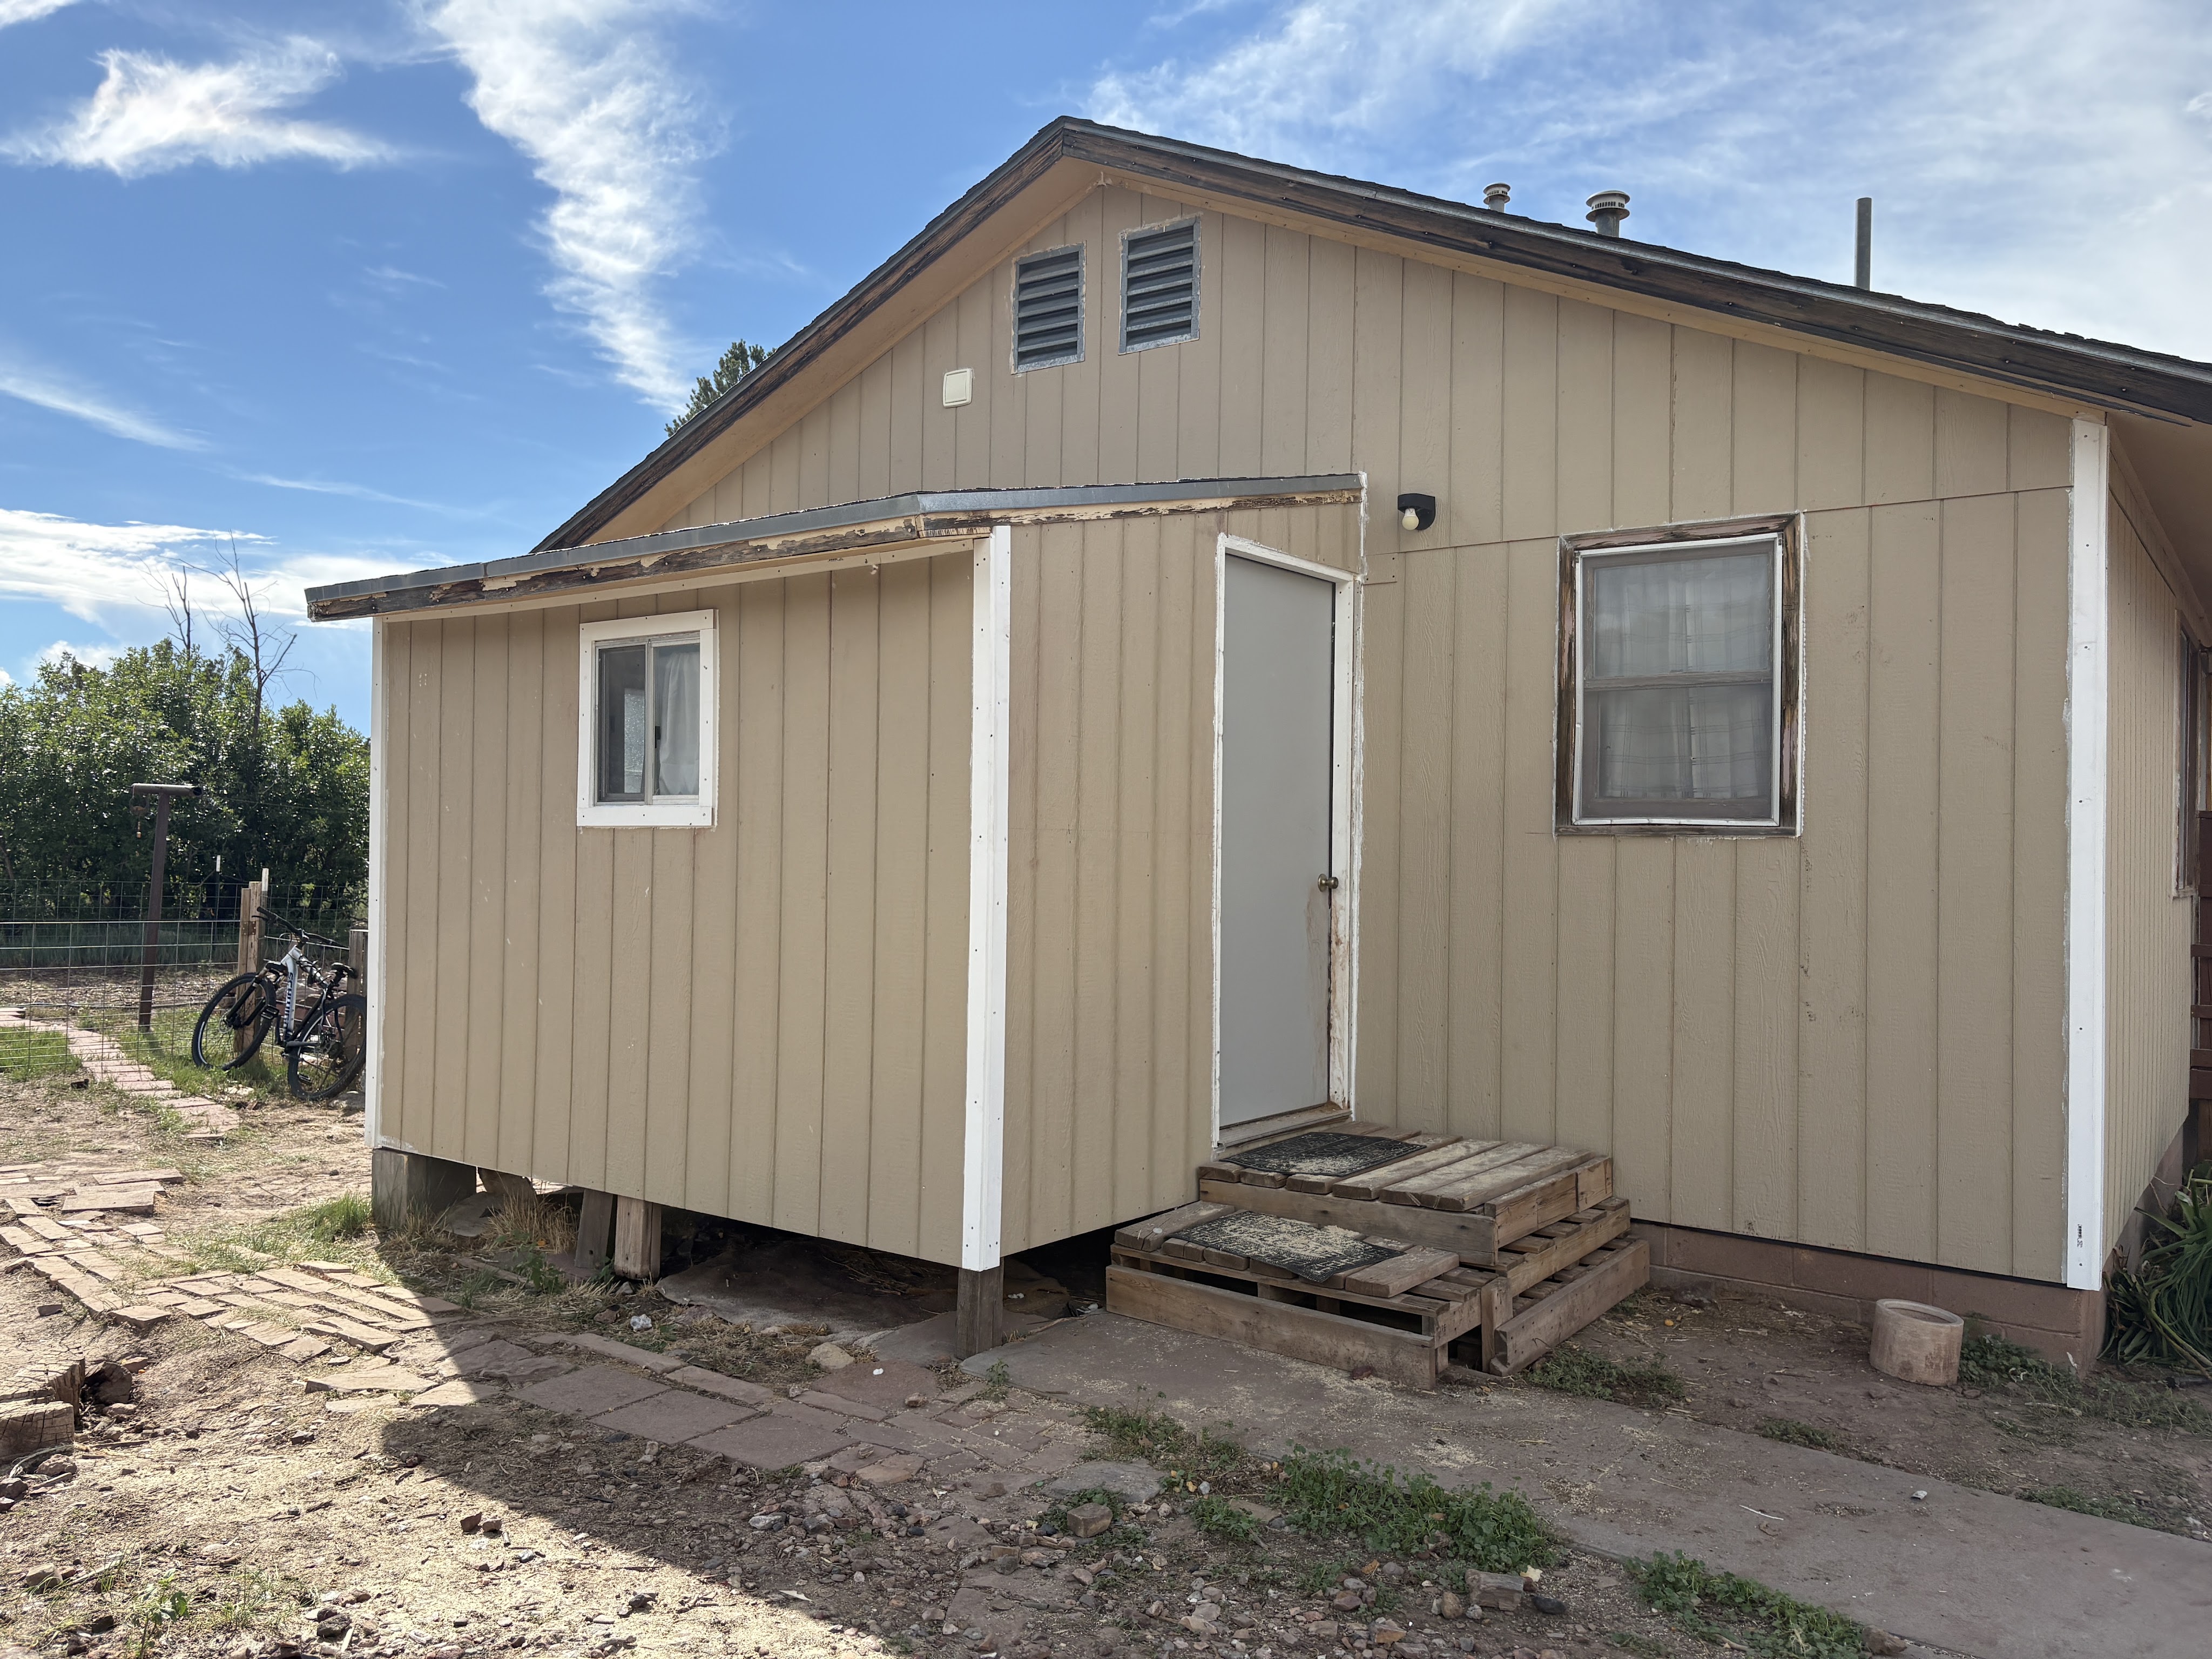
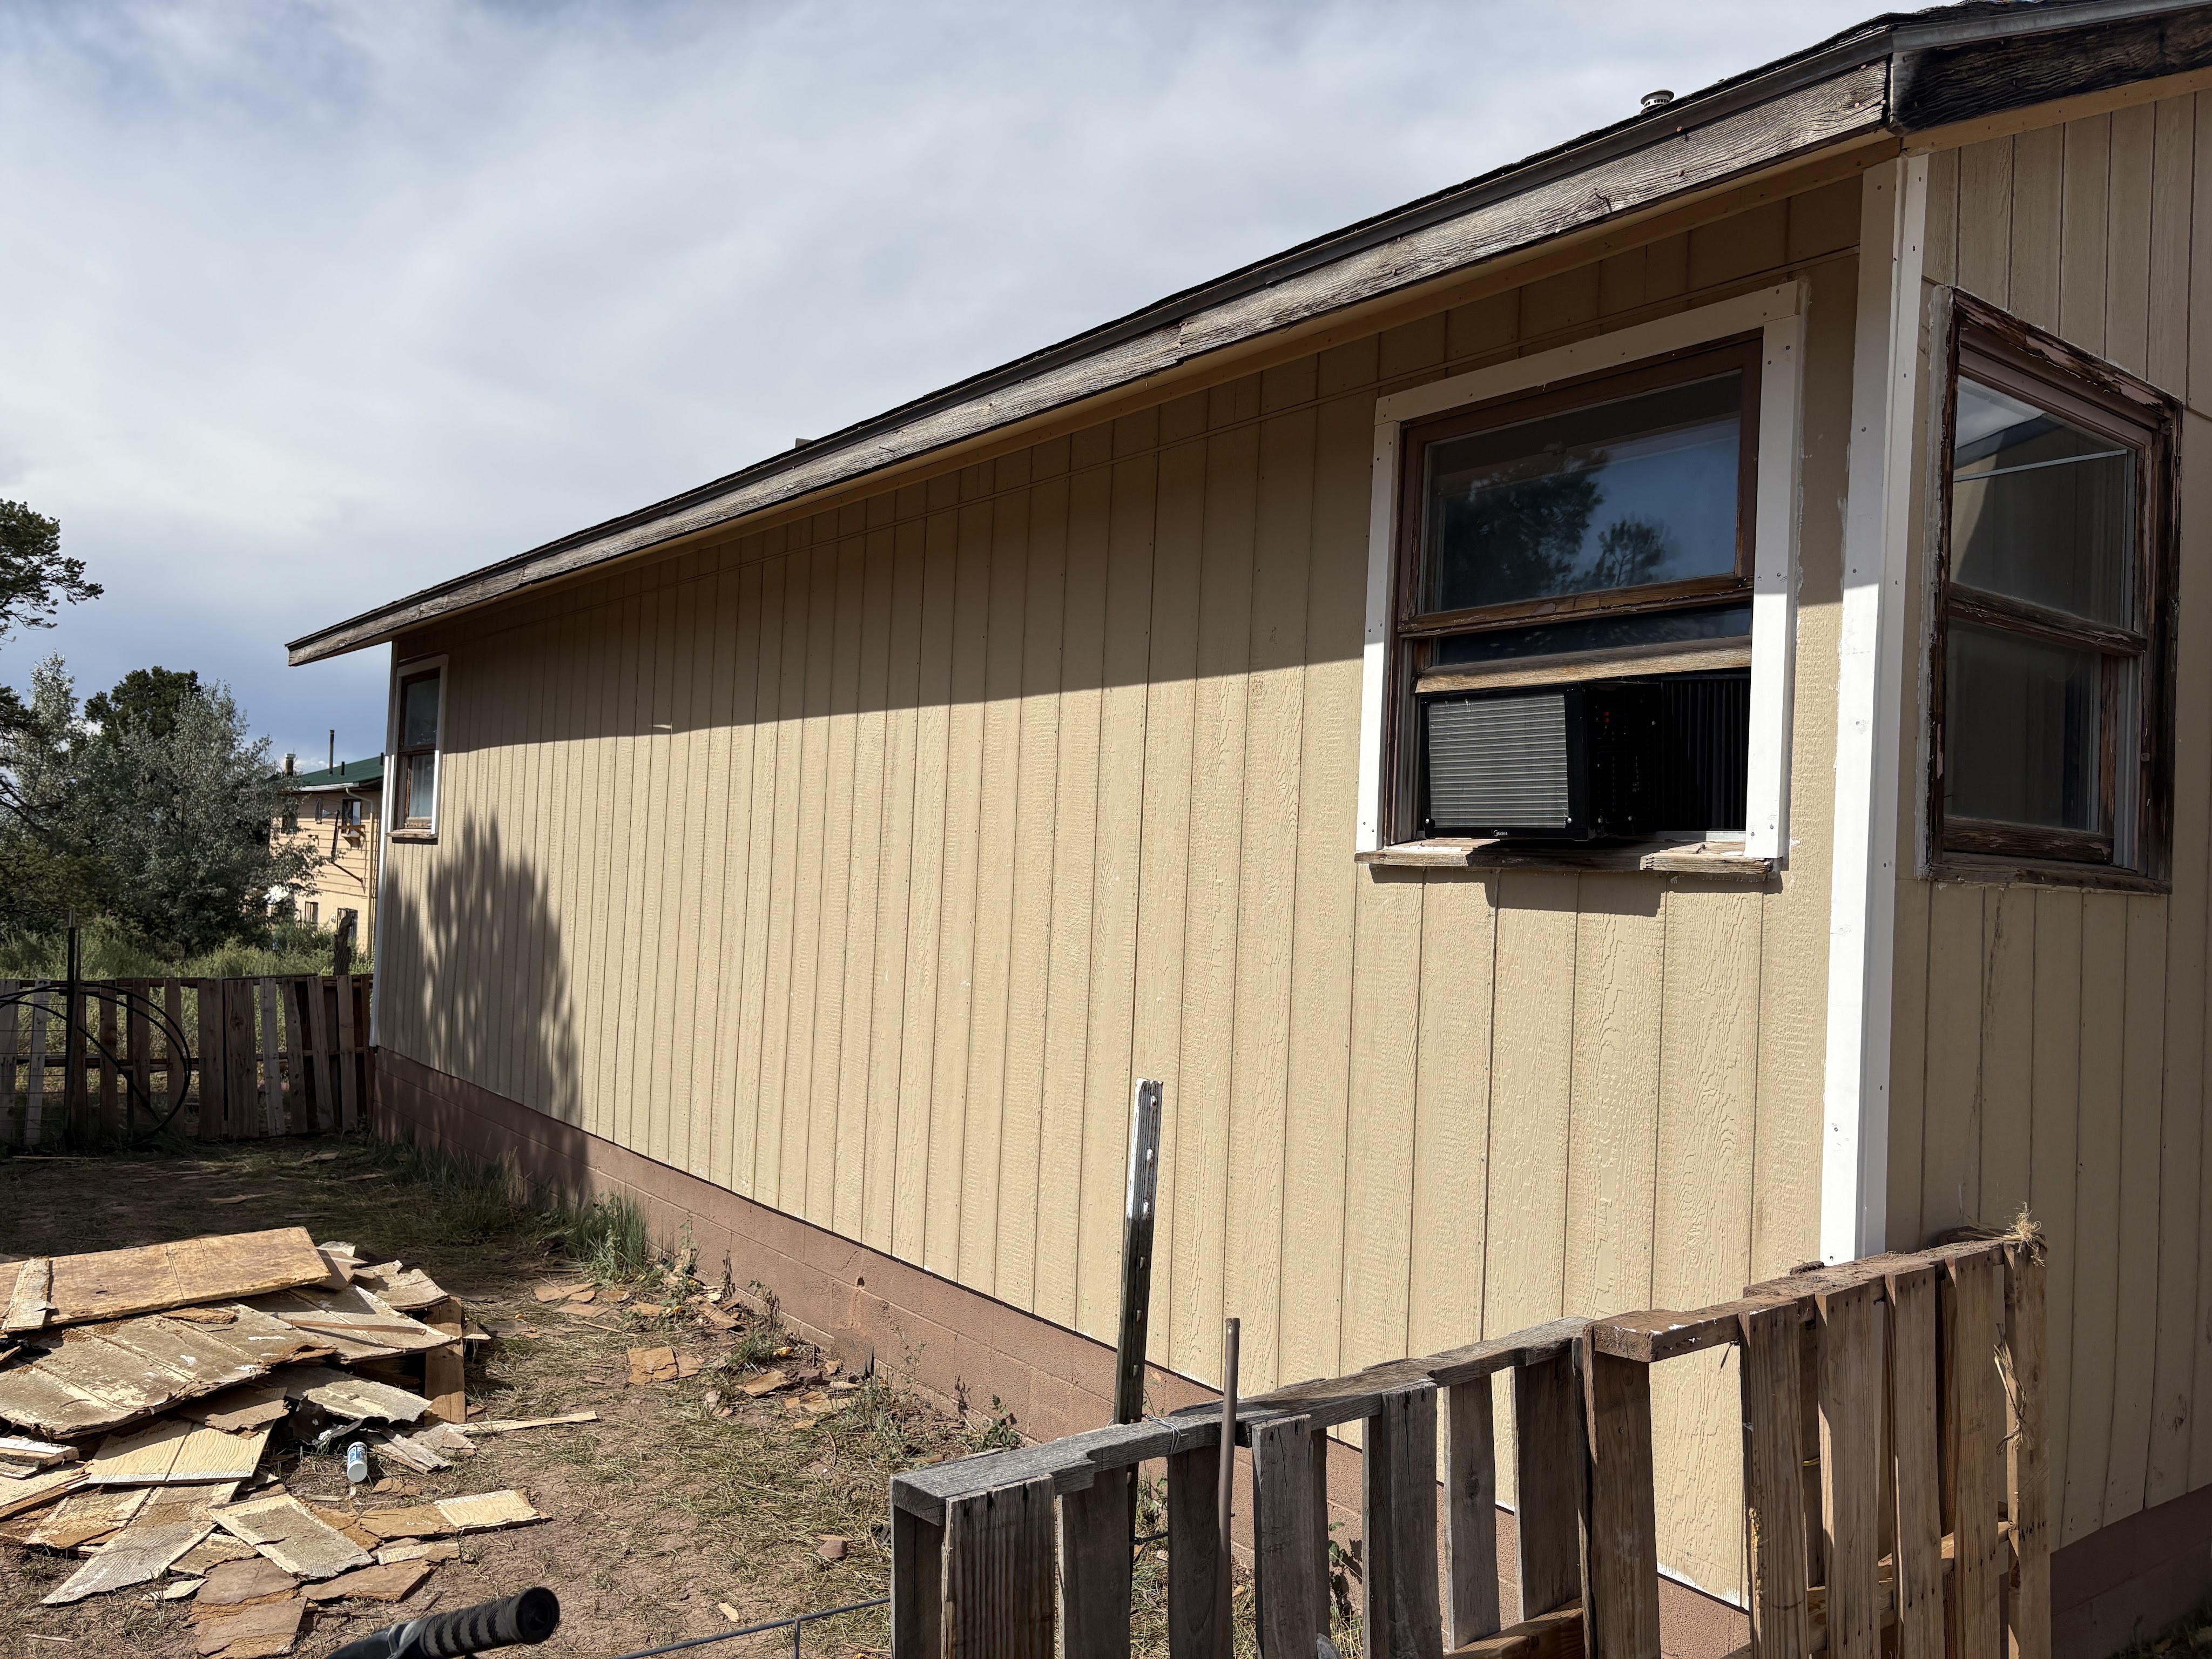
This was day one of our mission trip. We met the rest of the church at their hotel and split up. Cristy went with the ladies to do vacation Bible school at Crownpoint, NM, while followed the guys to Fort Wingate, NM. Both are Navajo owned but not exactly reservation land. It’s a crazy checkerboard of NM, US Govt, Navajo, Hopi, and Zuni owned land. We were on Navajo land, across the street it’s owned by the US Government. Nuts. We set about replacing the siding on a parsonage at a church at Fort Wingate. The ladies did VBS in the morning and painting in the afternoon. Cristy didn’t take part in painting due to health concerns. She provided a very important service and delivered lunch to us along with an Elder’s wife.
In the evening around 4pm or so we’d all head back, take a shower and then gather at the home of a woman who used to attend our church in Ripon but then moved to Gallup to take care of her mother. She cooked us dinner each night and then we have a devotional and then sing hymns and praise songs.
Day 5:
See Day 4 with the exception of meeting at the hotel. I would drop Cristy off at the house we had dinner at and then continue on to Fort Wingate for the days’ work. My main job was to help hold tar paper and siding up while our lone contractor, Wayne, used his nail gun to tack it into place. My other job was to locate and hand Wayne the wrong tool. It’s a gift.
Day 6:
See Day 5.
Day 7:
This was our last day. We had made quite a bit of progress on the house but there was still a lot to do. There was still some siding to put up, like the fiddley bits around the doors and windows. All the corners and trim needed to be caulked. Finally I was able to do something I knew how to do! I spent the entire day Friday sealing seams and gaps on the entire exterior of that home. Feathering it all in so that the painters (of whom the legends foretold would show up at some later date… probably) would have an easy time painting it all up to make it look good. Each day I showed up I was slightly less sore than the day before and somehow we knocked it all out on the last day. Dinner that night felt really good. As did all the comradery that had built up between us over the week. We had gone from folks we see weekly at church, people who we smile and say good morning to, to a team that finally learned how to work really well together. There were no disagreements or fights, just a group of people who banded together in jovial, tired yet hopeful desperation to complete the project. And we did complete the project.



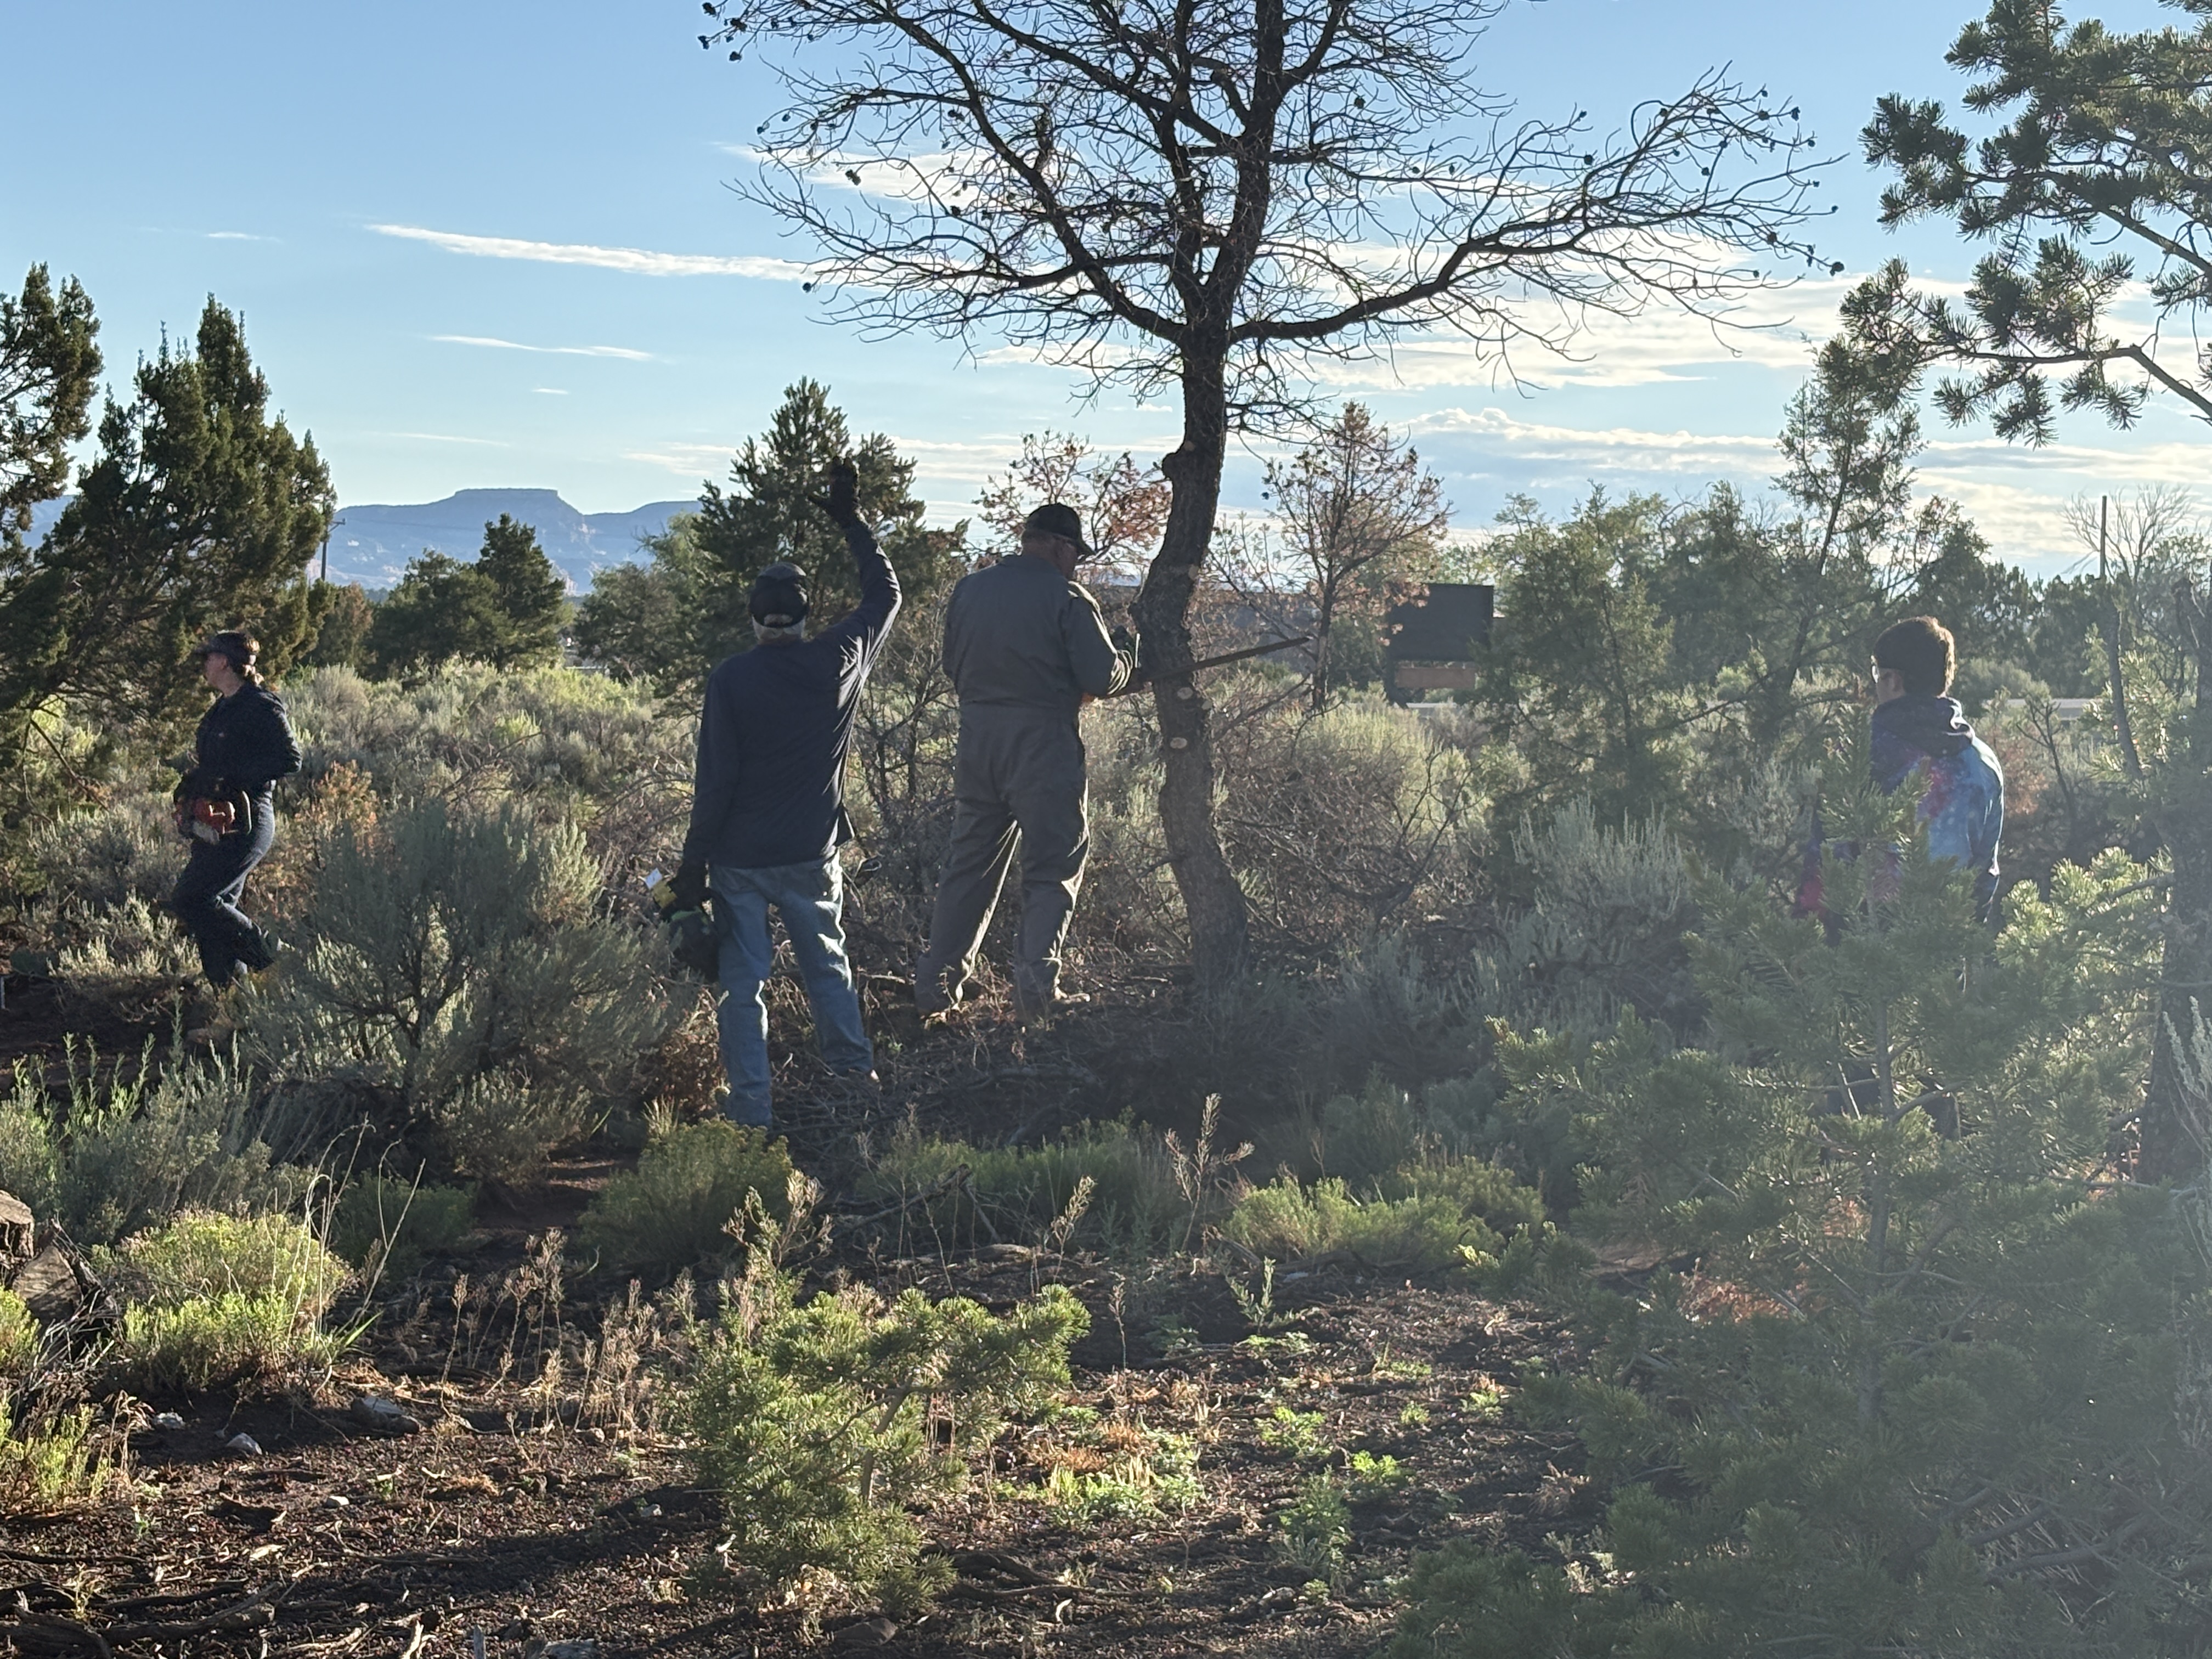
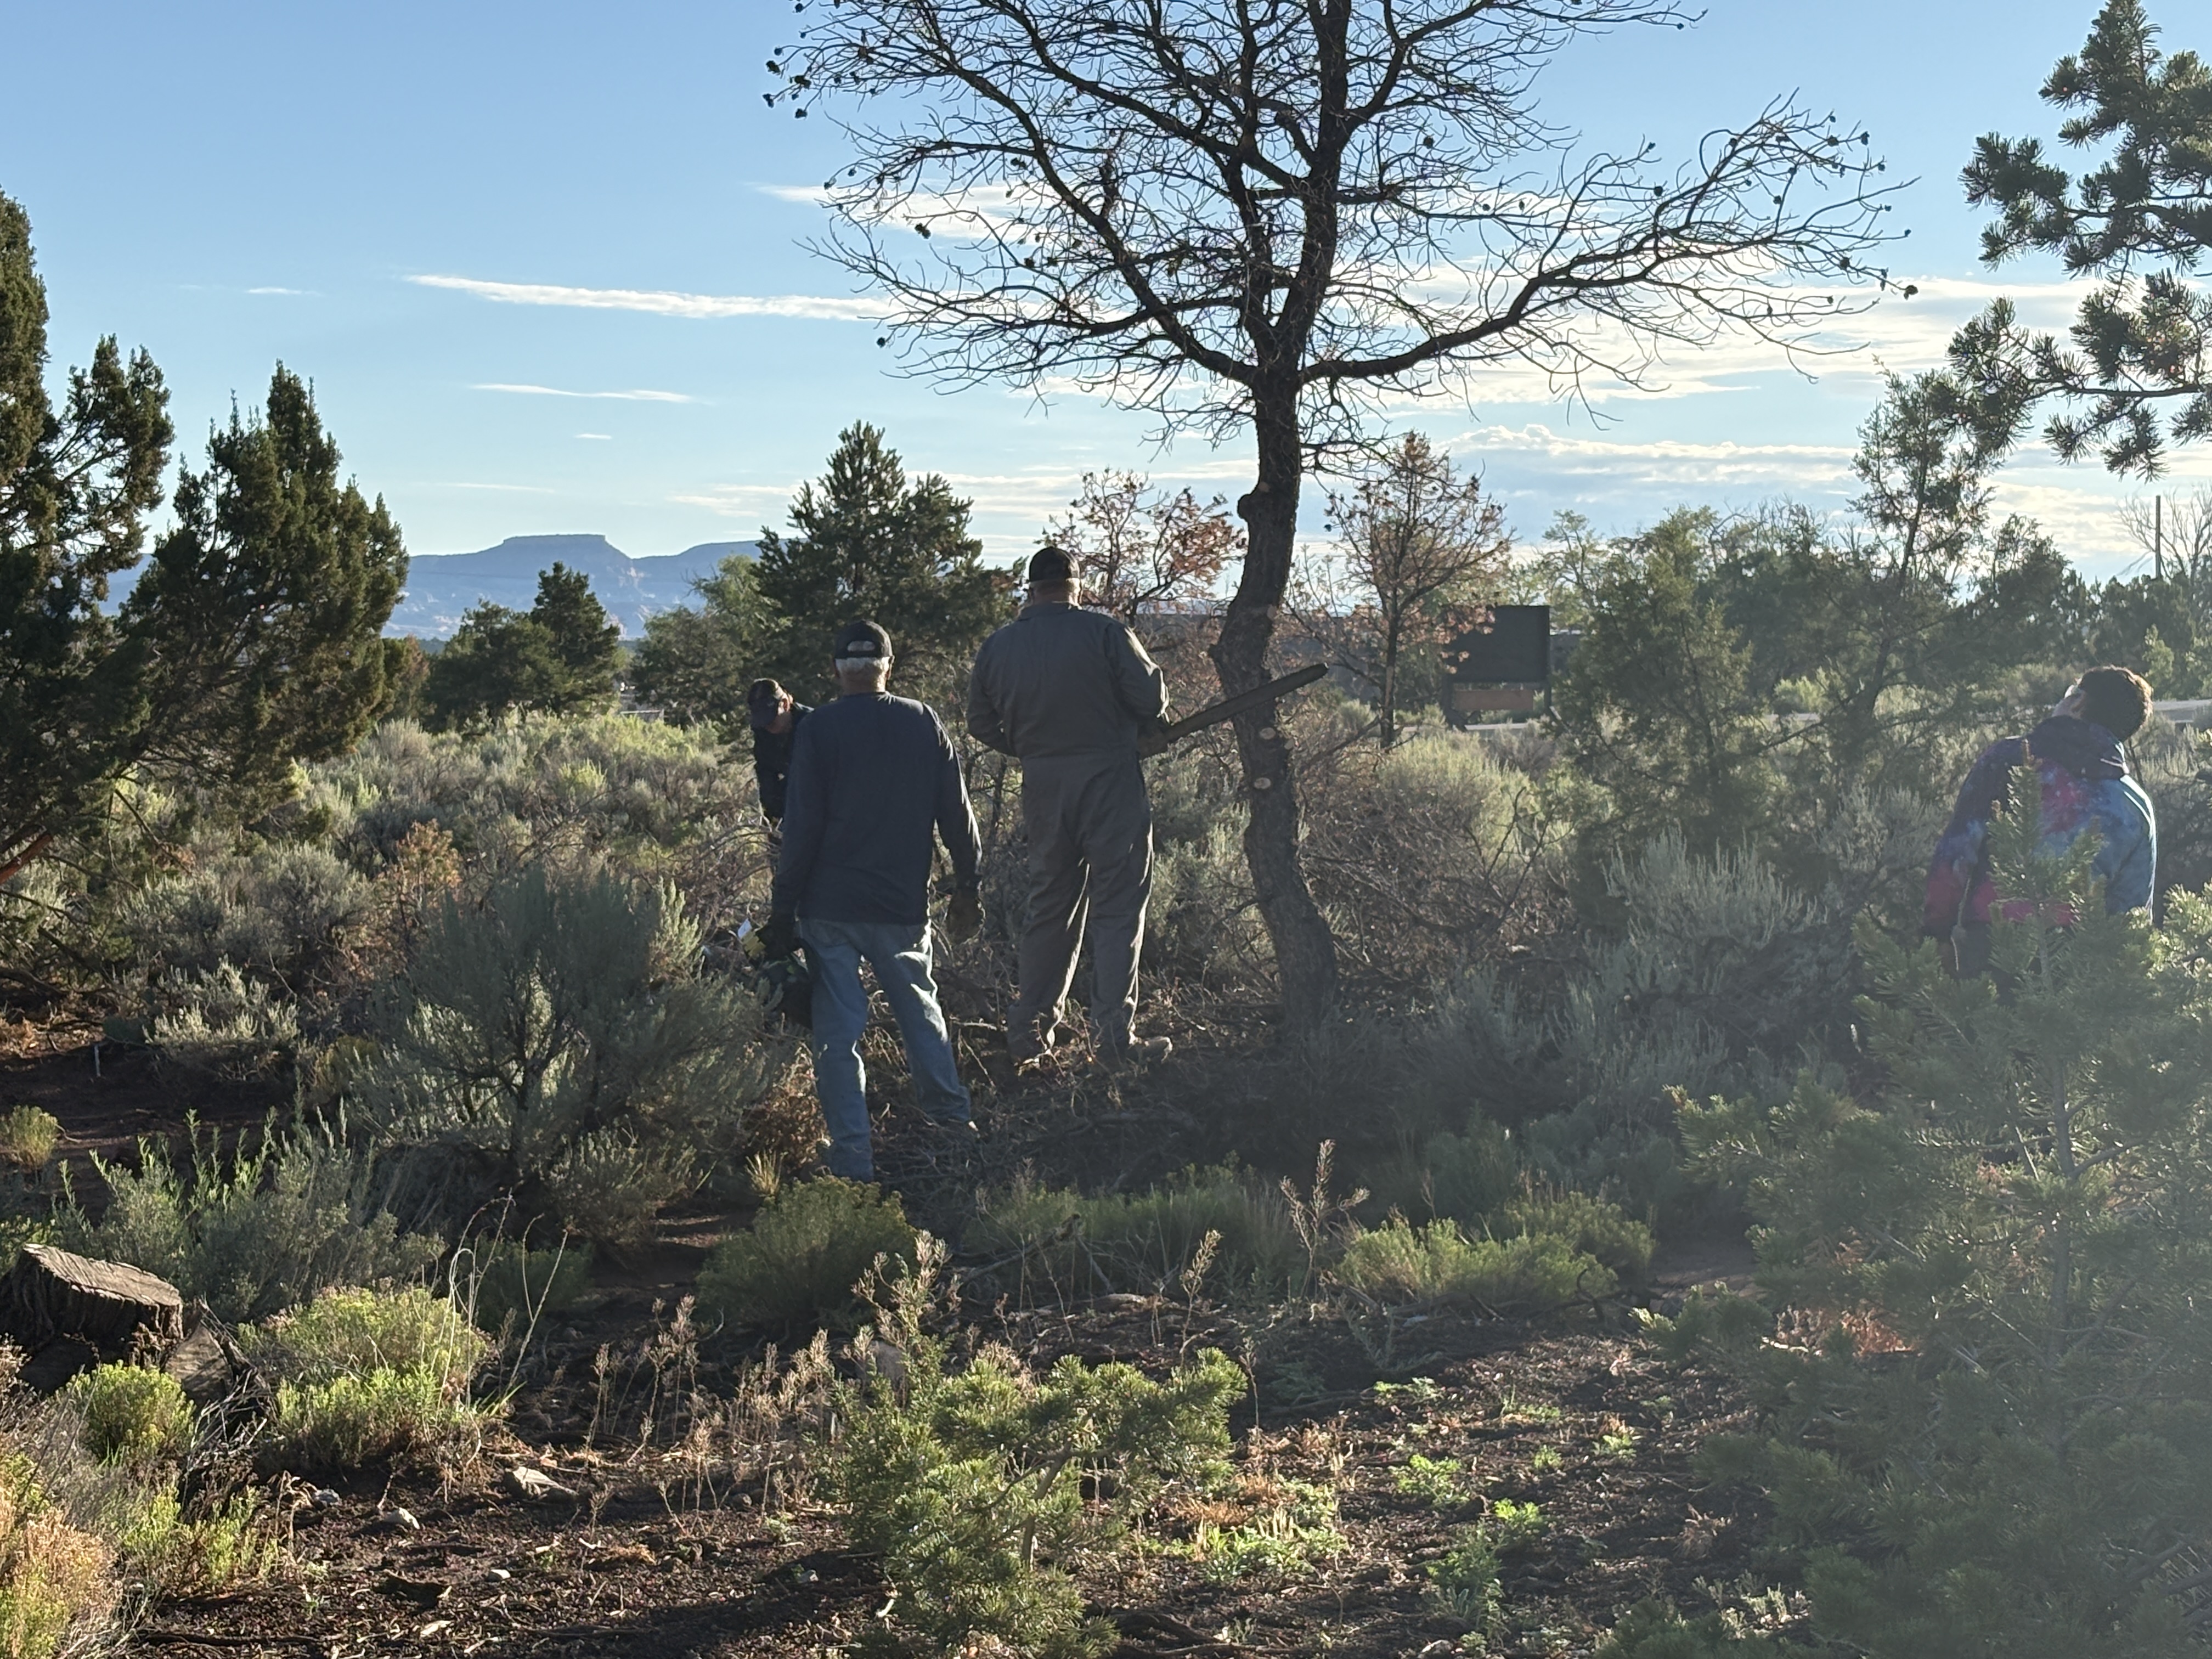
There is a third group I forgot to mention, they were out cutting diseased trees, mostly Pinon, so that the wood could be sold for firewall and/or used by the local tribes.
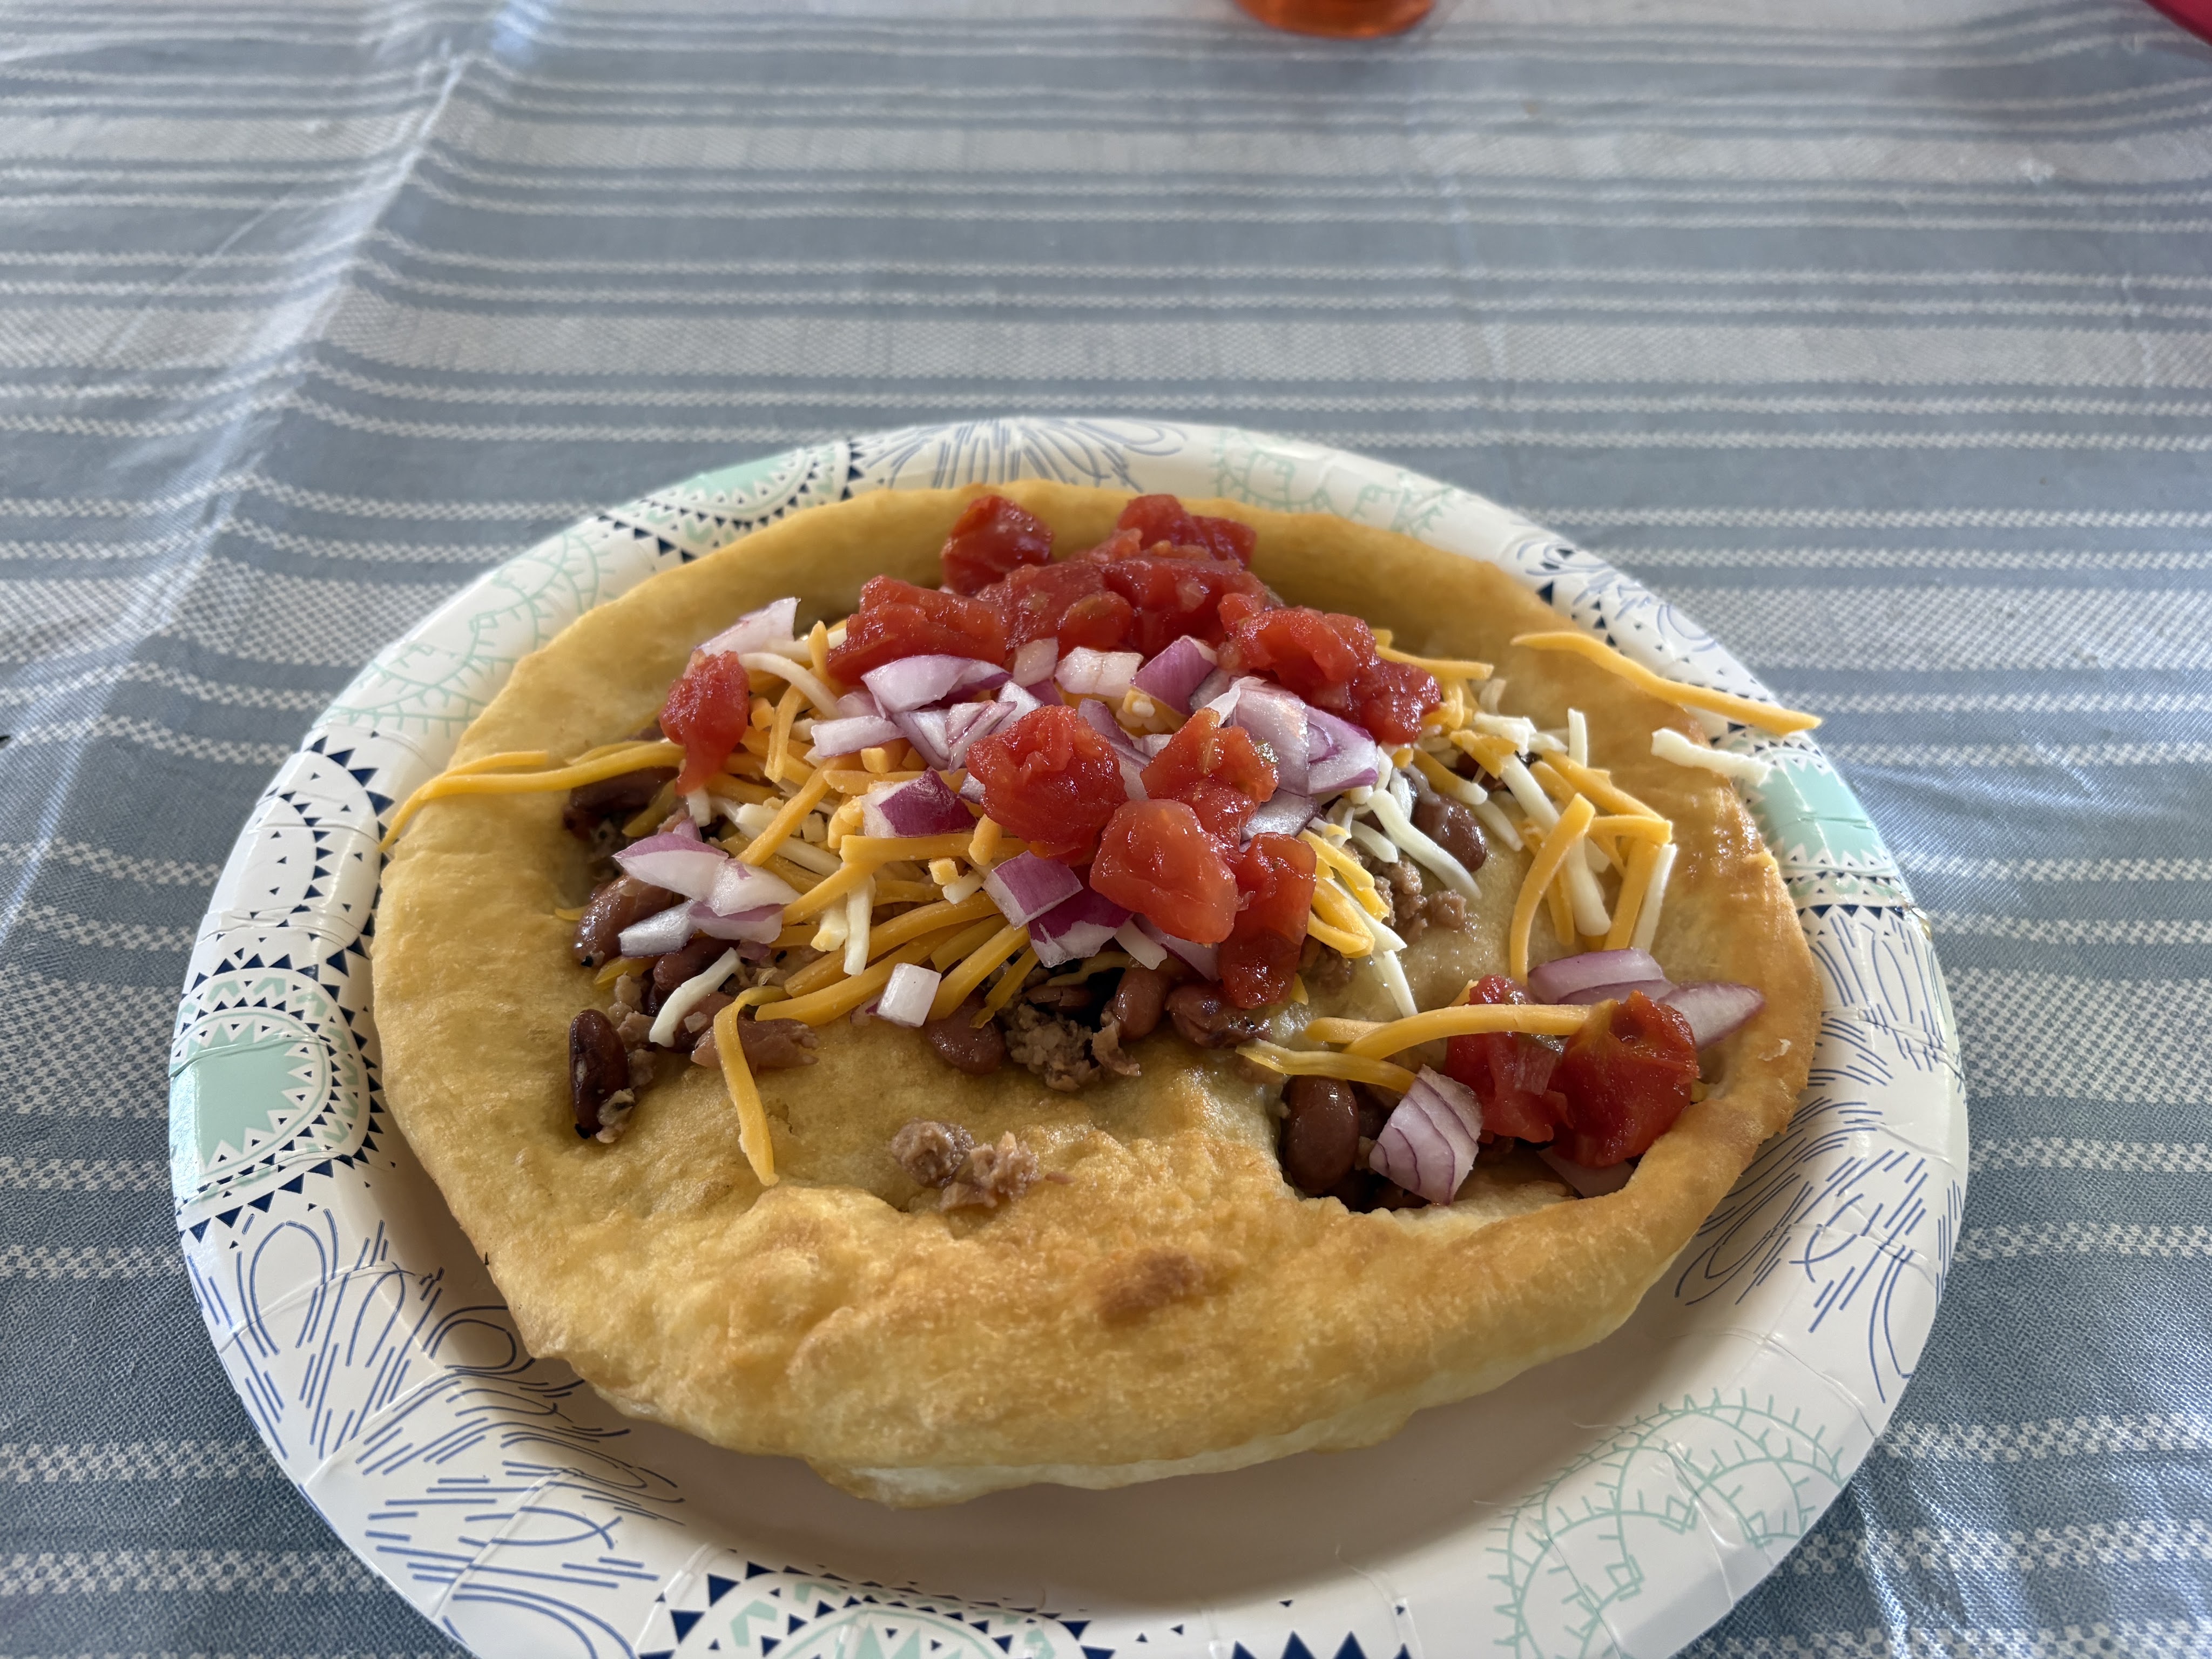
To show their appreciation, two of the local Navajo ladies cooked us some fry bread, meat, beans, and served us lunch on Friday. I called it Navajo pizza!
Day 8:
By now we’re up to Saturday. The bulk of the group was driving back to Ripon after an overnight stay in Kingman. We decided to head on a little further to Santa Fe since we’d never been there. It was about a 4 hour drive from Gallup to Santa Fe Skis RV Park on the southeast side of the city. We stayed 3 nights so that we could have two full days to explore the city. The first half of the first full day there was set aside for a (you guessed it) POTA activation. I activated Santa Fe National Forest and Hyde Memorial State Park simultaneously. Later we drove down into the city and let Cristy do a little shopping therapy.
Day 9:
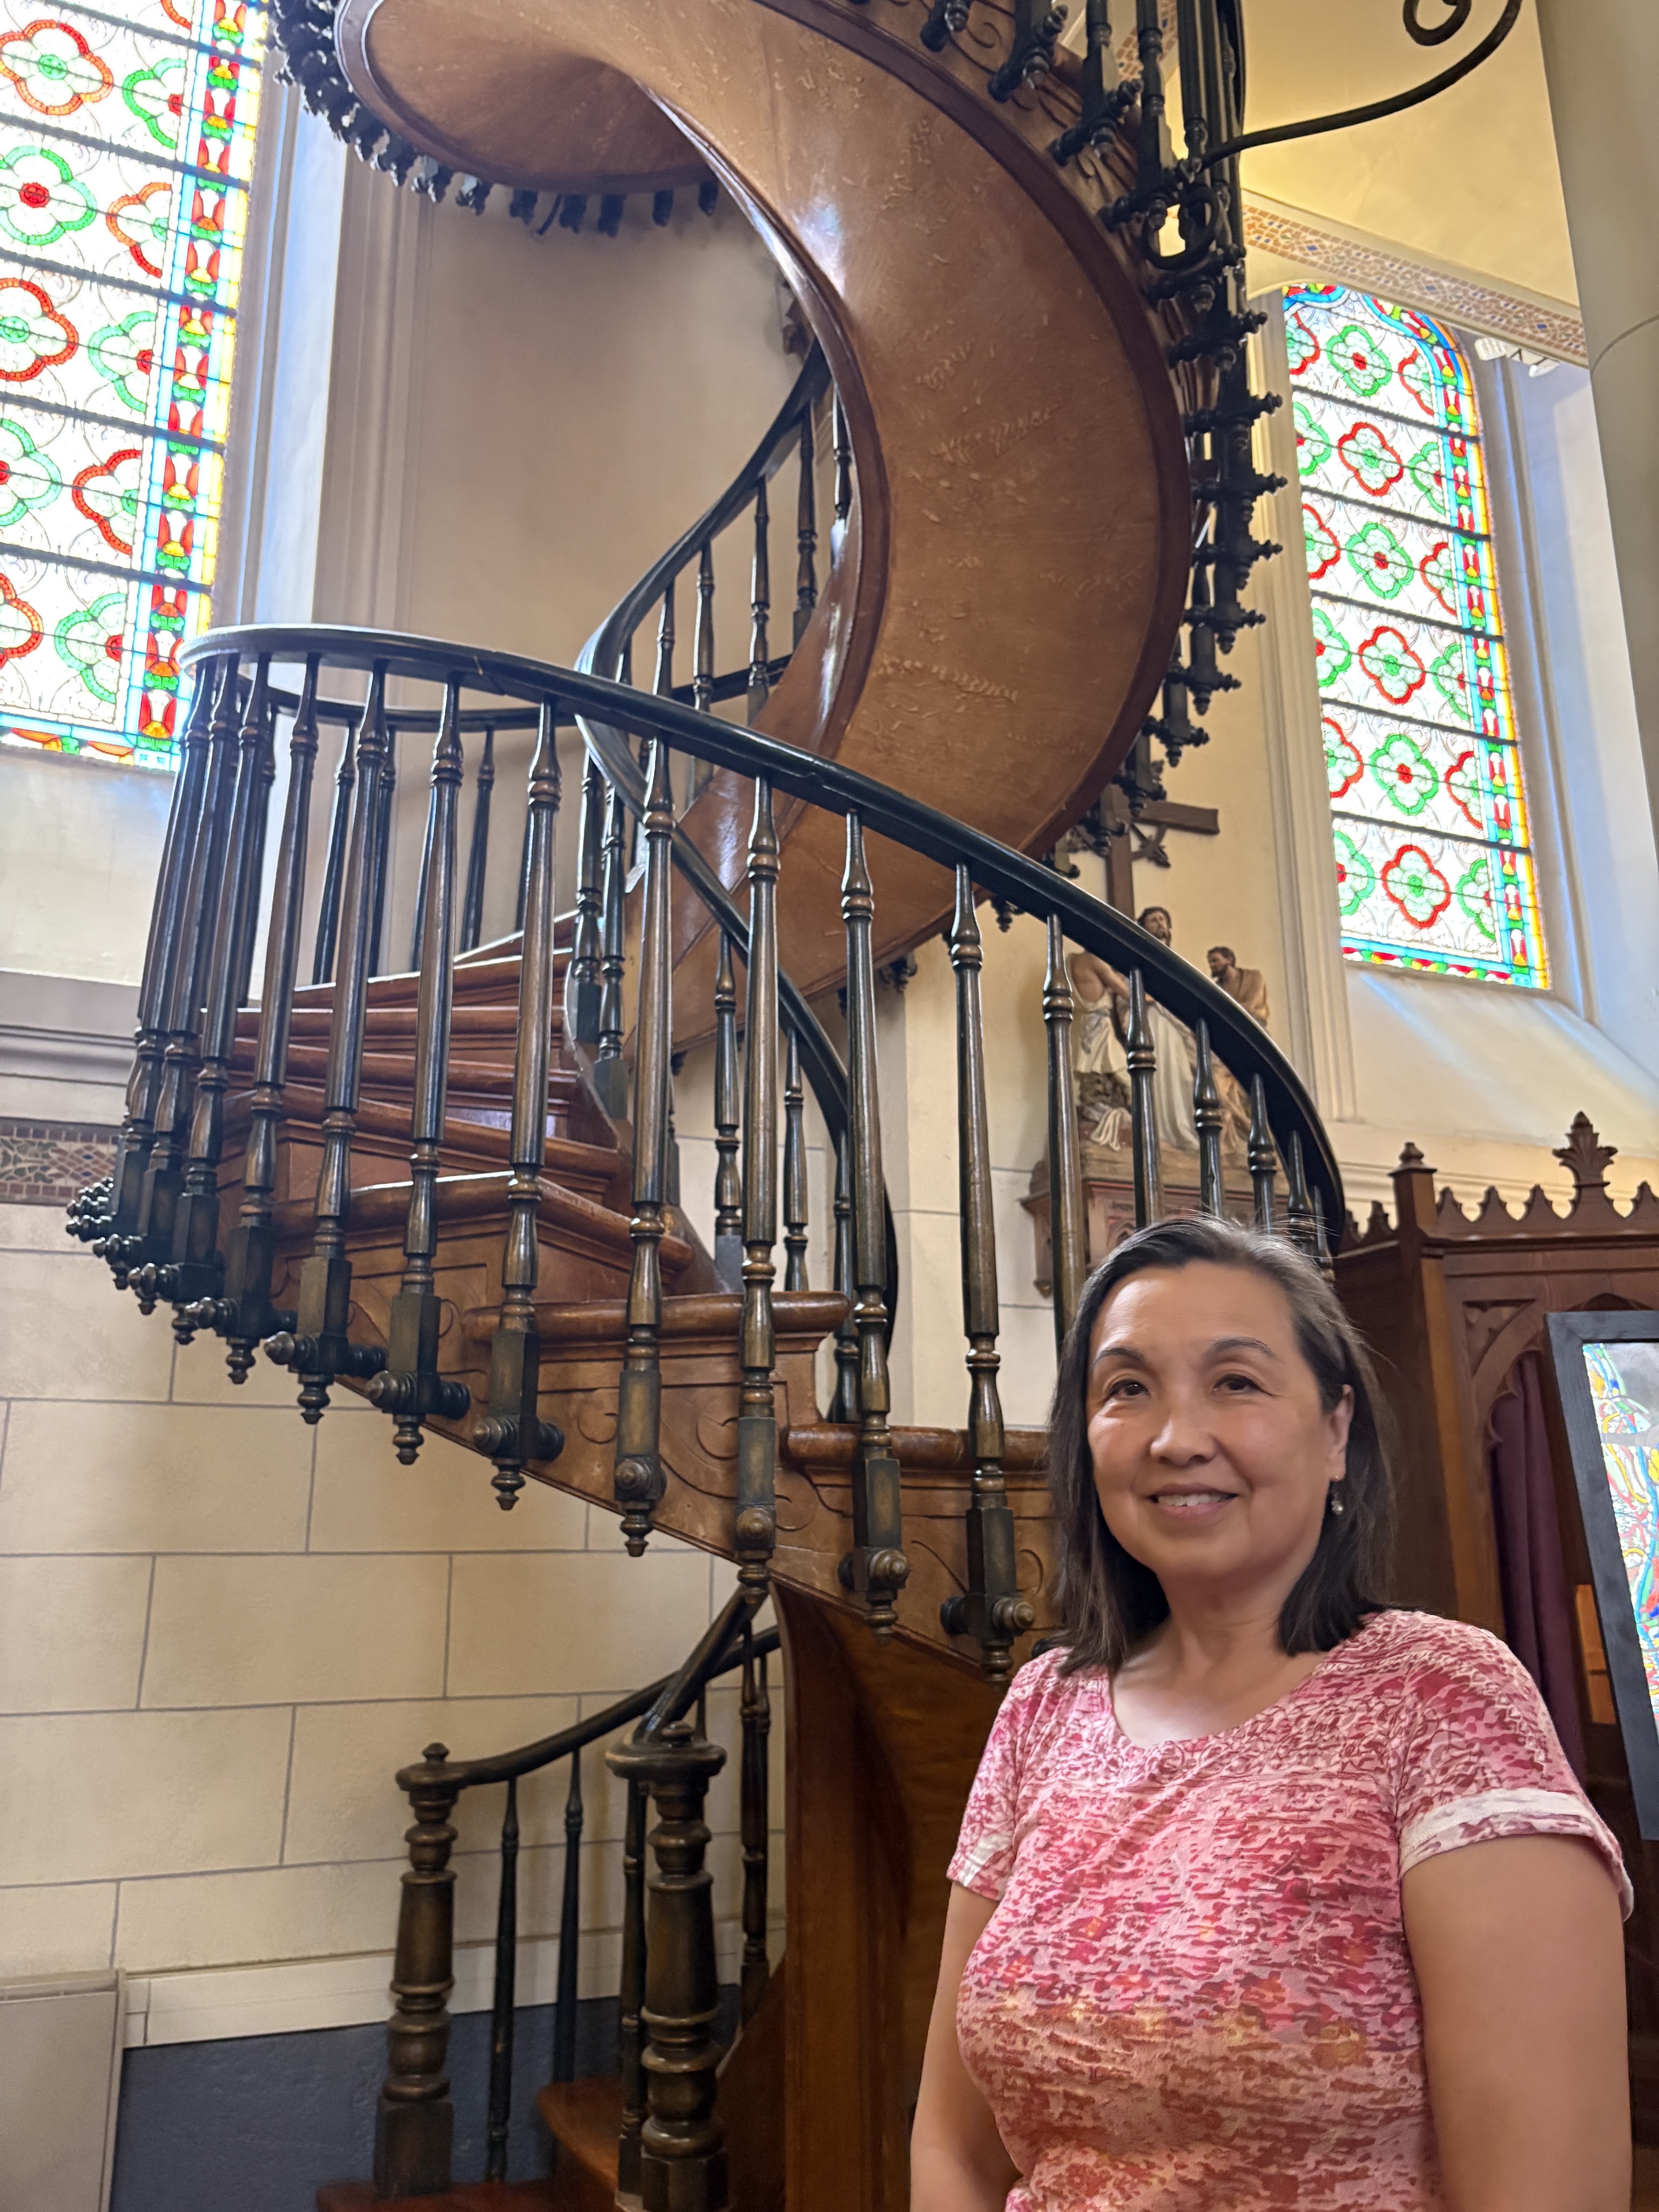
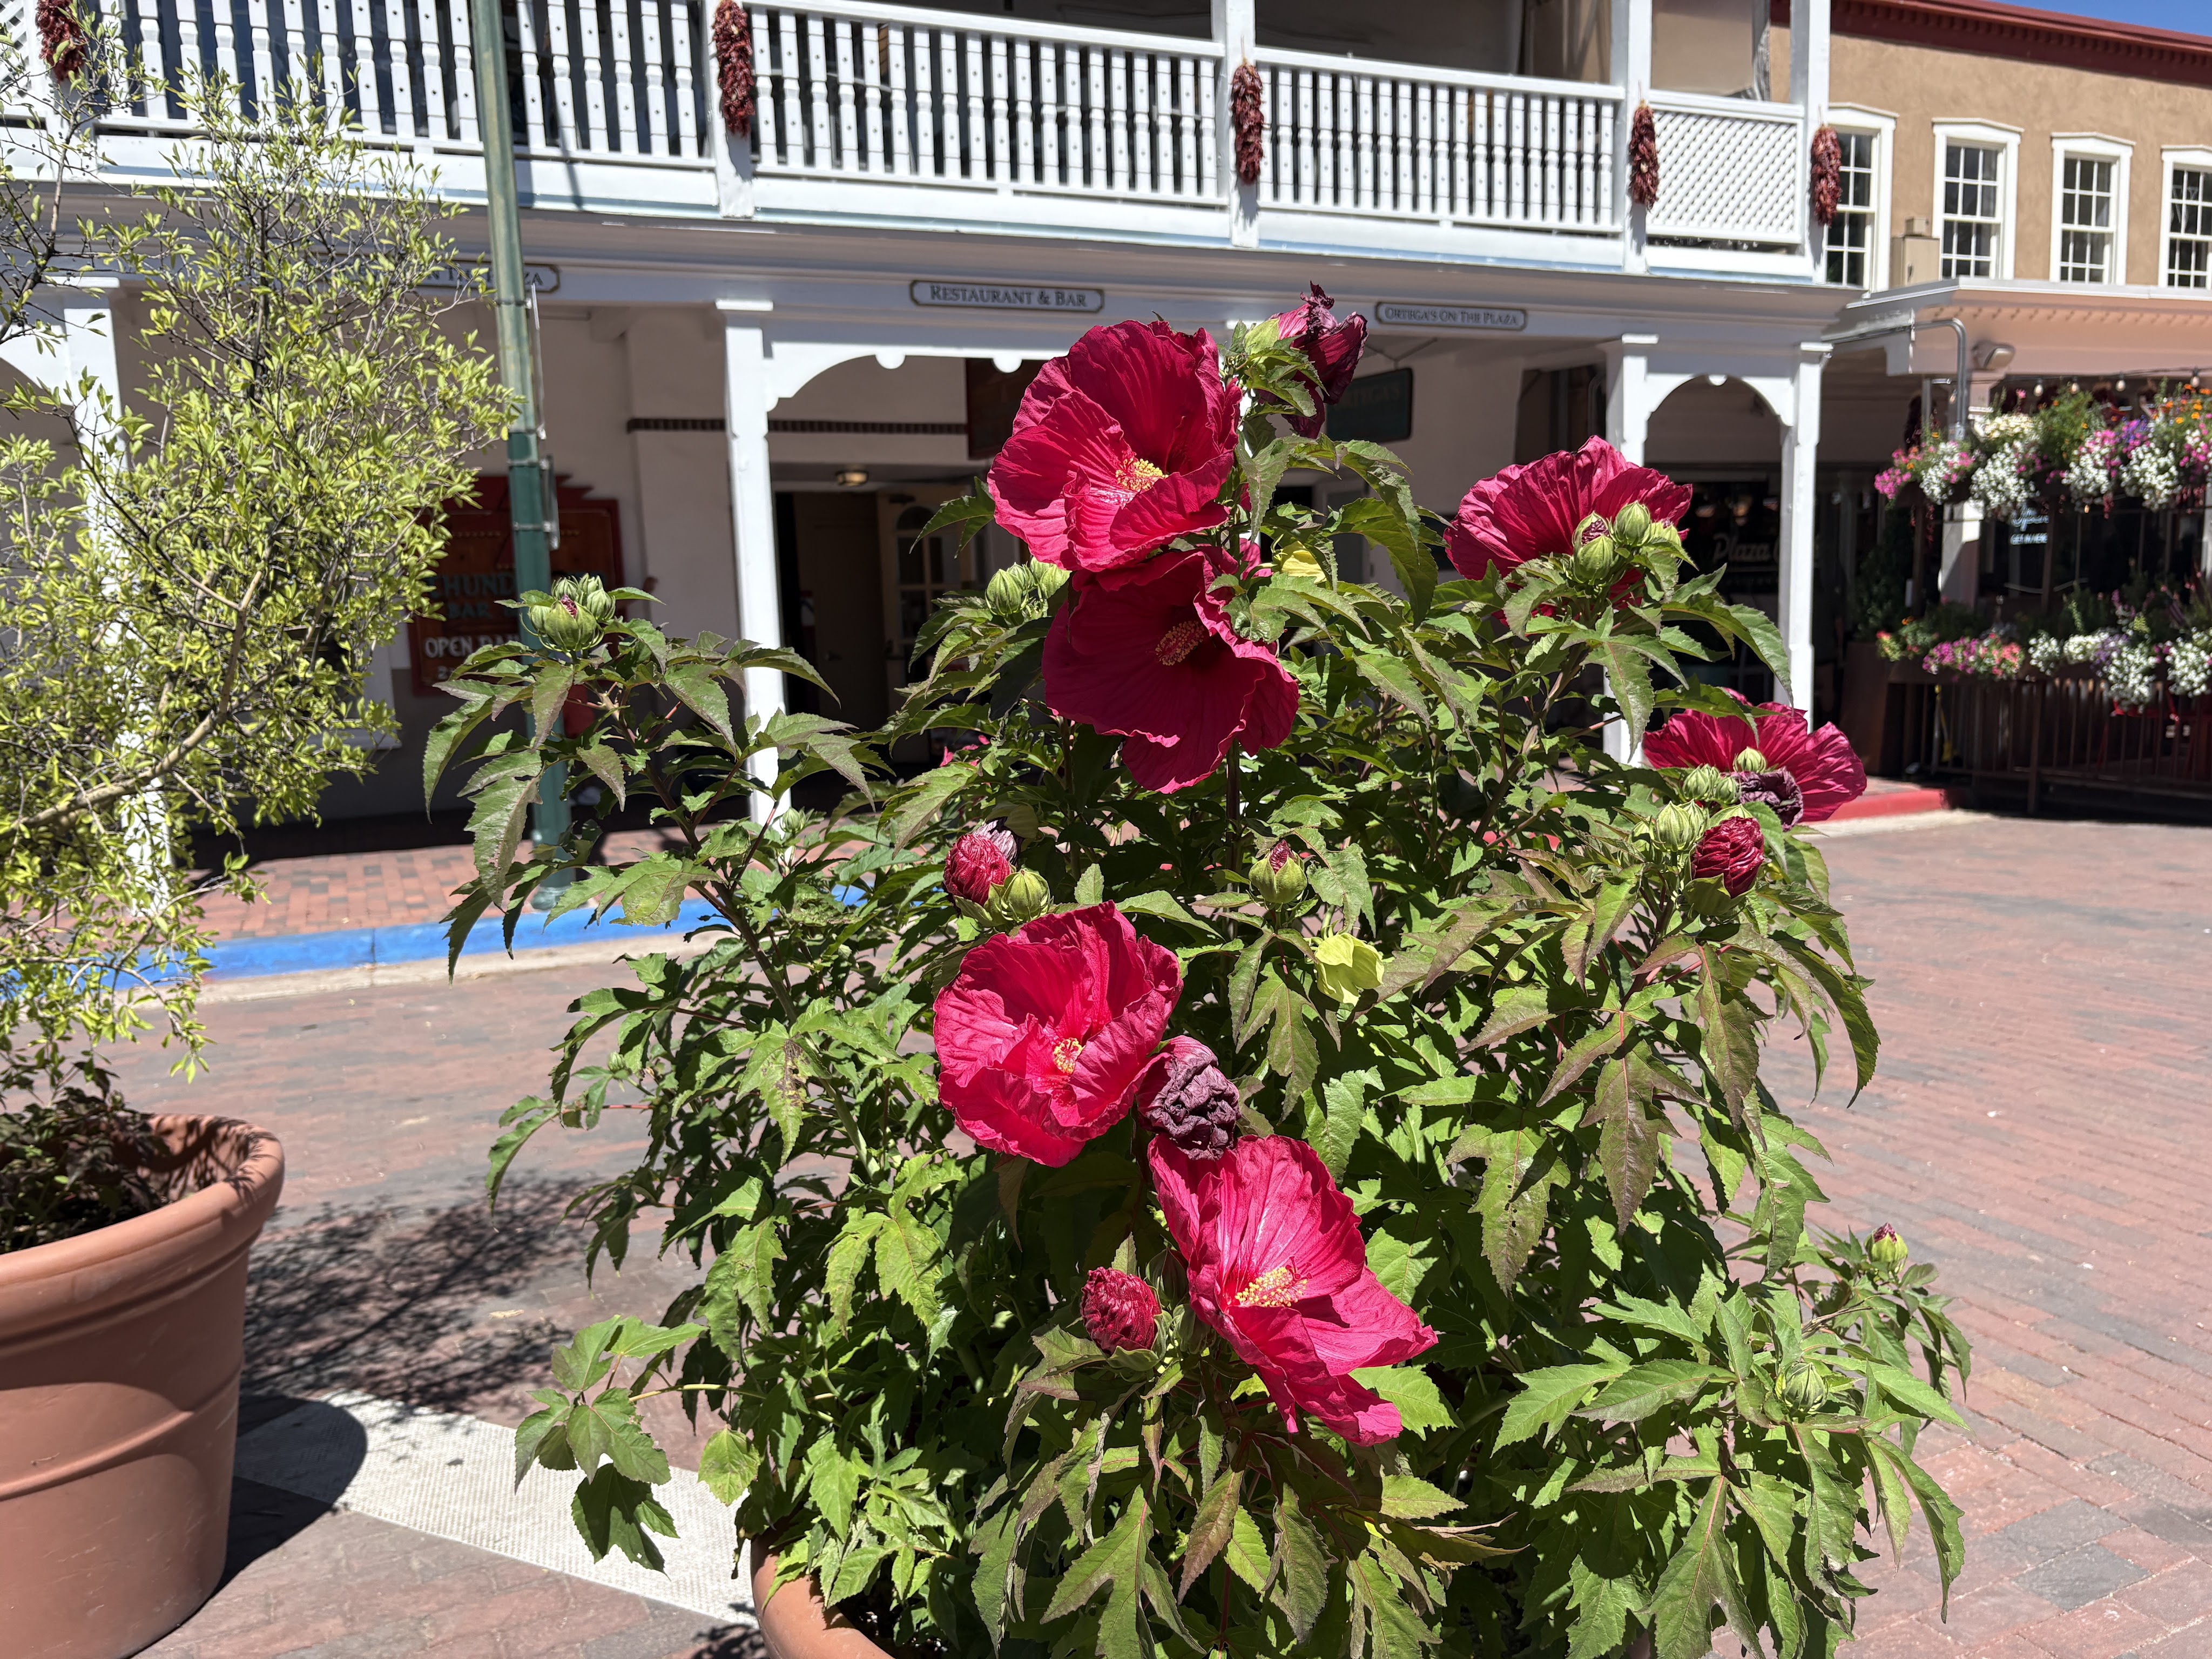
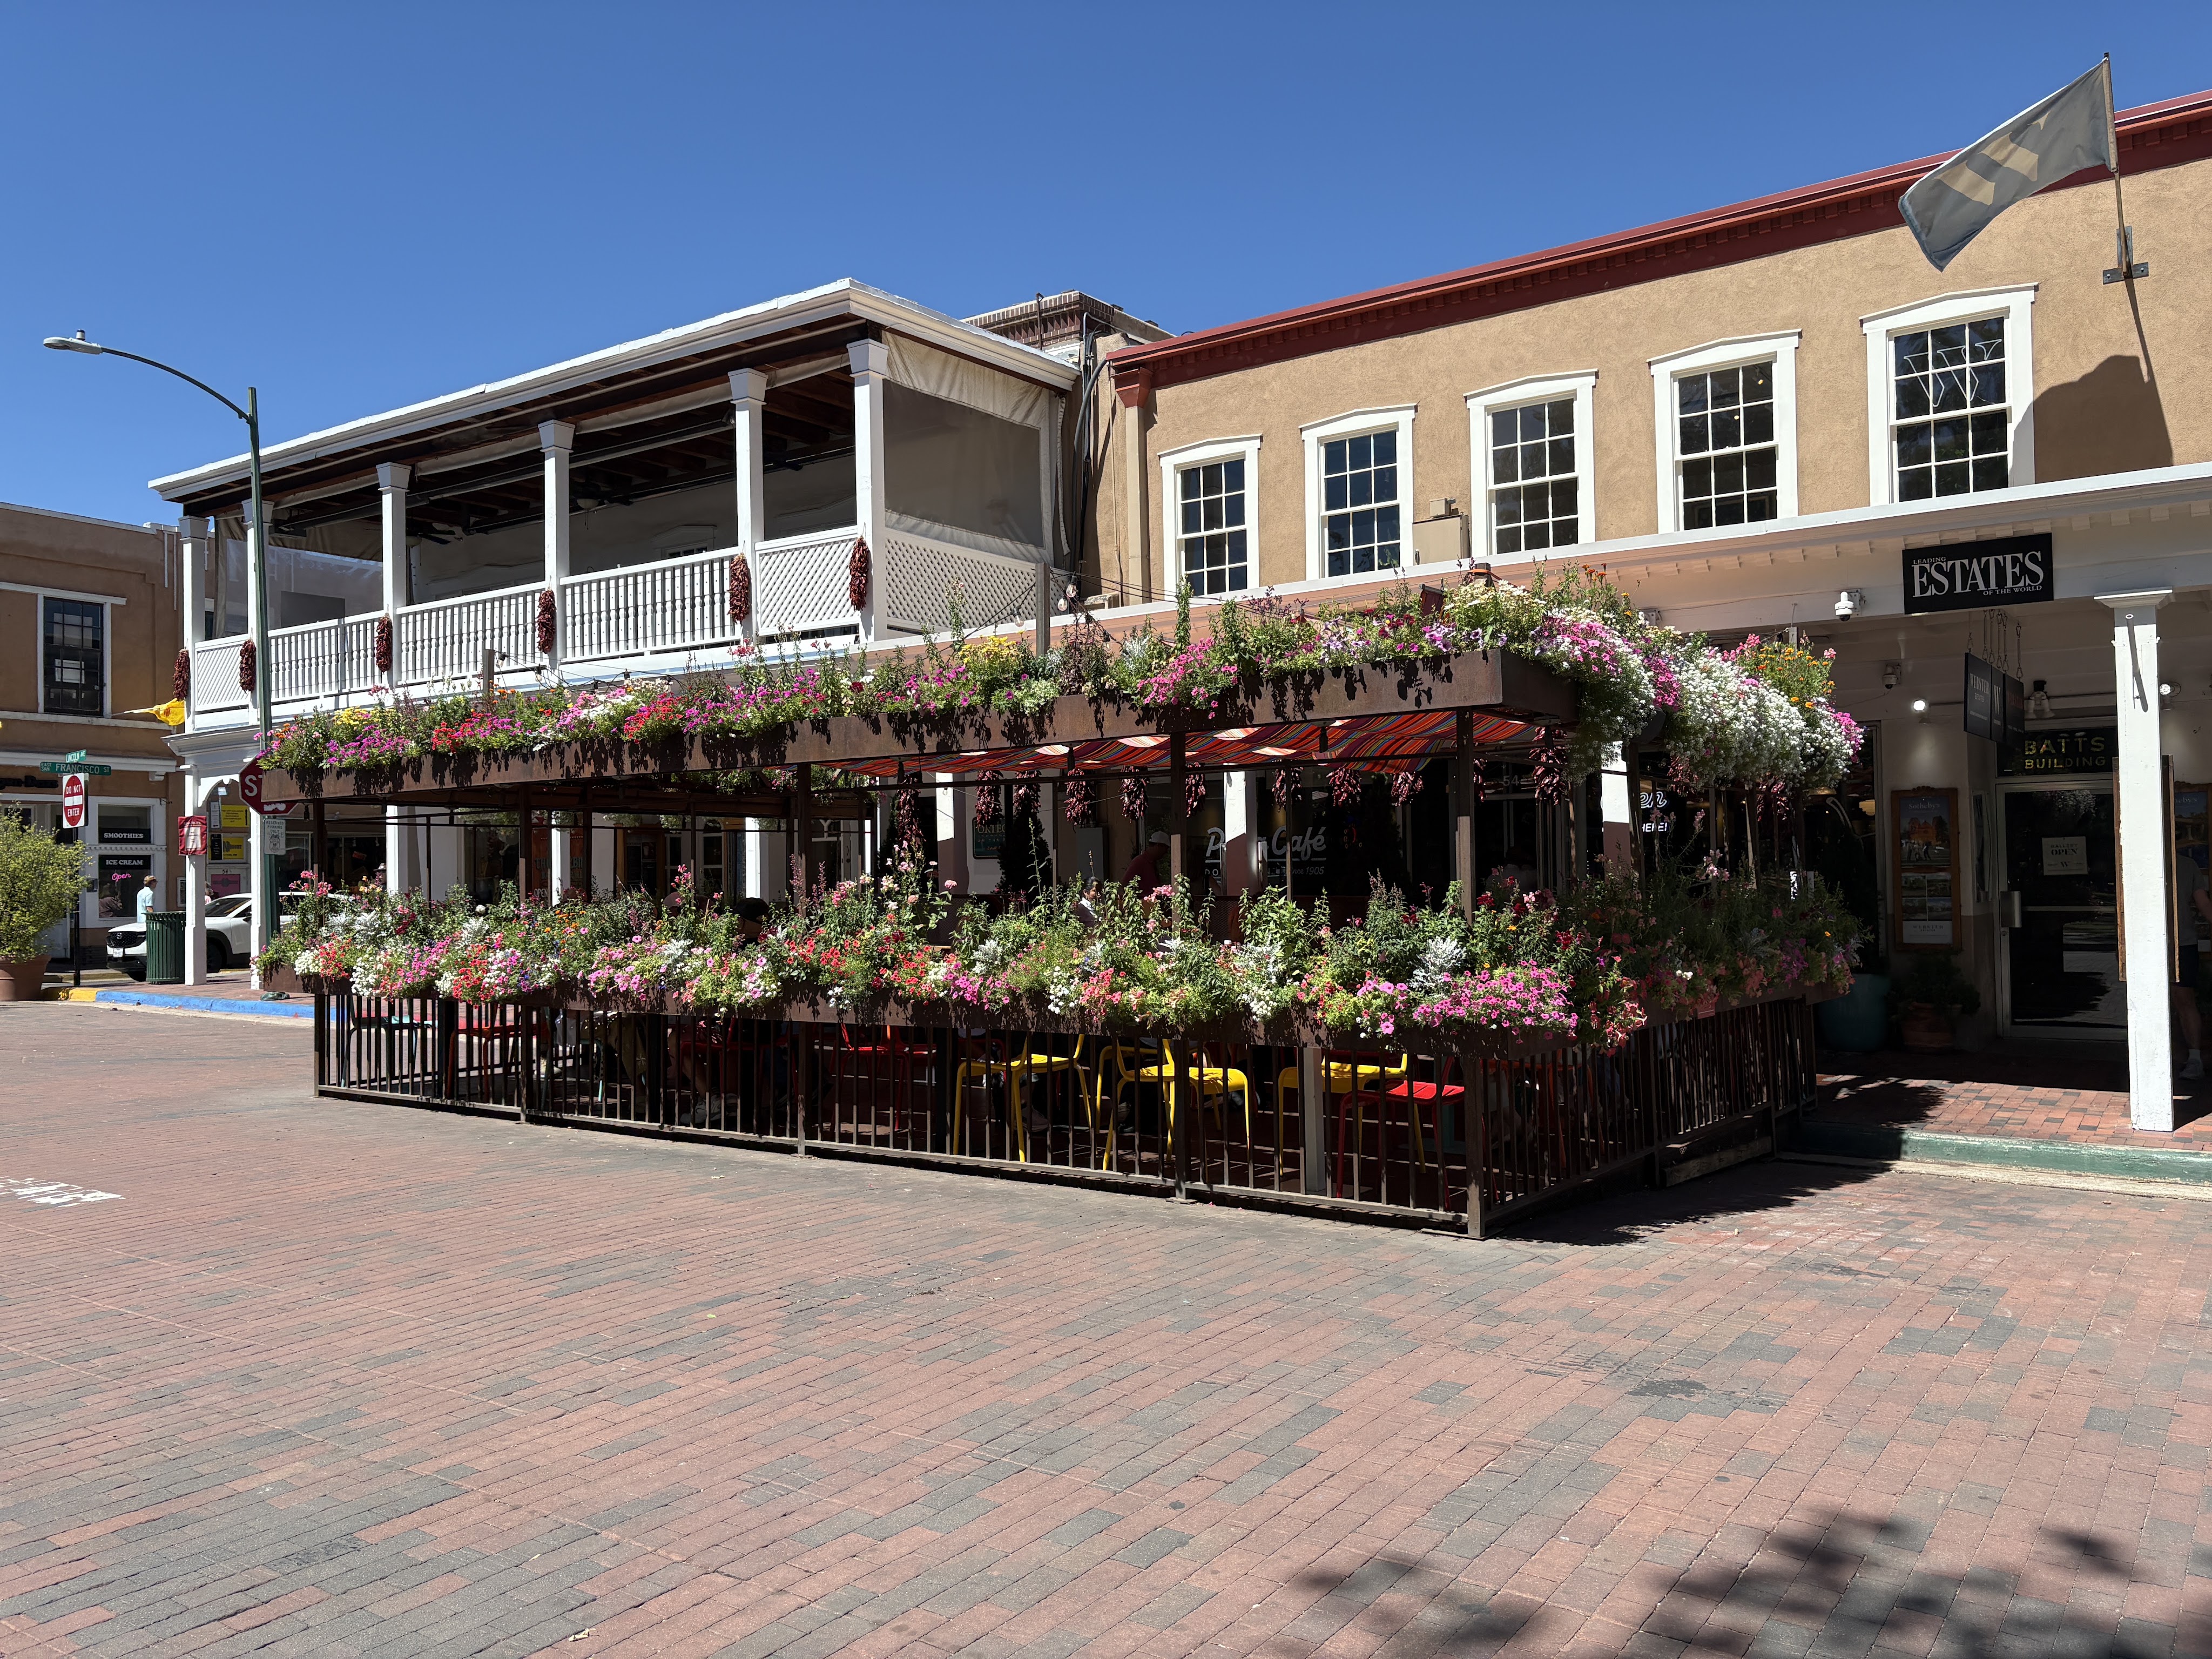
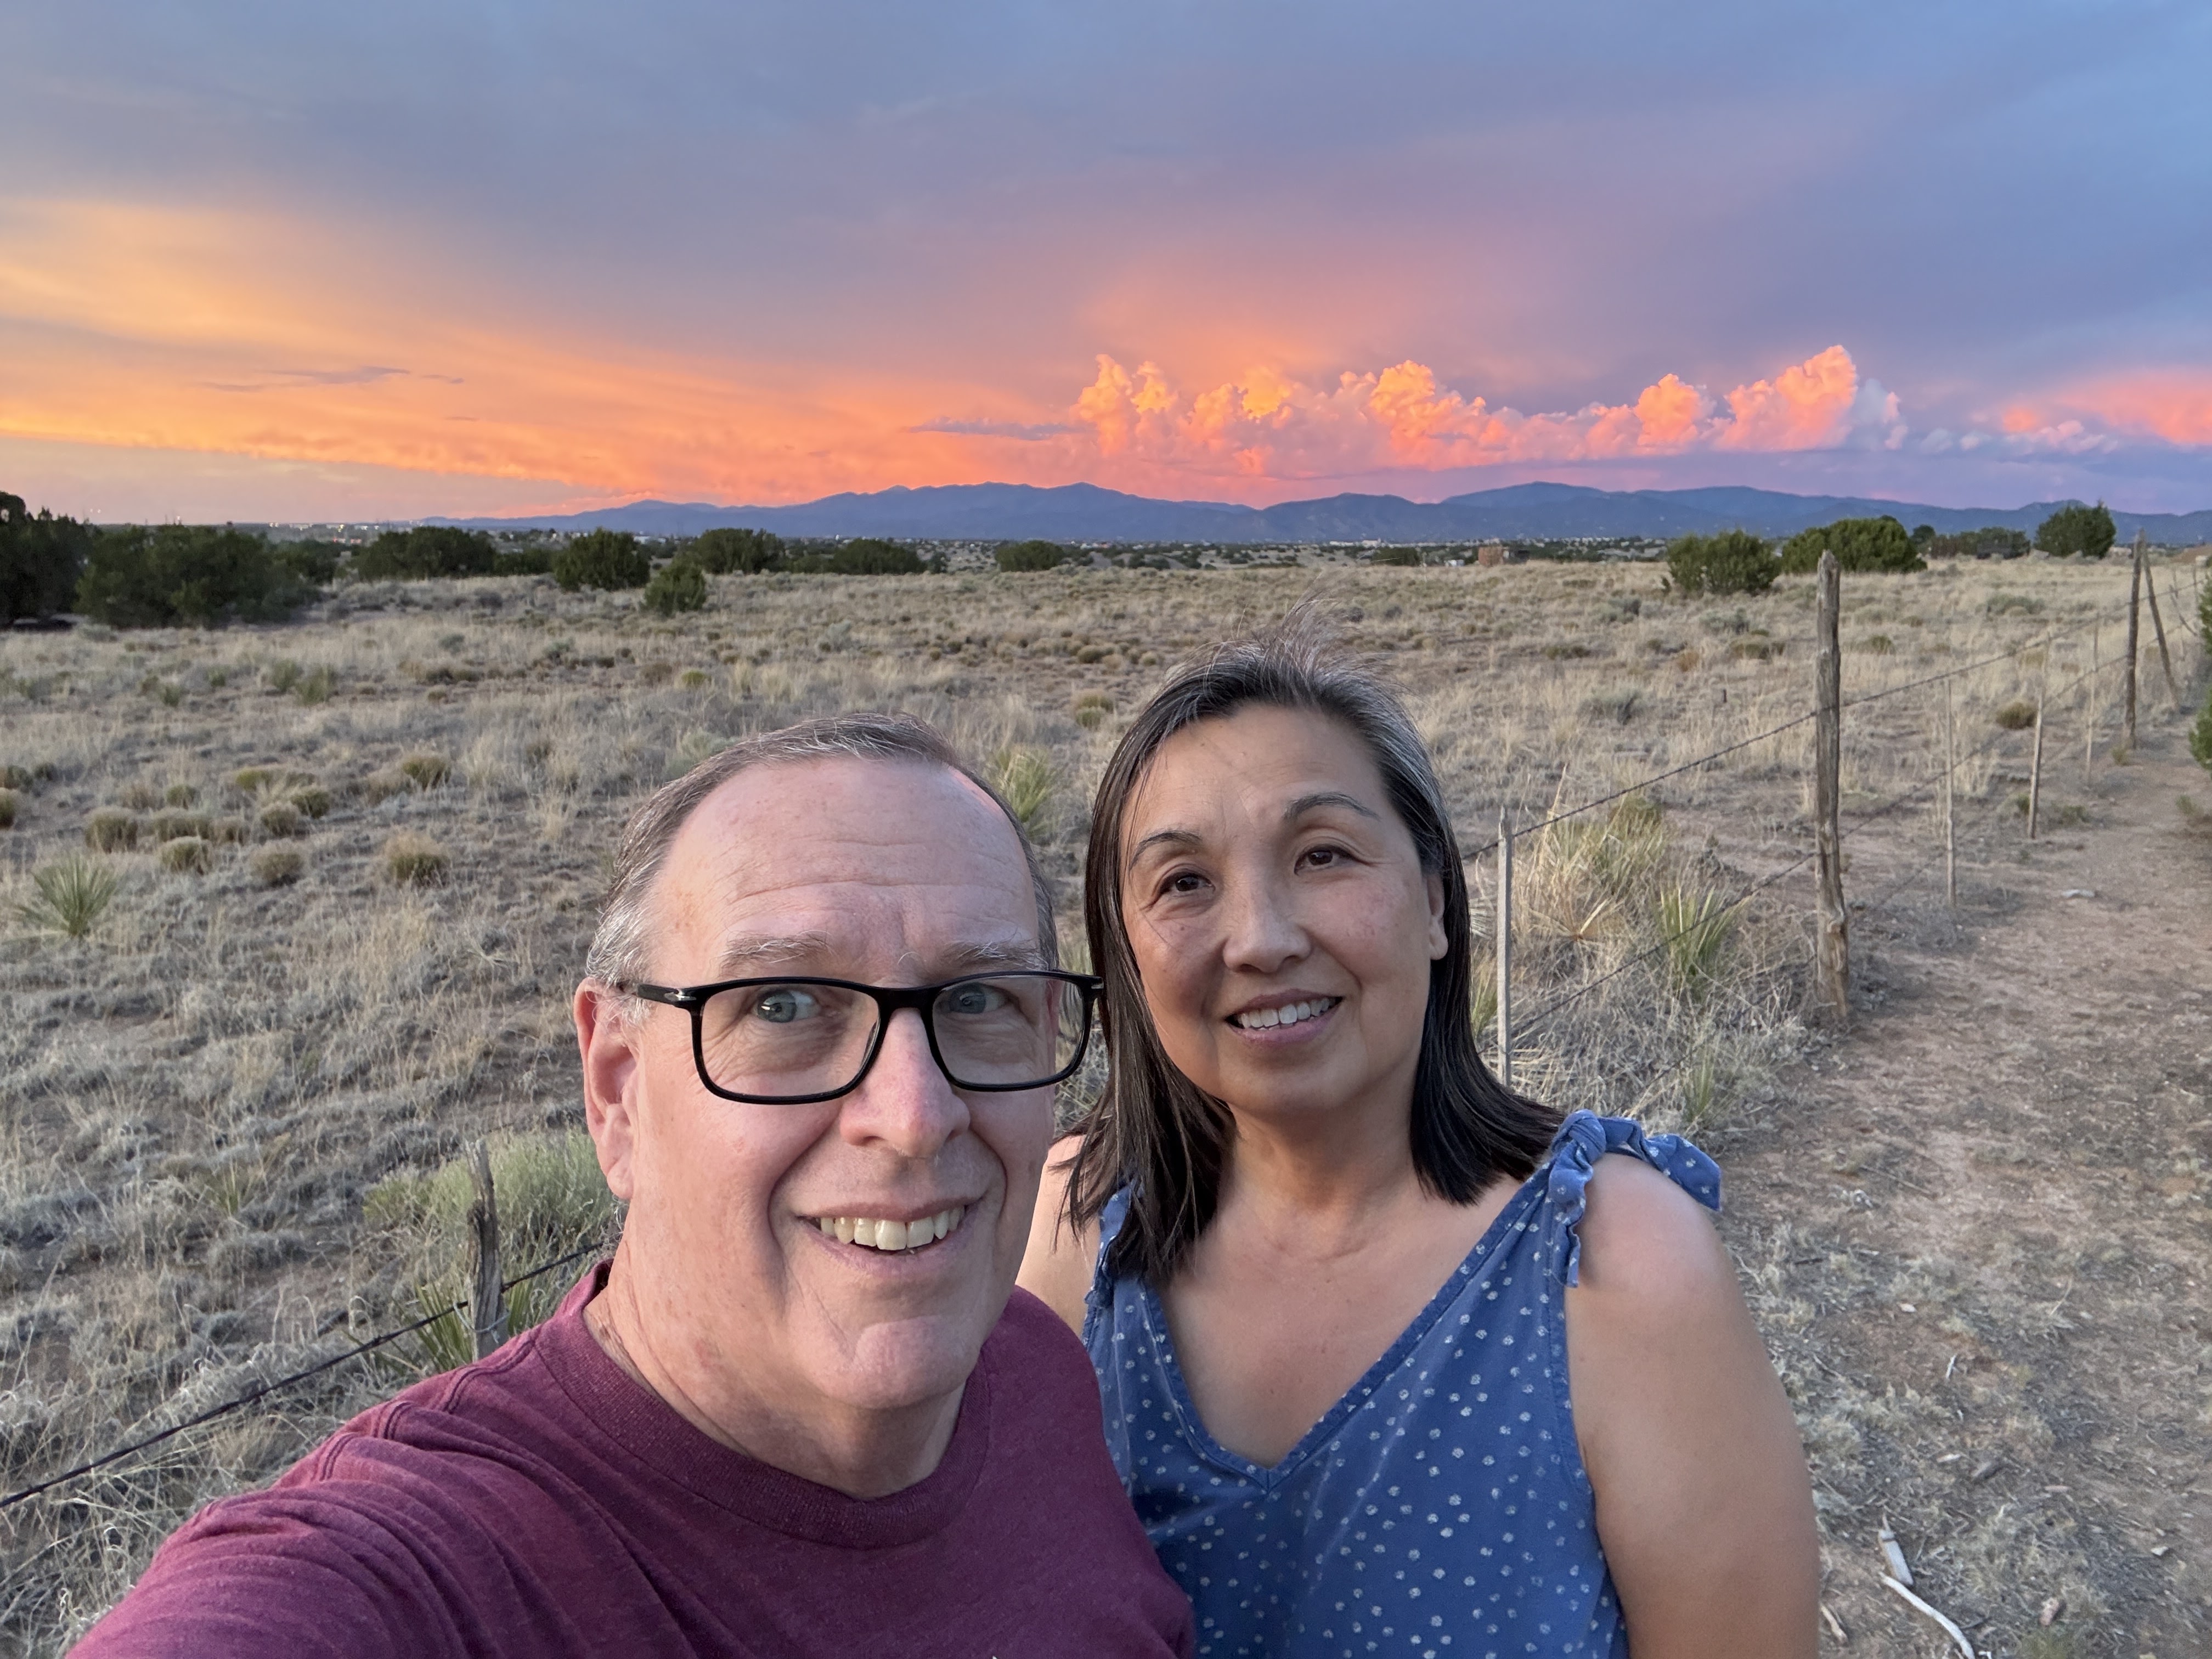
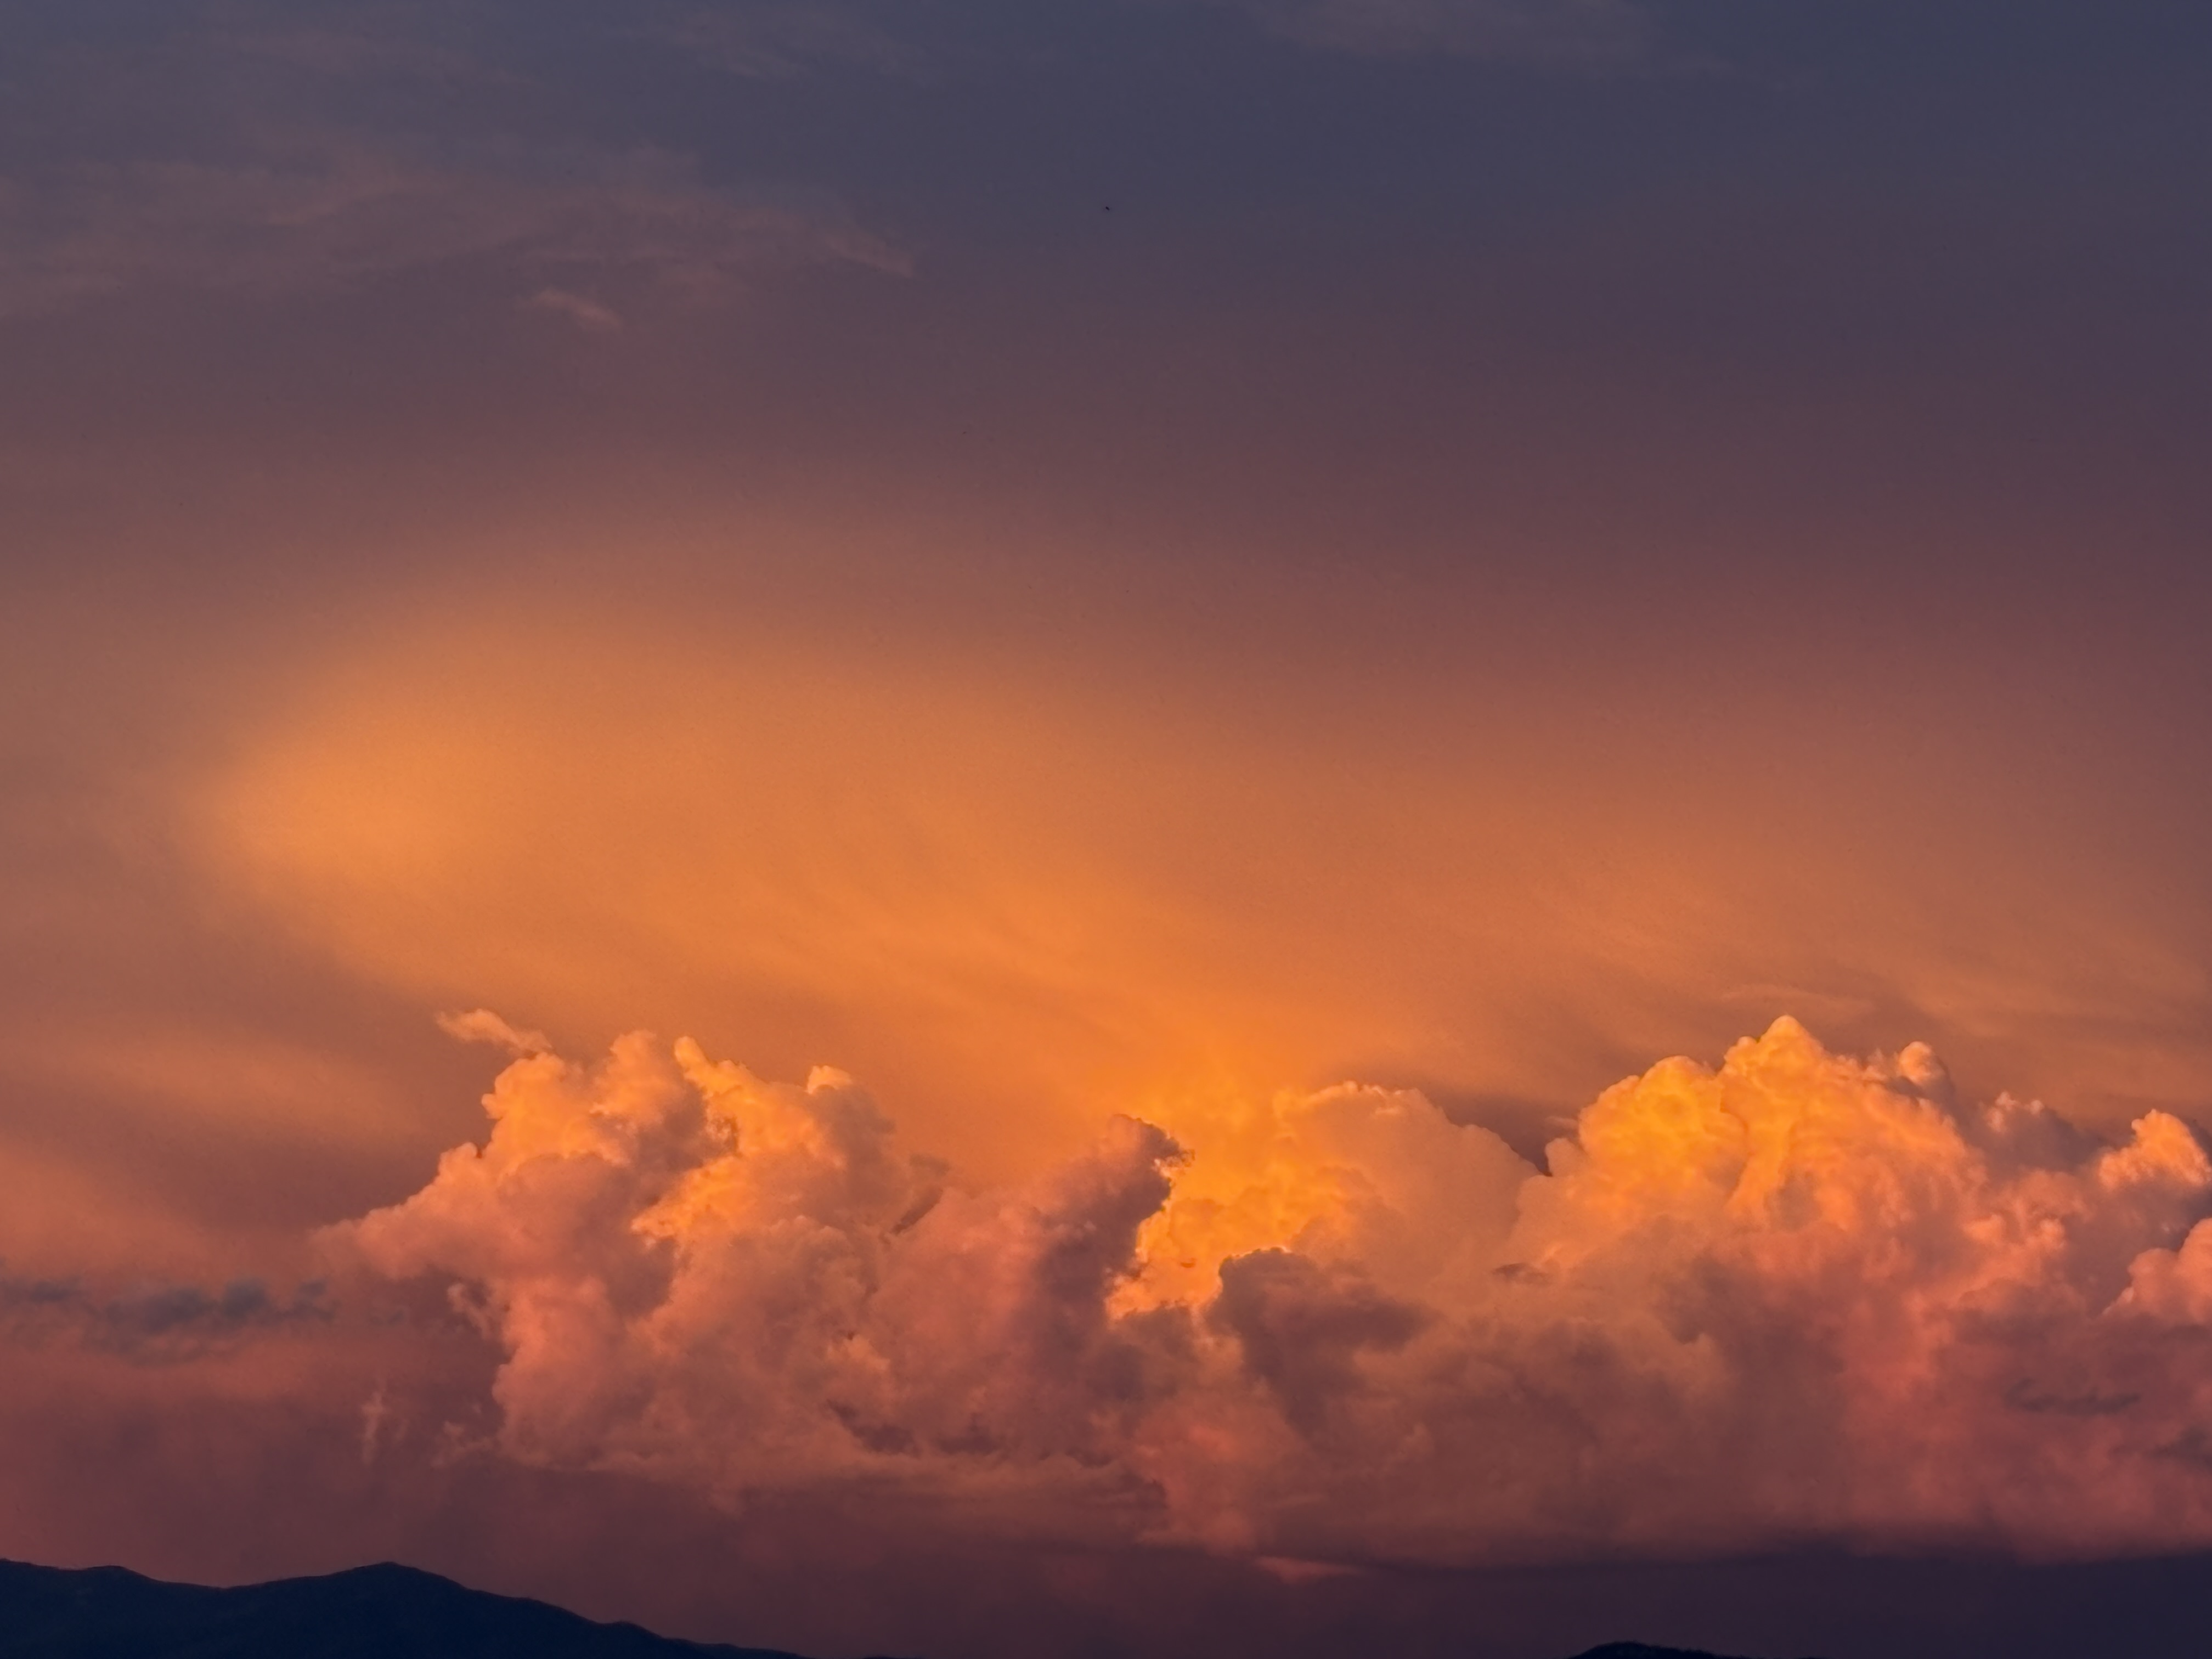
No ham radio this day. It was straight to Santa Fe’s historic downtown to find parking (not easy in a one ton pickup) and then just cut Cristy loose on the shops. I spent most of my time in Santa Fe Plaza, the historic central square of the city. Cristy and I met up and had lunch at.. can’t remember. It was good though. Especially if you like green chilies because New Mexico puts green chilies in EVERYTHING. We also checked out Loretto Chapel and its famous circular staircase. No visible support but it’s been standing for well over 100 years. On the way back home we stopped off at Kakawa Chocolate House. Cristy got some sipping chocolate which was VERY good and I got frozen hot chocolate. Don’t know how they do it but it literally tasted like a hot chocolate Icee. A quick word about Santa Fe Skies RV Park; it is a great place to stay if you’re in the area. The park was clean, quiet, lots of space between sites, and one night they had a couple that were singing on the patio next to the main office. The singer was really good. She did several covers of Linda Ronstadt songs and her voice was practically indistinguishable from the original.




Day 10:
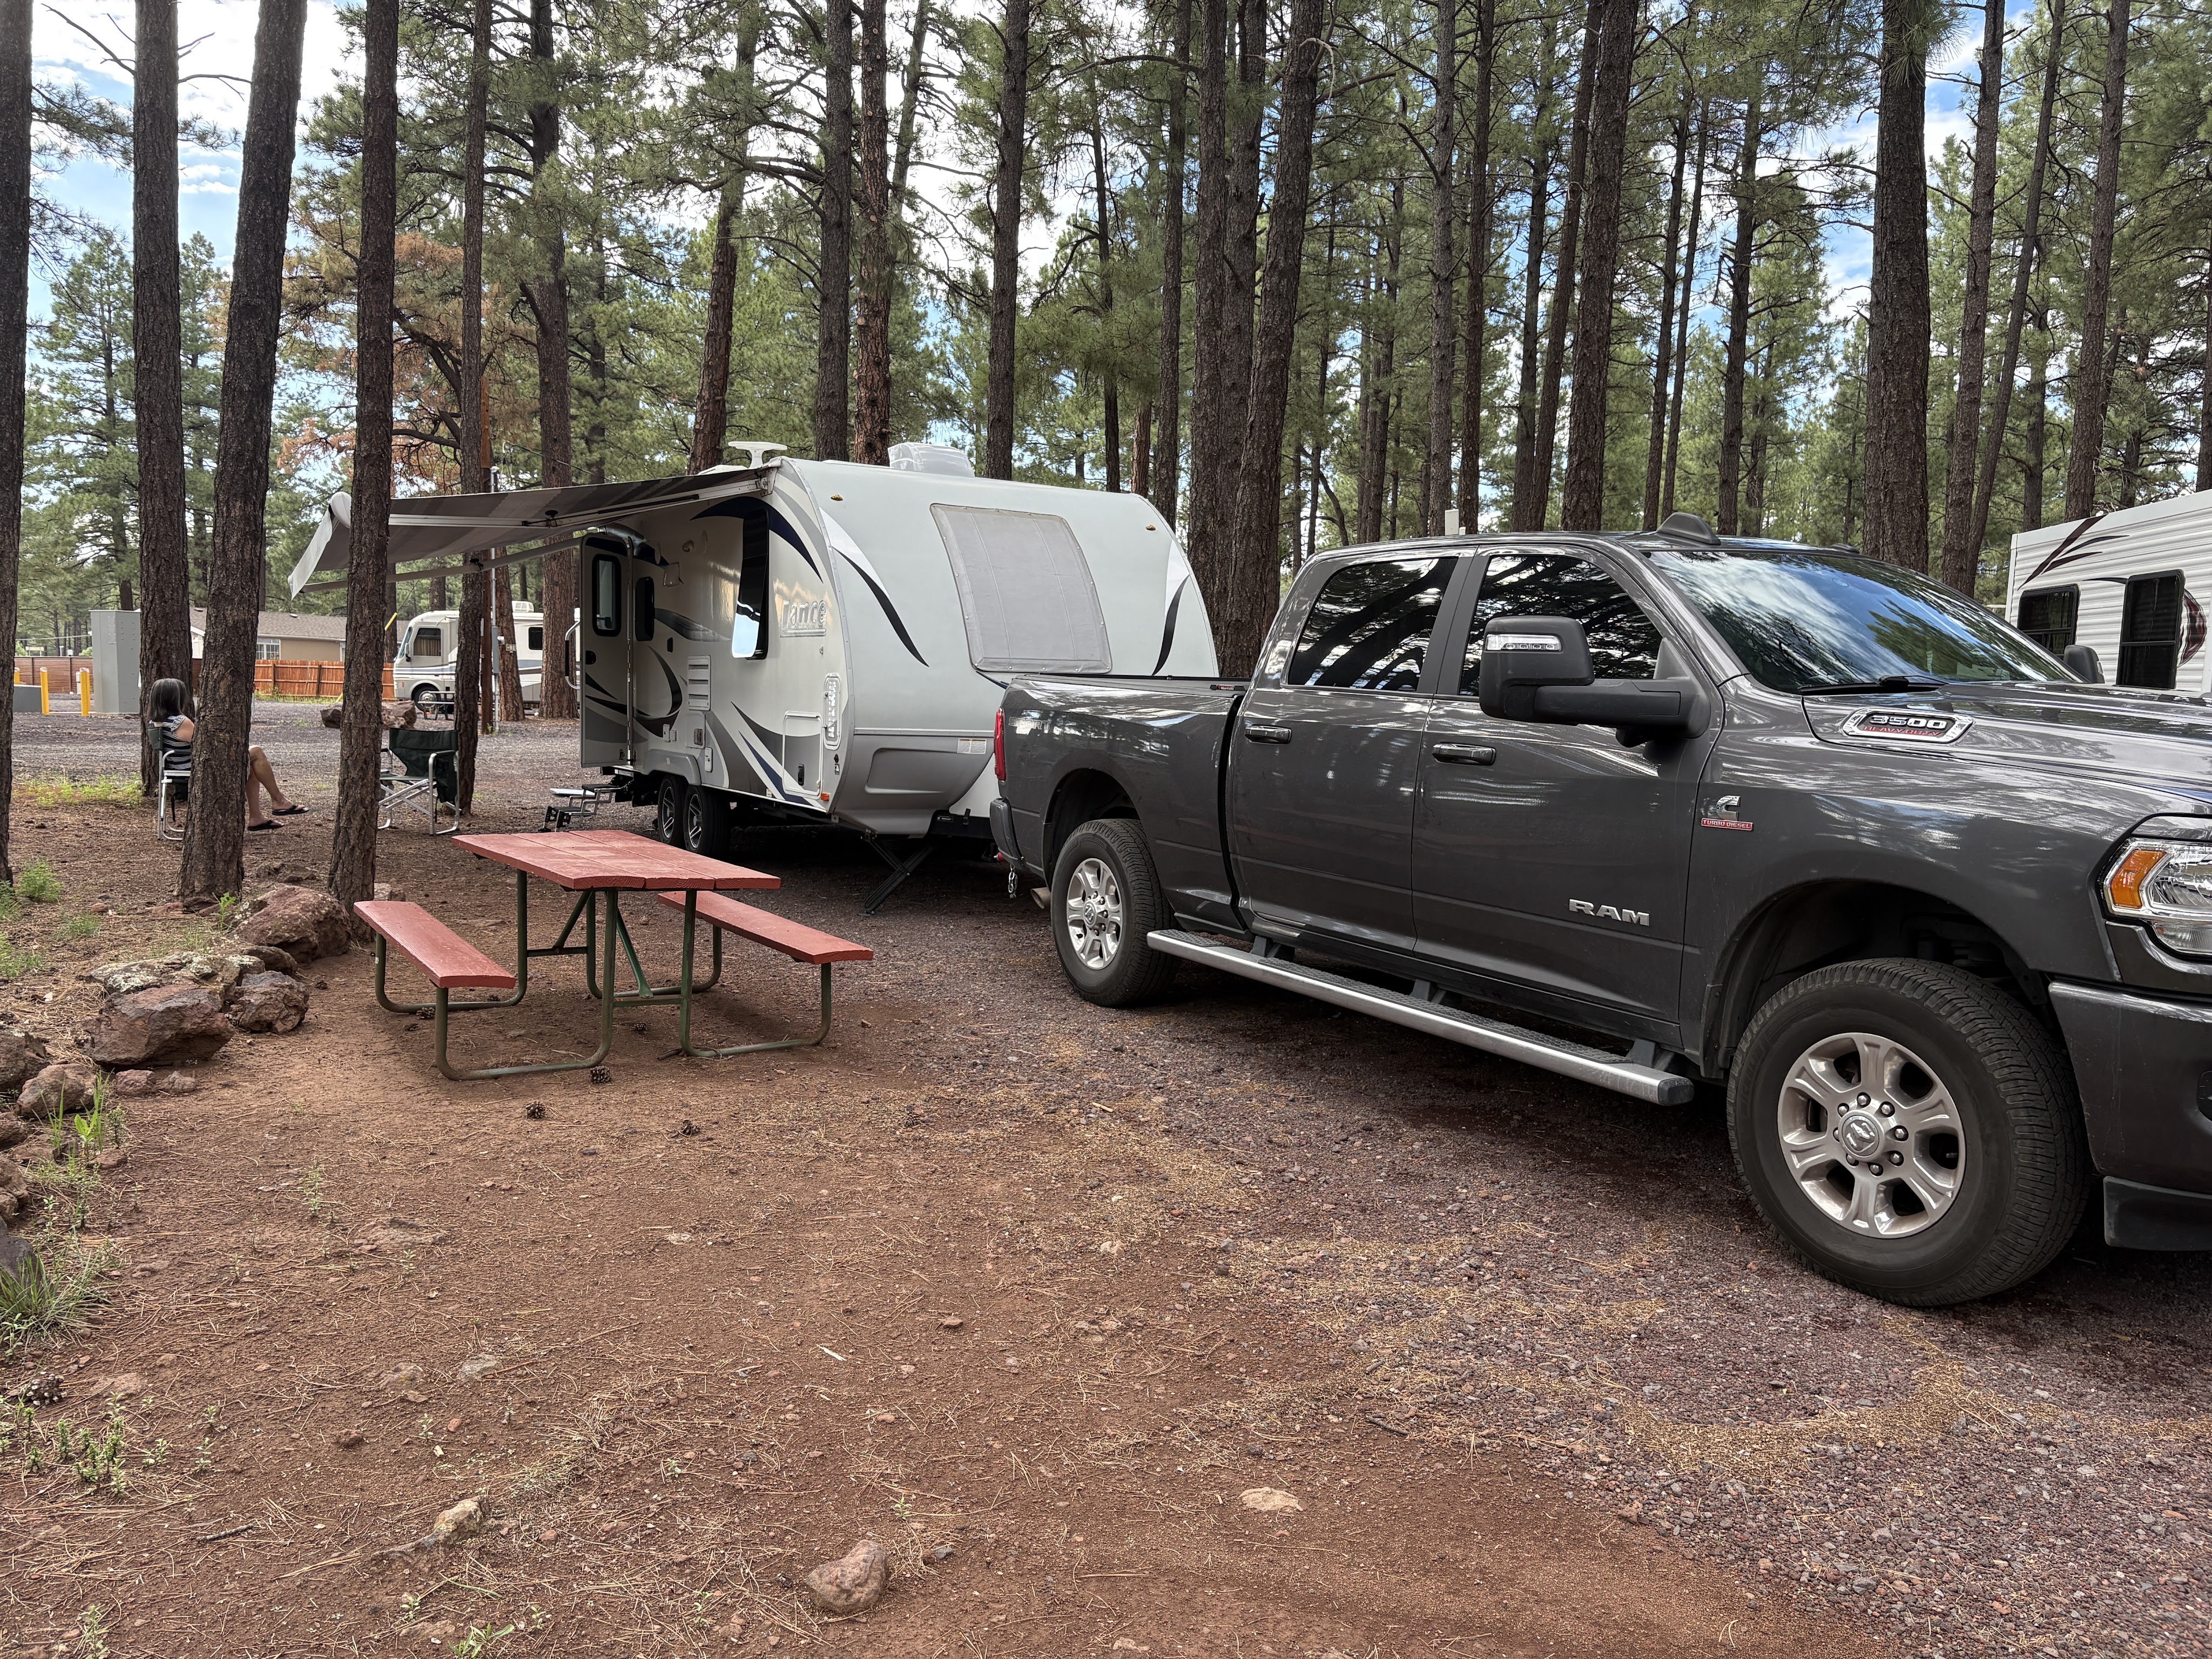
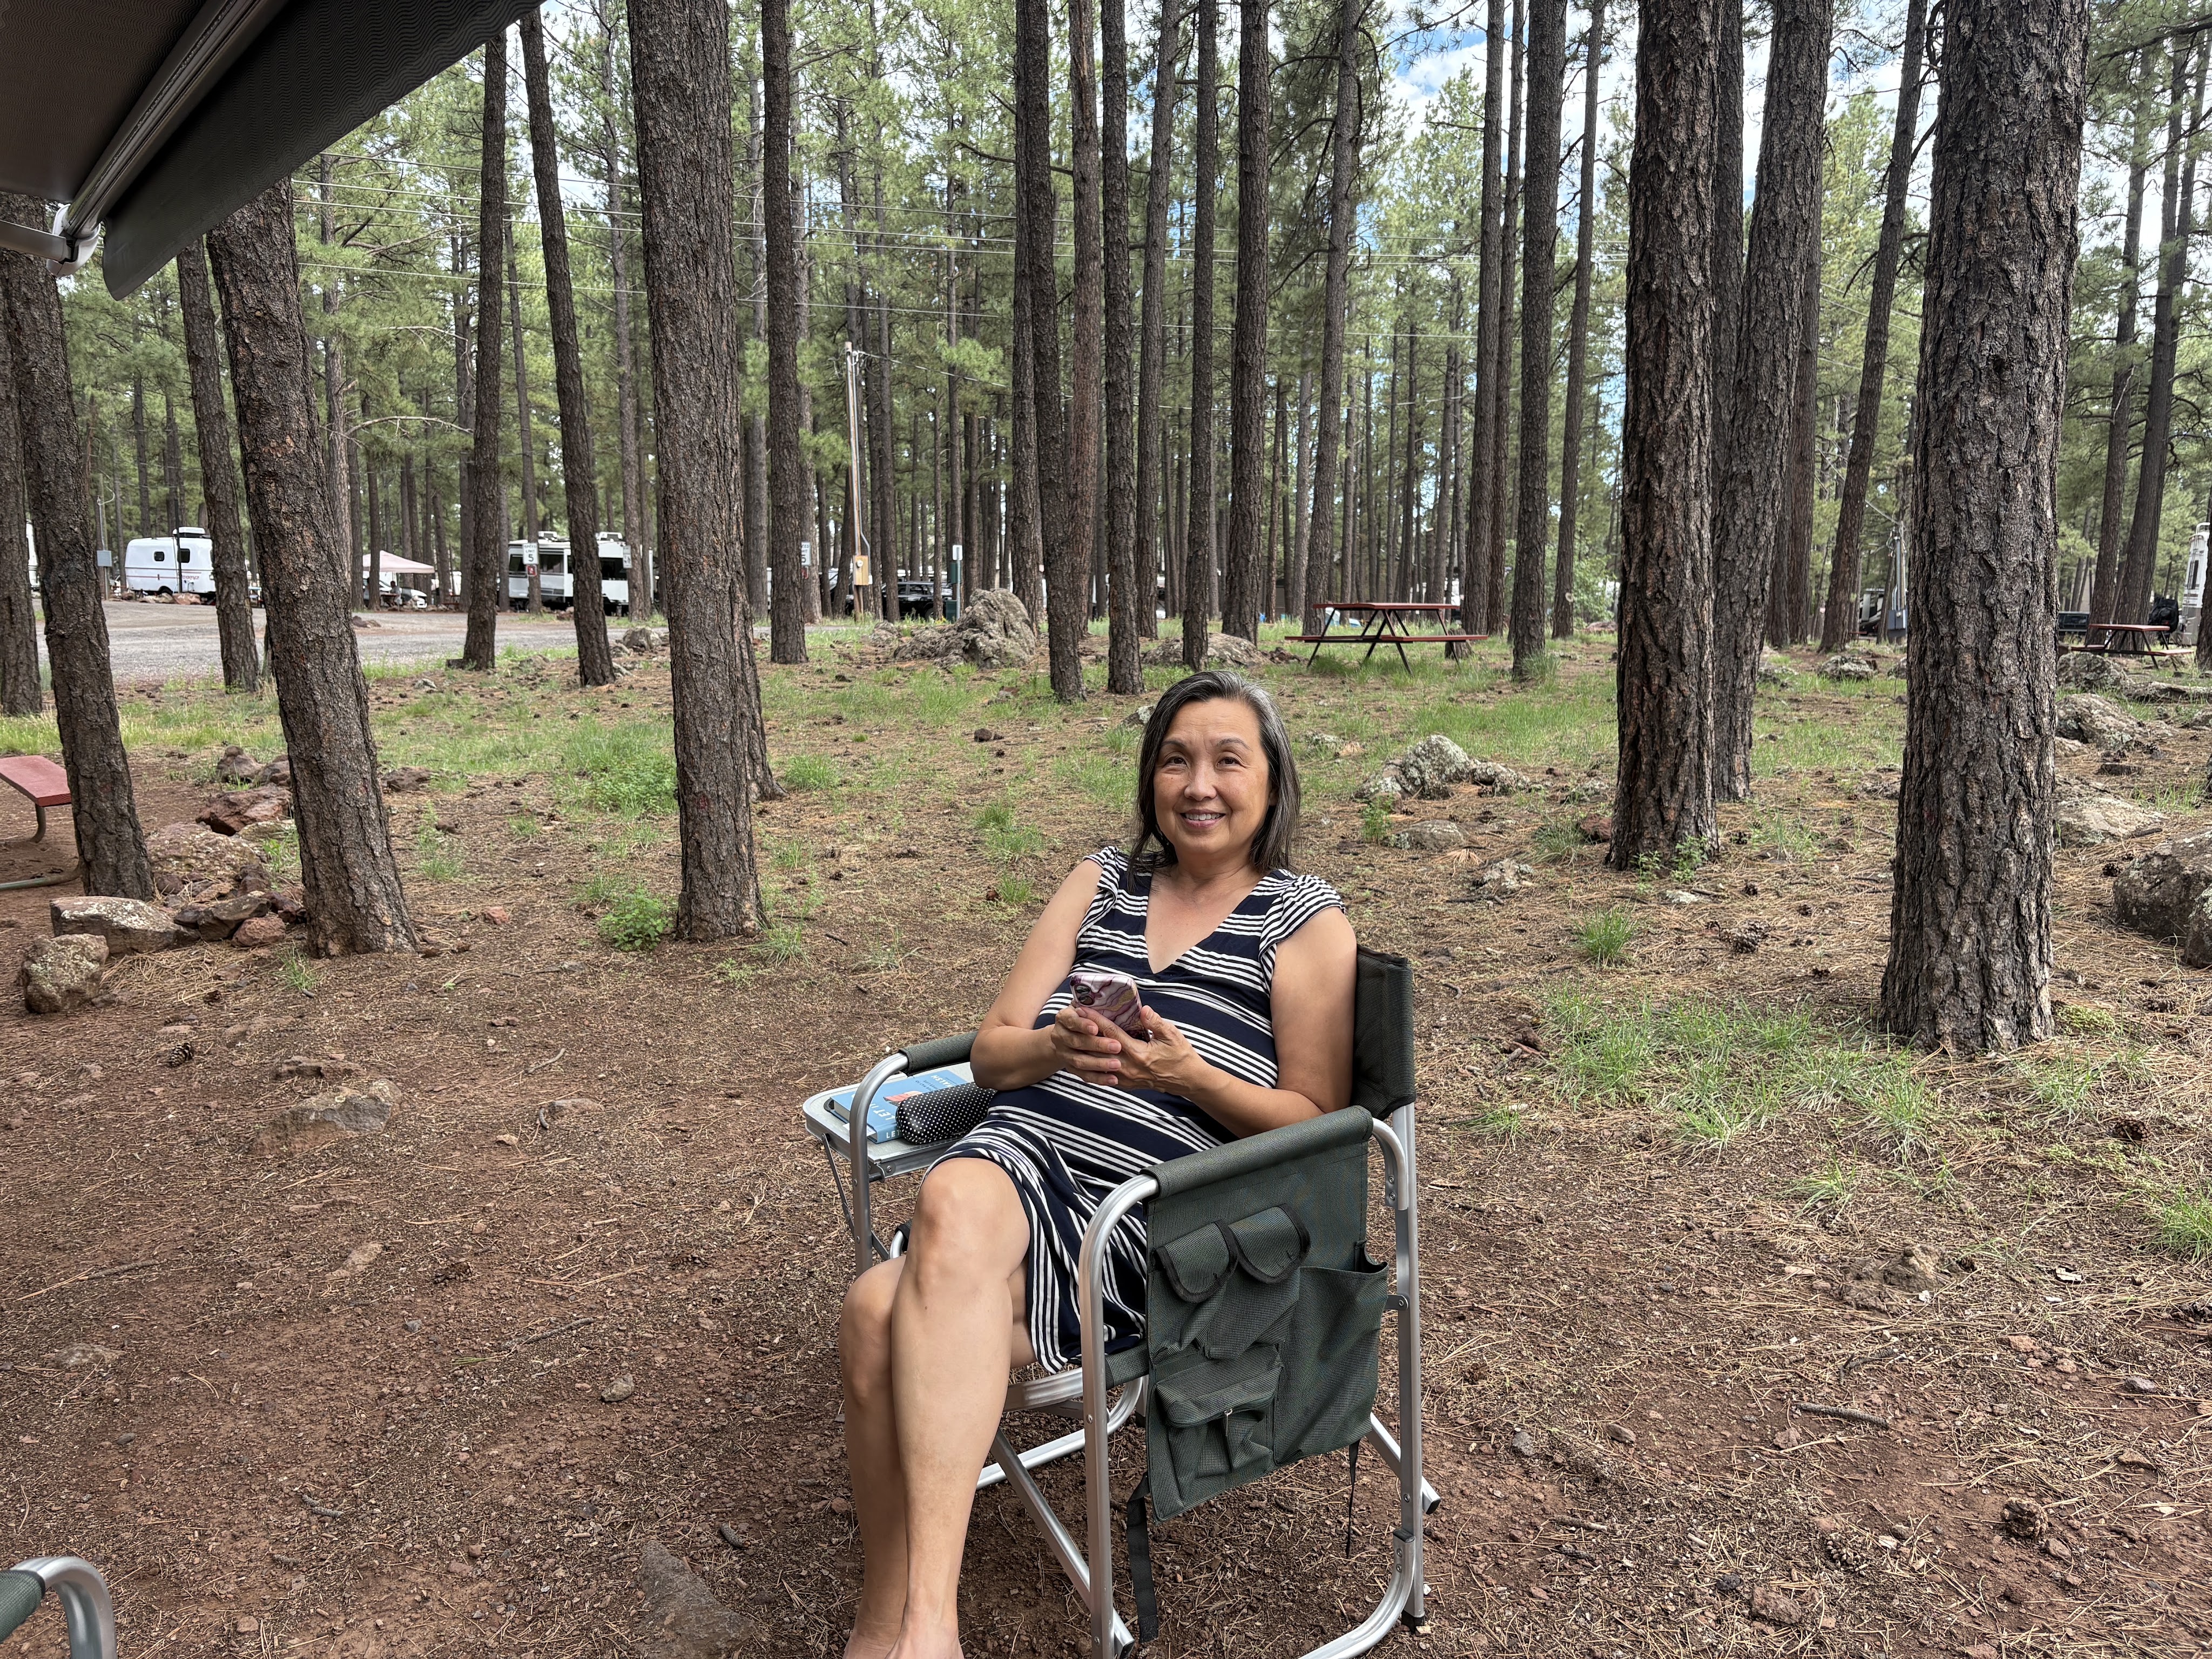
Well… boo! It was time to start heading back. We had to get back home in three days so we could watch Angela’s dog for her while she went on vacation. We drove from Santa Fe to Flagstaff the first day and stayed at Woody Mountain Campground and RV Park. The folks in the front were very nice, if not a little baffled by their own computer system. The layout of the campground is a little confusing; lots of little roads going everywhere. It took me three times to find my pull through campsite! But once we were settled in it was a nice place! Cristy met up with a YouTube health coach she’s know for a few years and she came back so energized and happy after having some girl talk finally. Like a best friend you’ve never met before.
Day 11:
This was another long drive from Flagstaff to Tehachapi where we stayed at Mountain Valley RV Park. Imagine my surprise when I found out it’s located at the Tehachapi Airport! I think only one airplane took off the whole time we were there. It was a glider tow airplane warming up the oil before the day’s tows begin. I didn’t get any pictures of the park because I was just plane beat by this time (misspelling is intentional). We had a geat pull-through spot on the edge of the park that borders the airport property so we had an unobstructed view of the runway and the hills beyond. It gave the place a very open feeling. They only have 30A electric and water but they do have a dump station right by the office.
A word about the Star Link dish. In short, this device was the MVP of the trip. We were able to set it up quickly and have plenty of internet bandwidth to check email, attach our phones via WiFi calling, and stream videos in the evening without worrying about the crappy park WiFi offerings.
Day 12:
This was the hardest drive day of all. That last stretch through Bakersfield and up Hwy 99 to Modesto. UGH! I hate that drive, even when I’m not pulling a trailer. At any rate we made it home in a little under four hours and called an end to our trip.
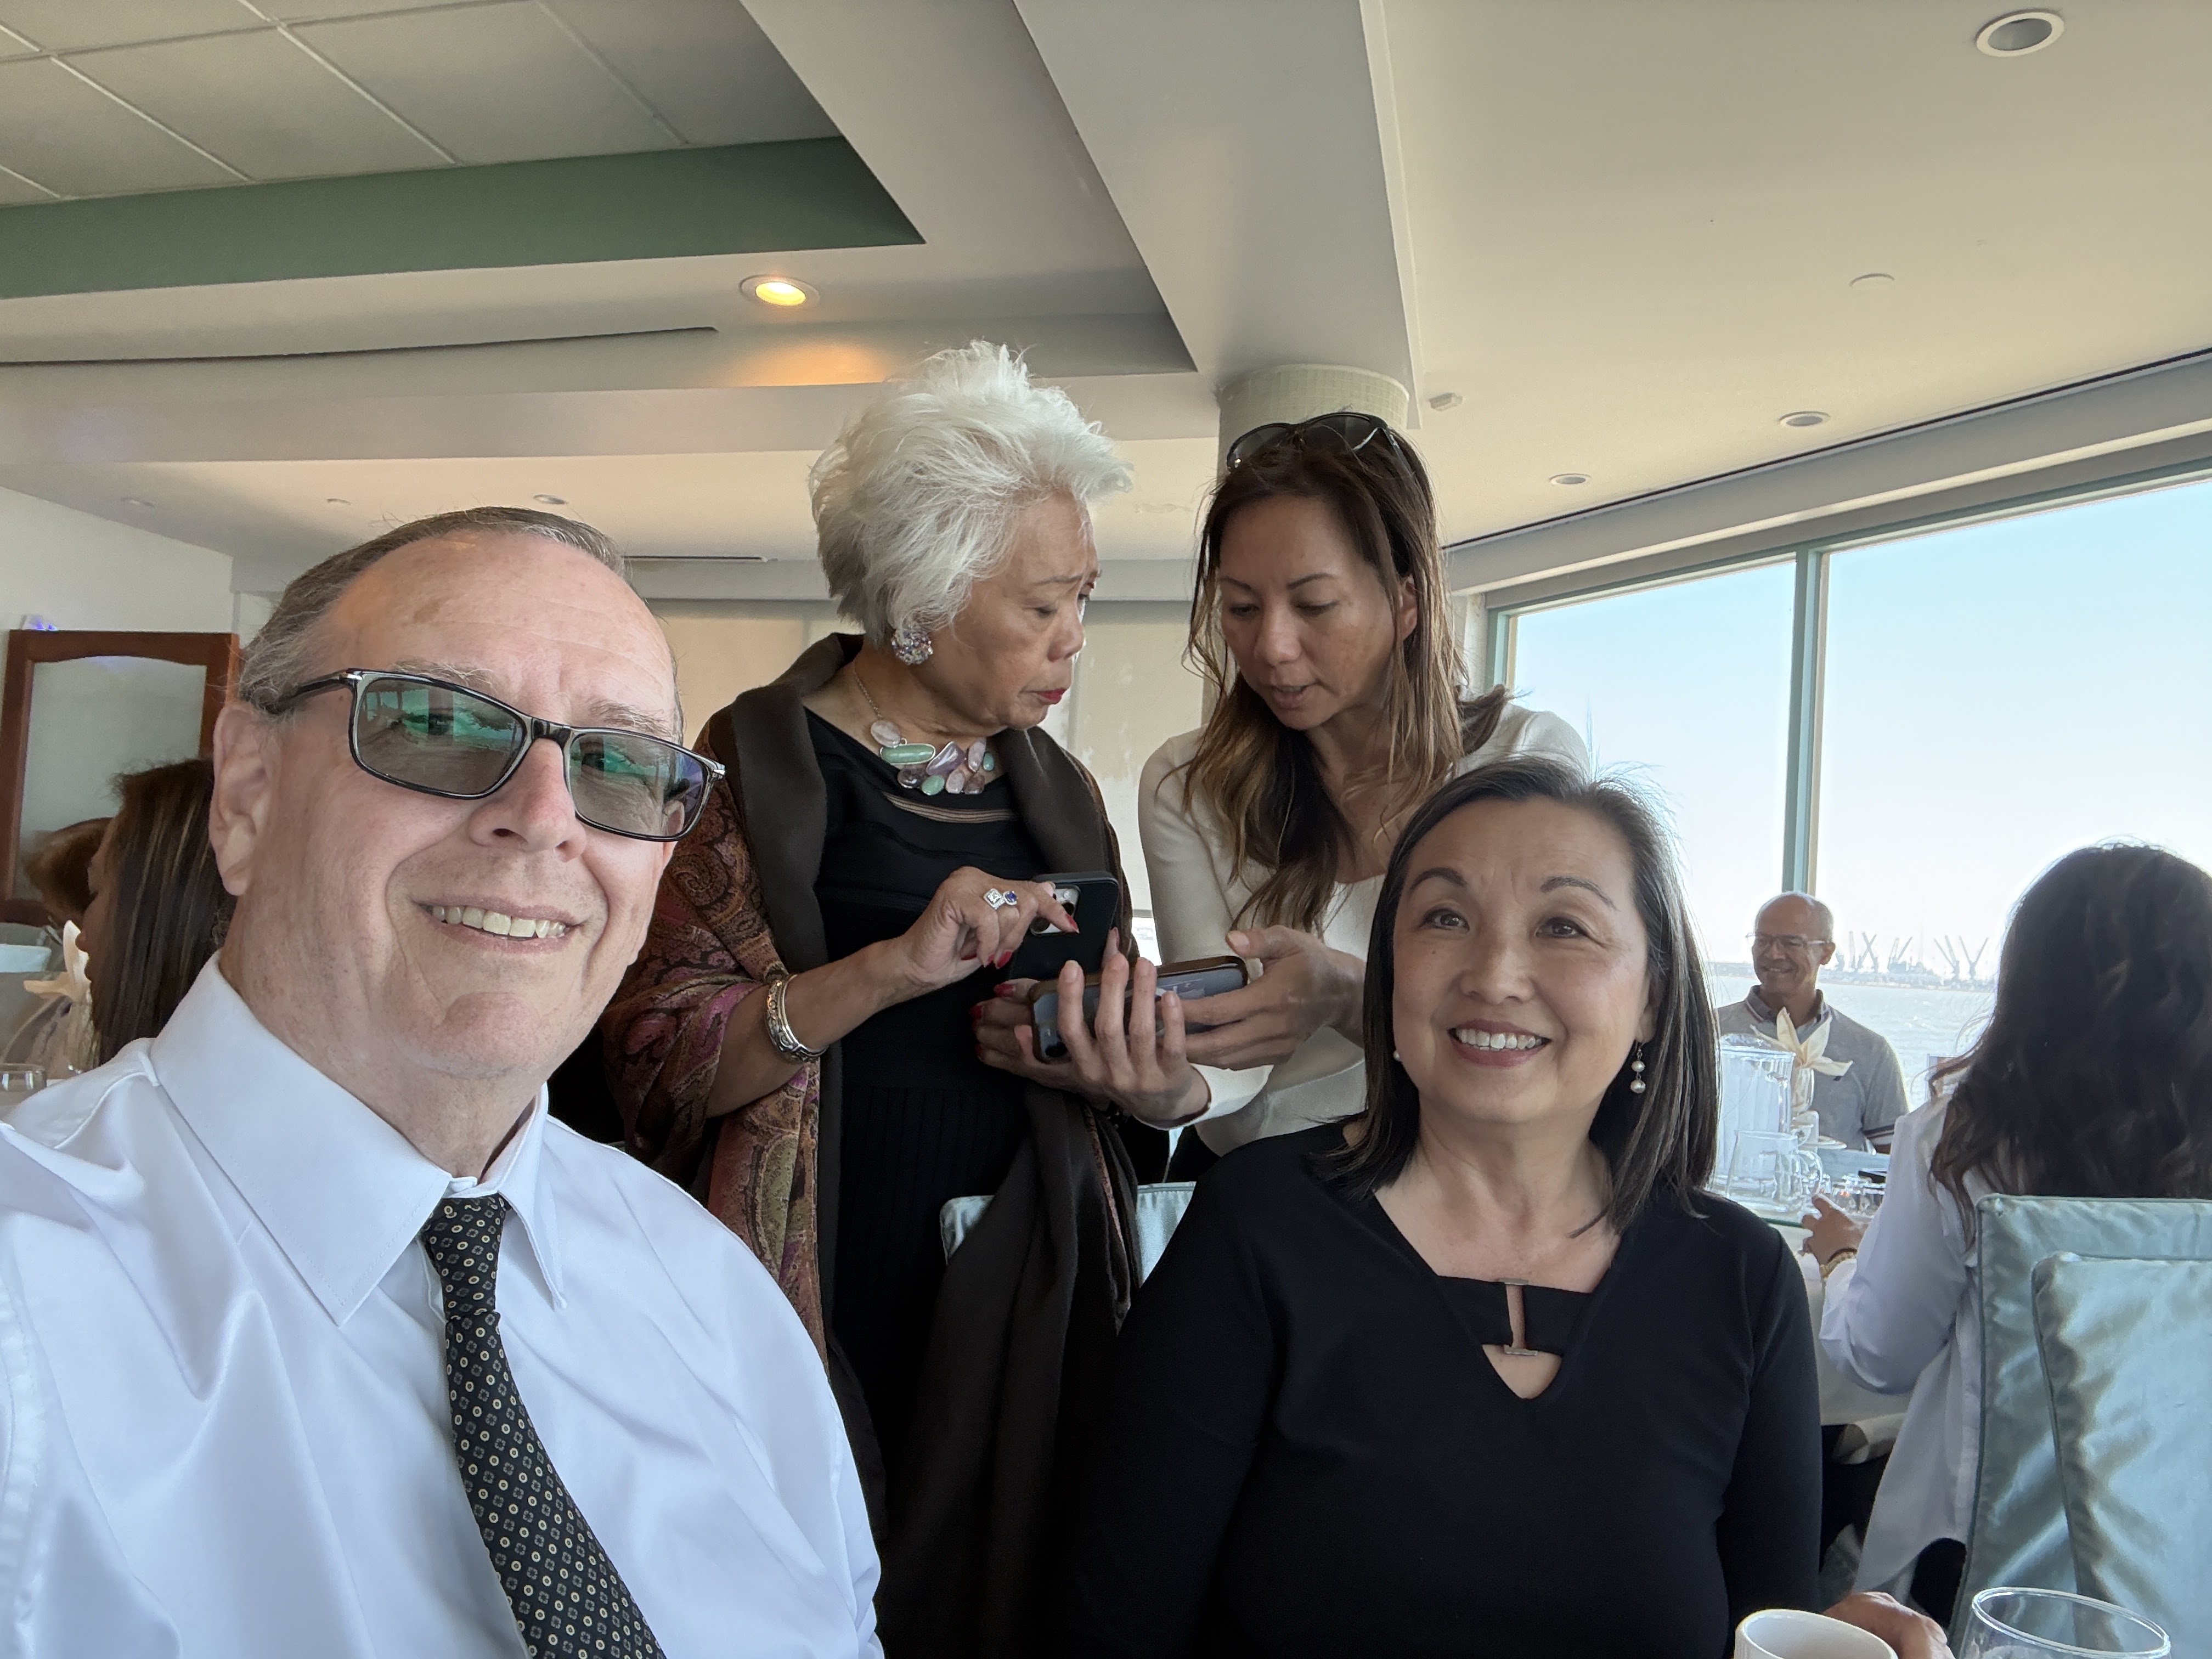
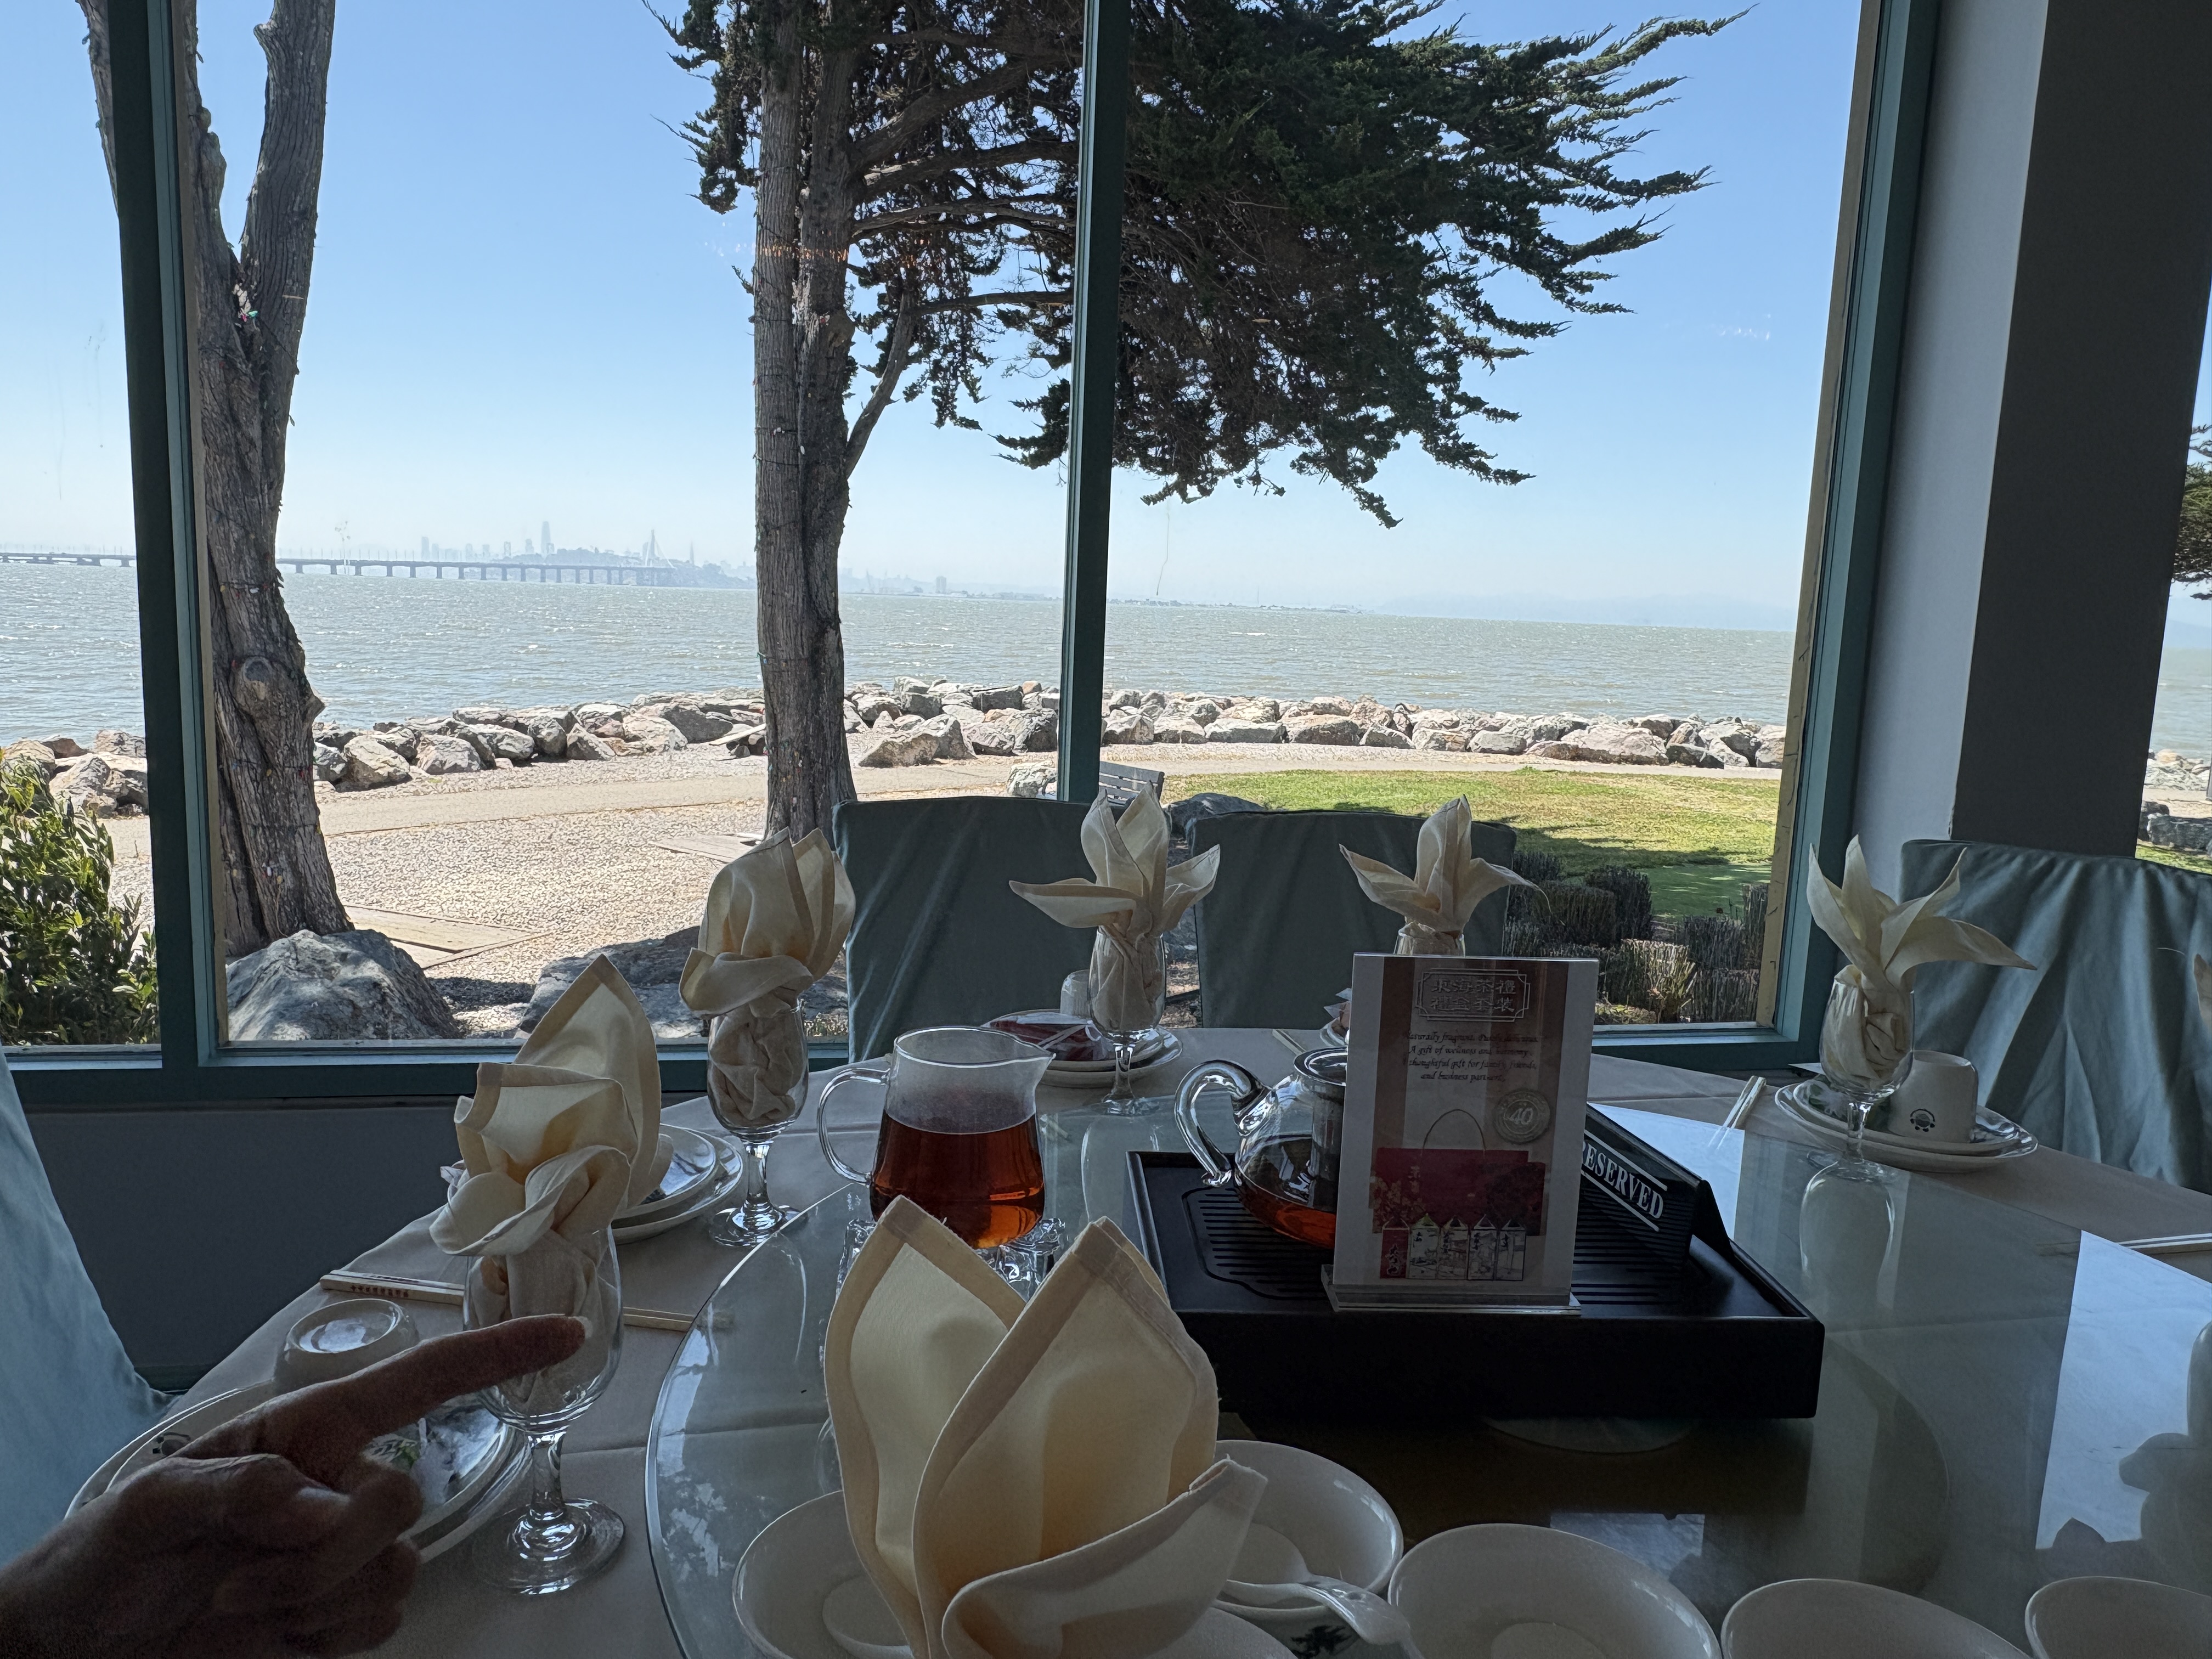
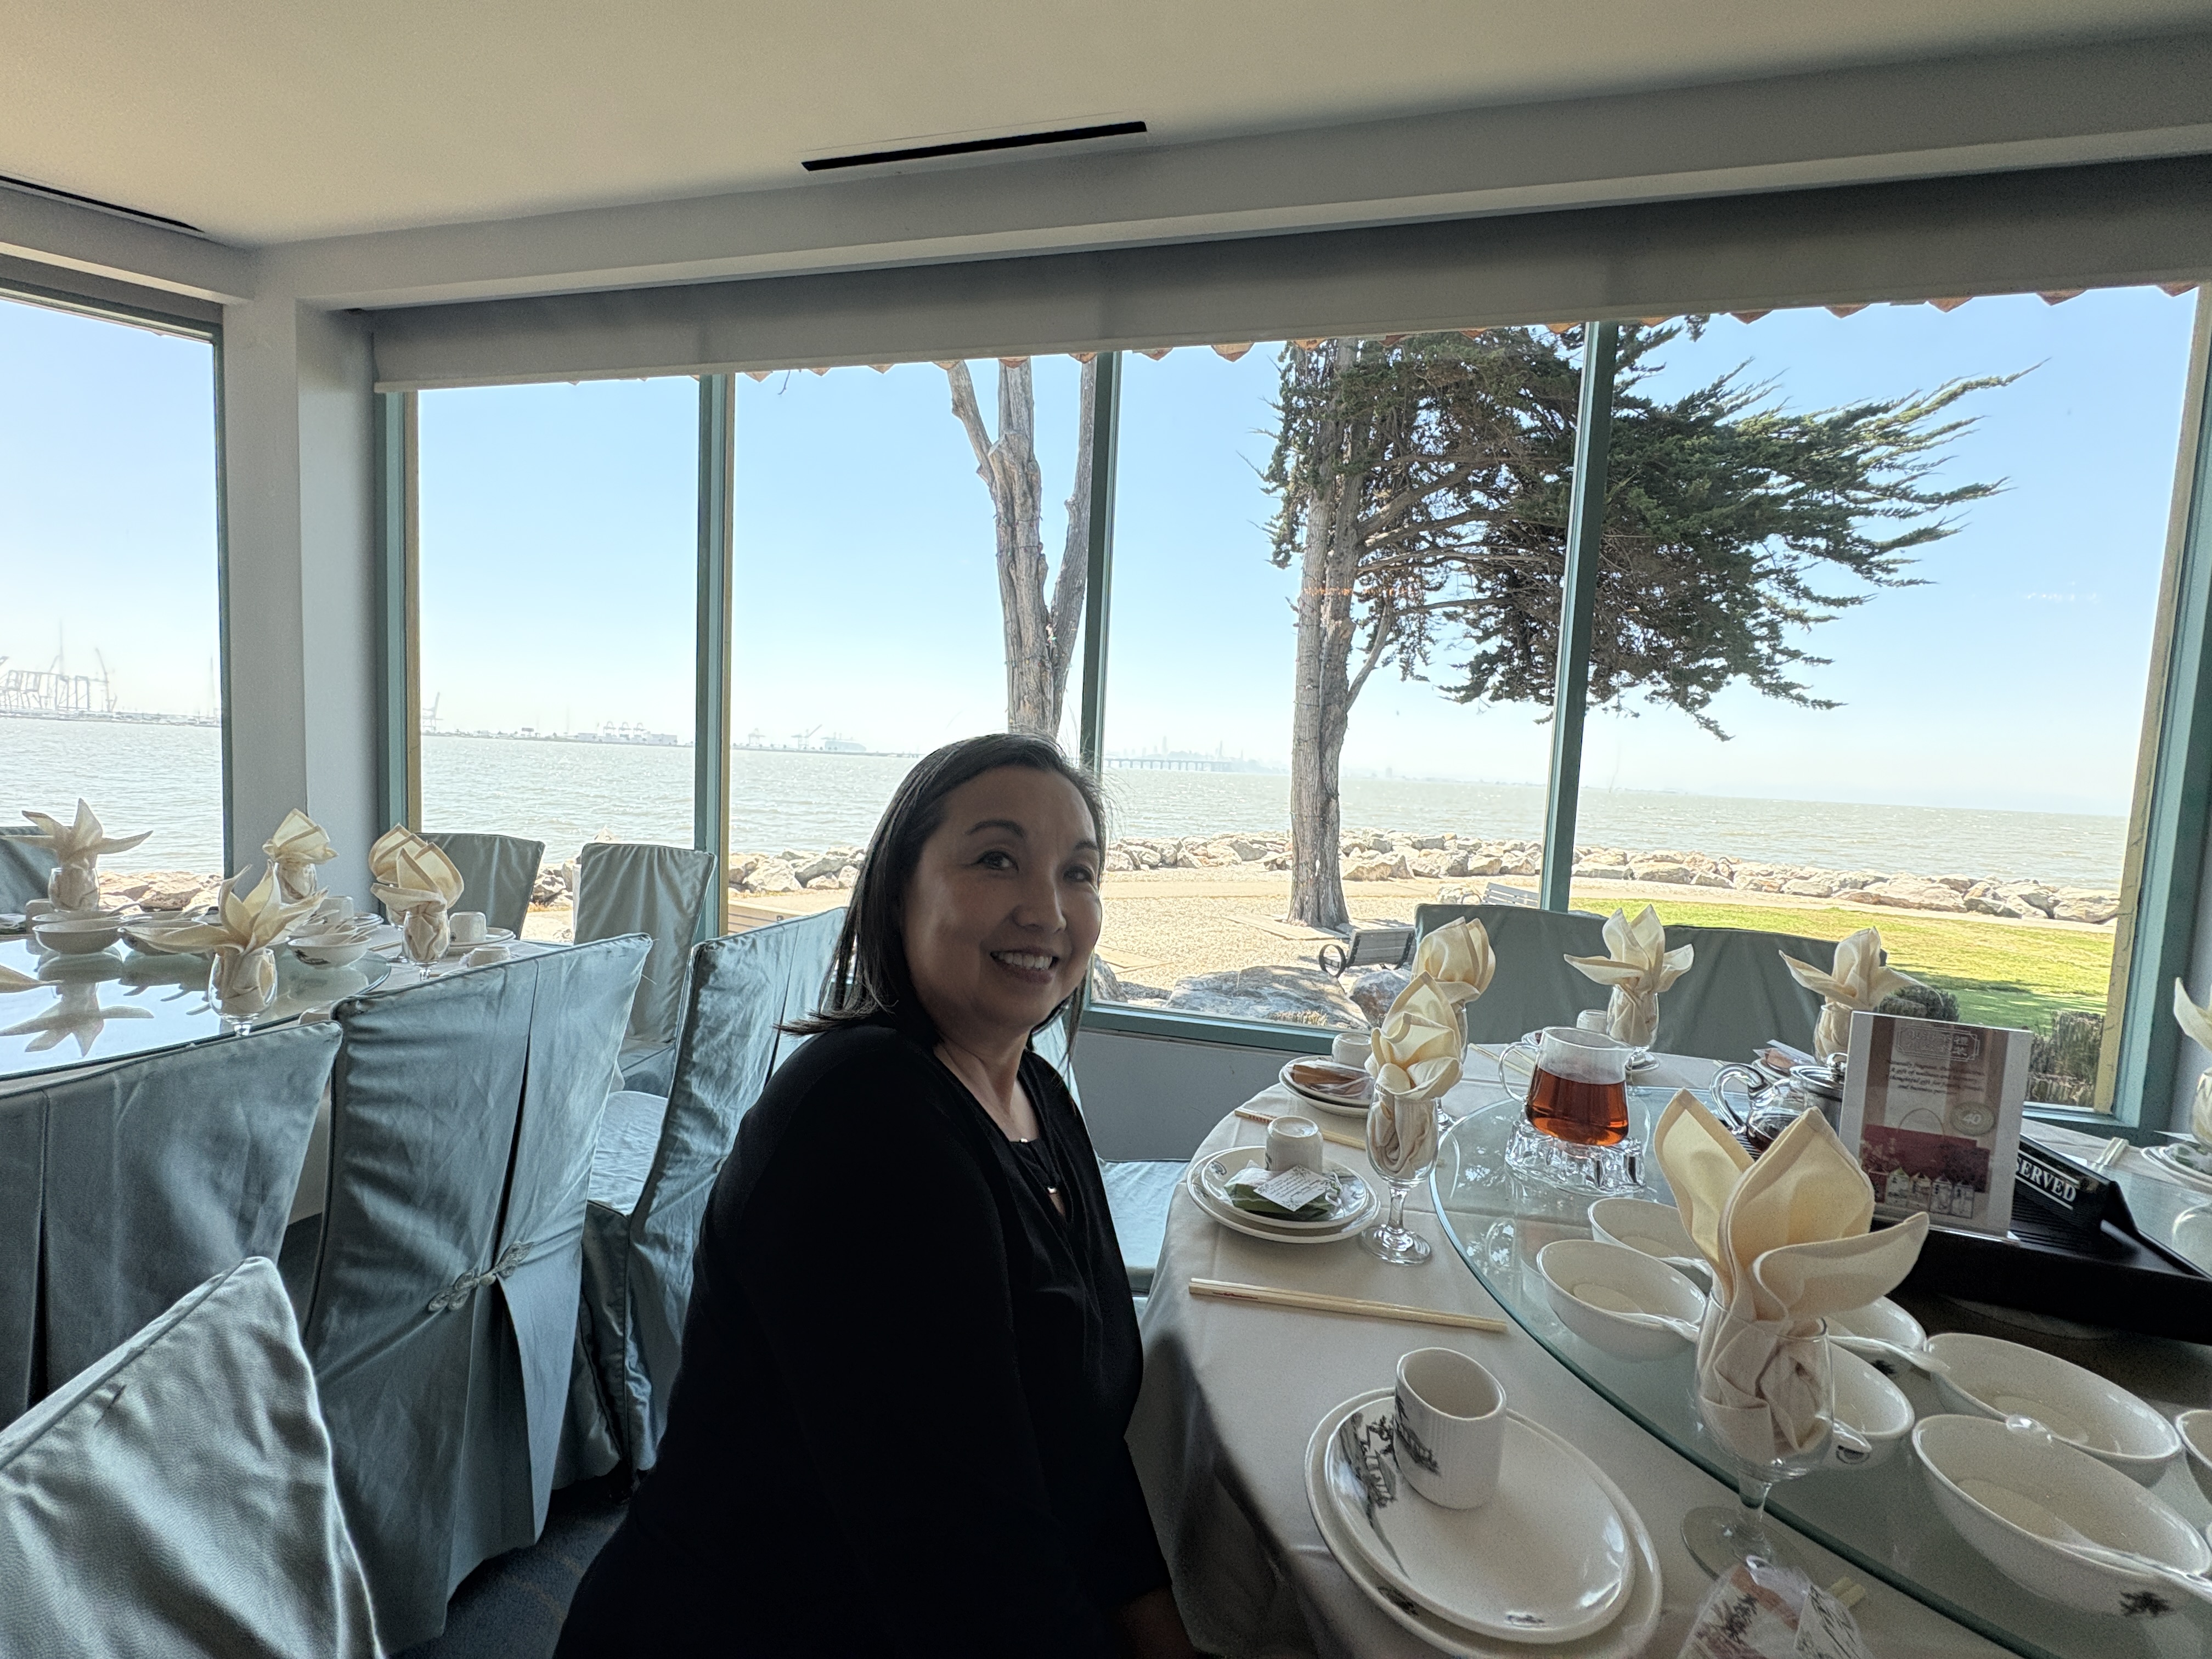
But not an end to our travels. Because the very next day we had to drive to Pinole to attend the funeral of Cristy’s aunt Tita Miniang. Then the graveside internment. Then the reception. Which was actually a beautiful venue; Hong Kong East Ocean Seafood Restaurant. An expense her aunt would never have approved of in life. It was a beautiful warm day, hot by Bay Area standards and the view was wonderful! We ended up staying at the Hilton right next to where my sister Melanie used to work.

Our next big trip is coming up next week when we travel to Hardin, Missouri so that I can FINALLY pay my respects to my parents at their grave. See you in the next blog entry!