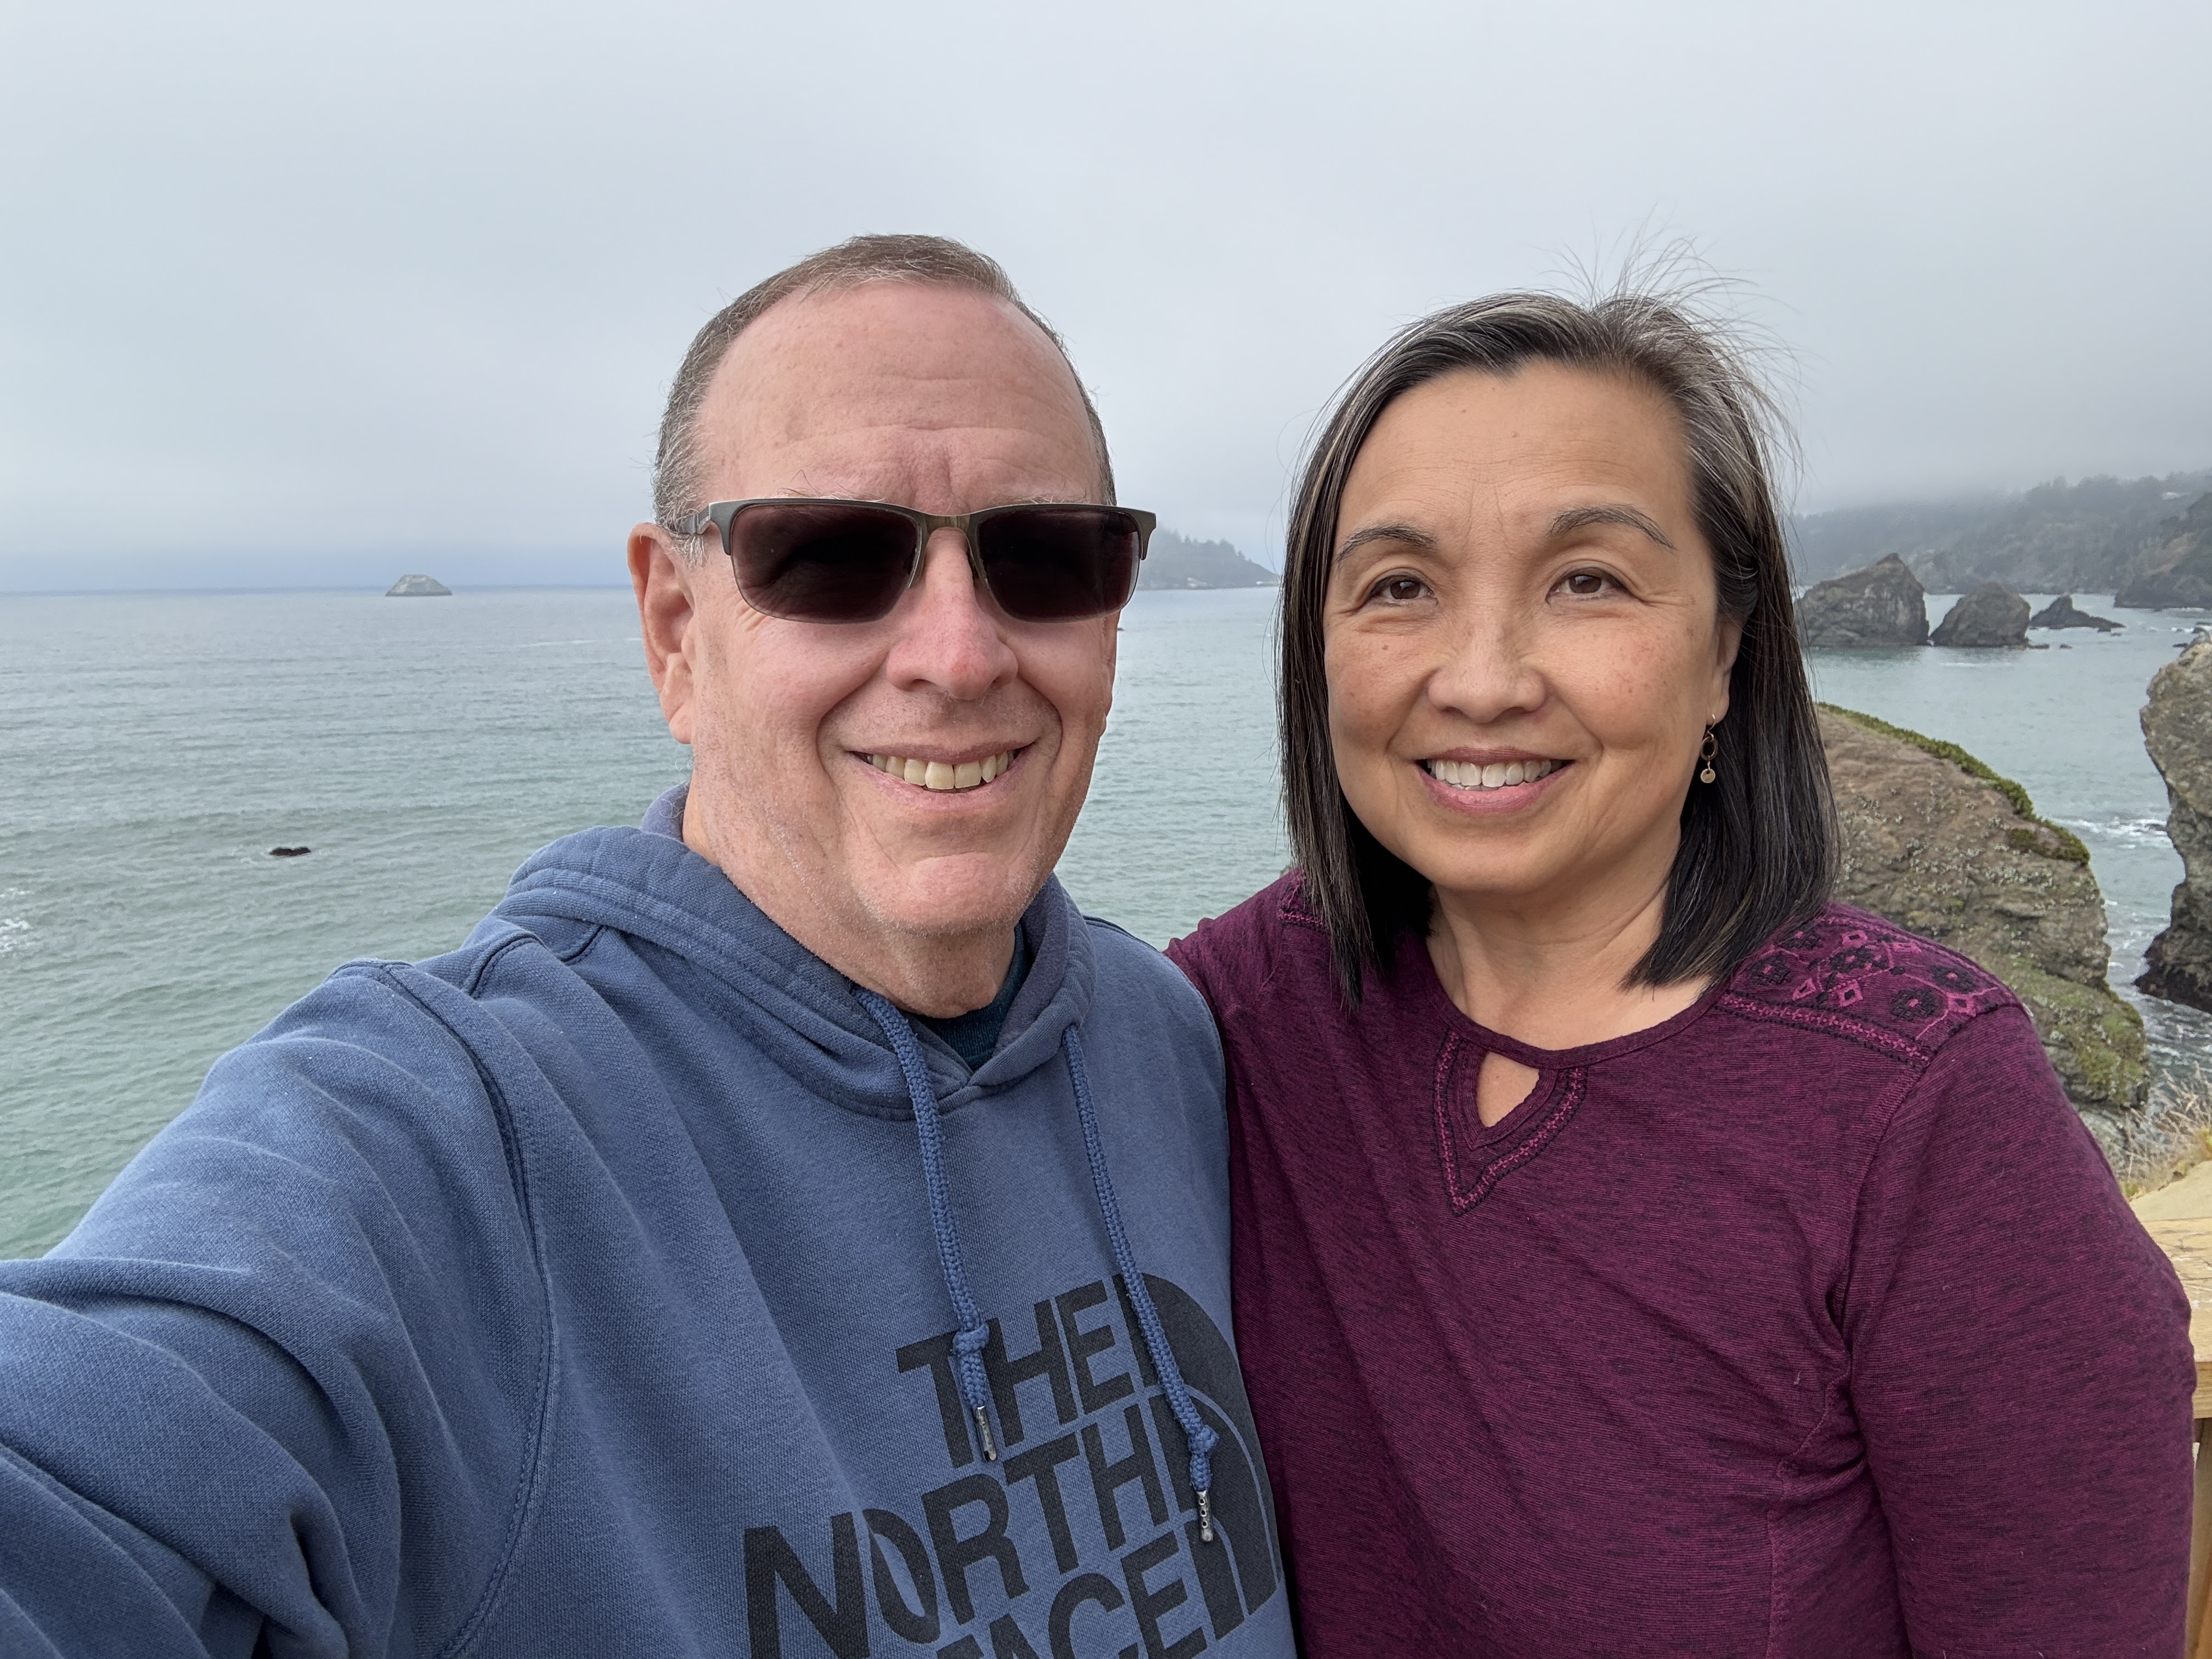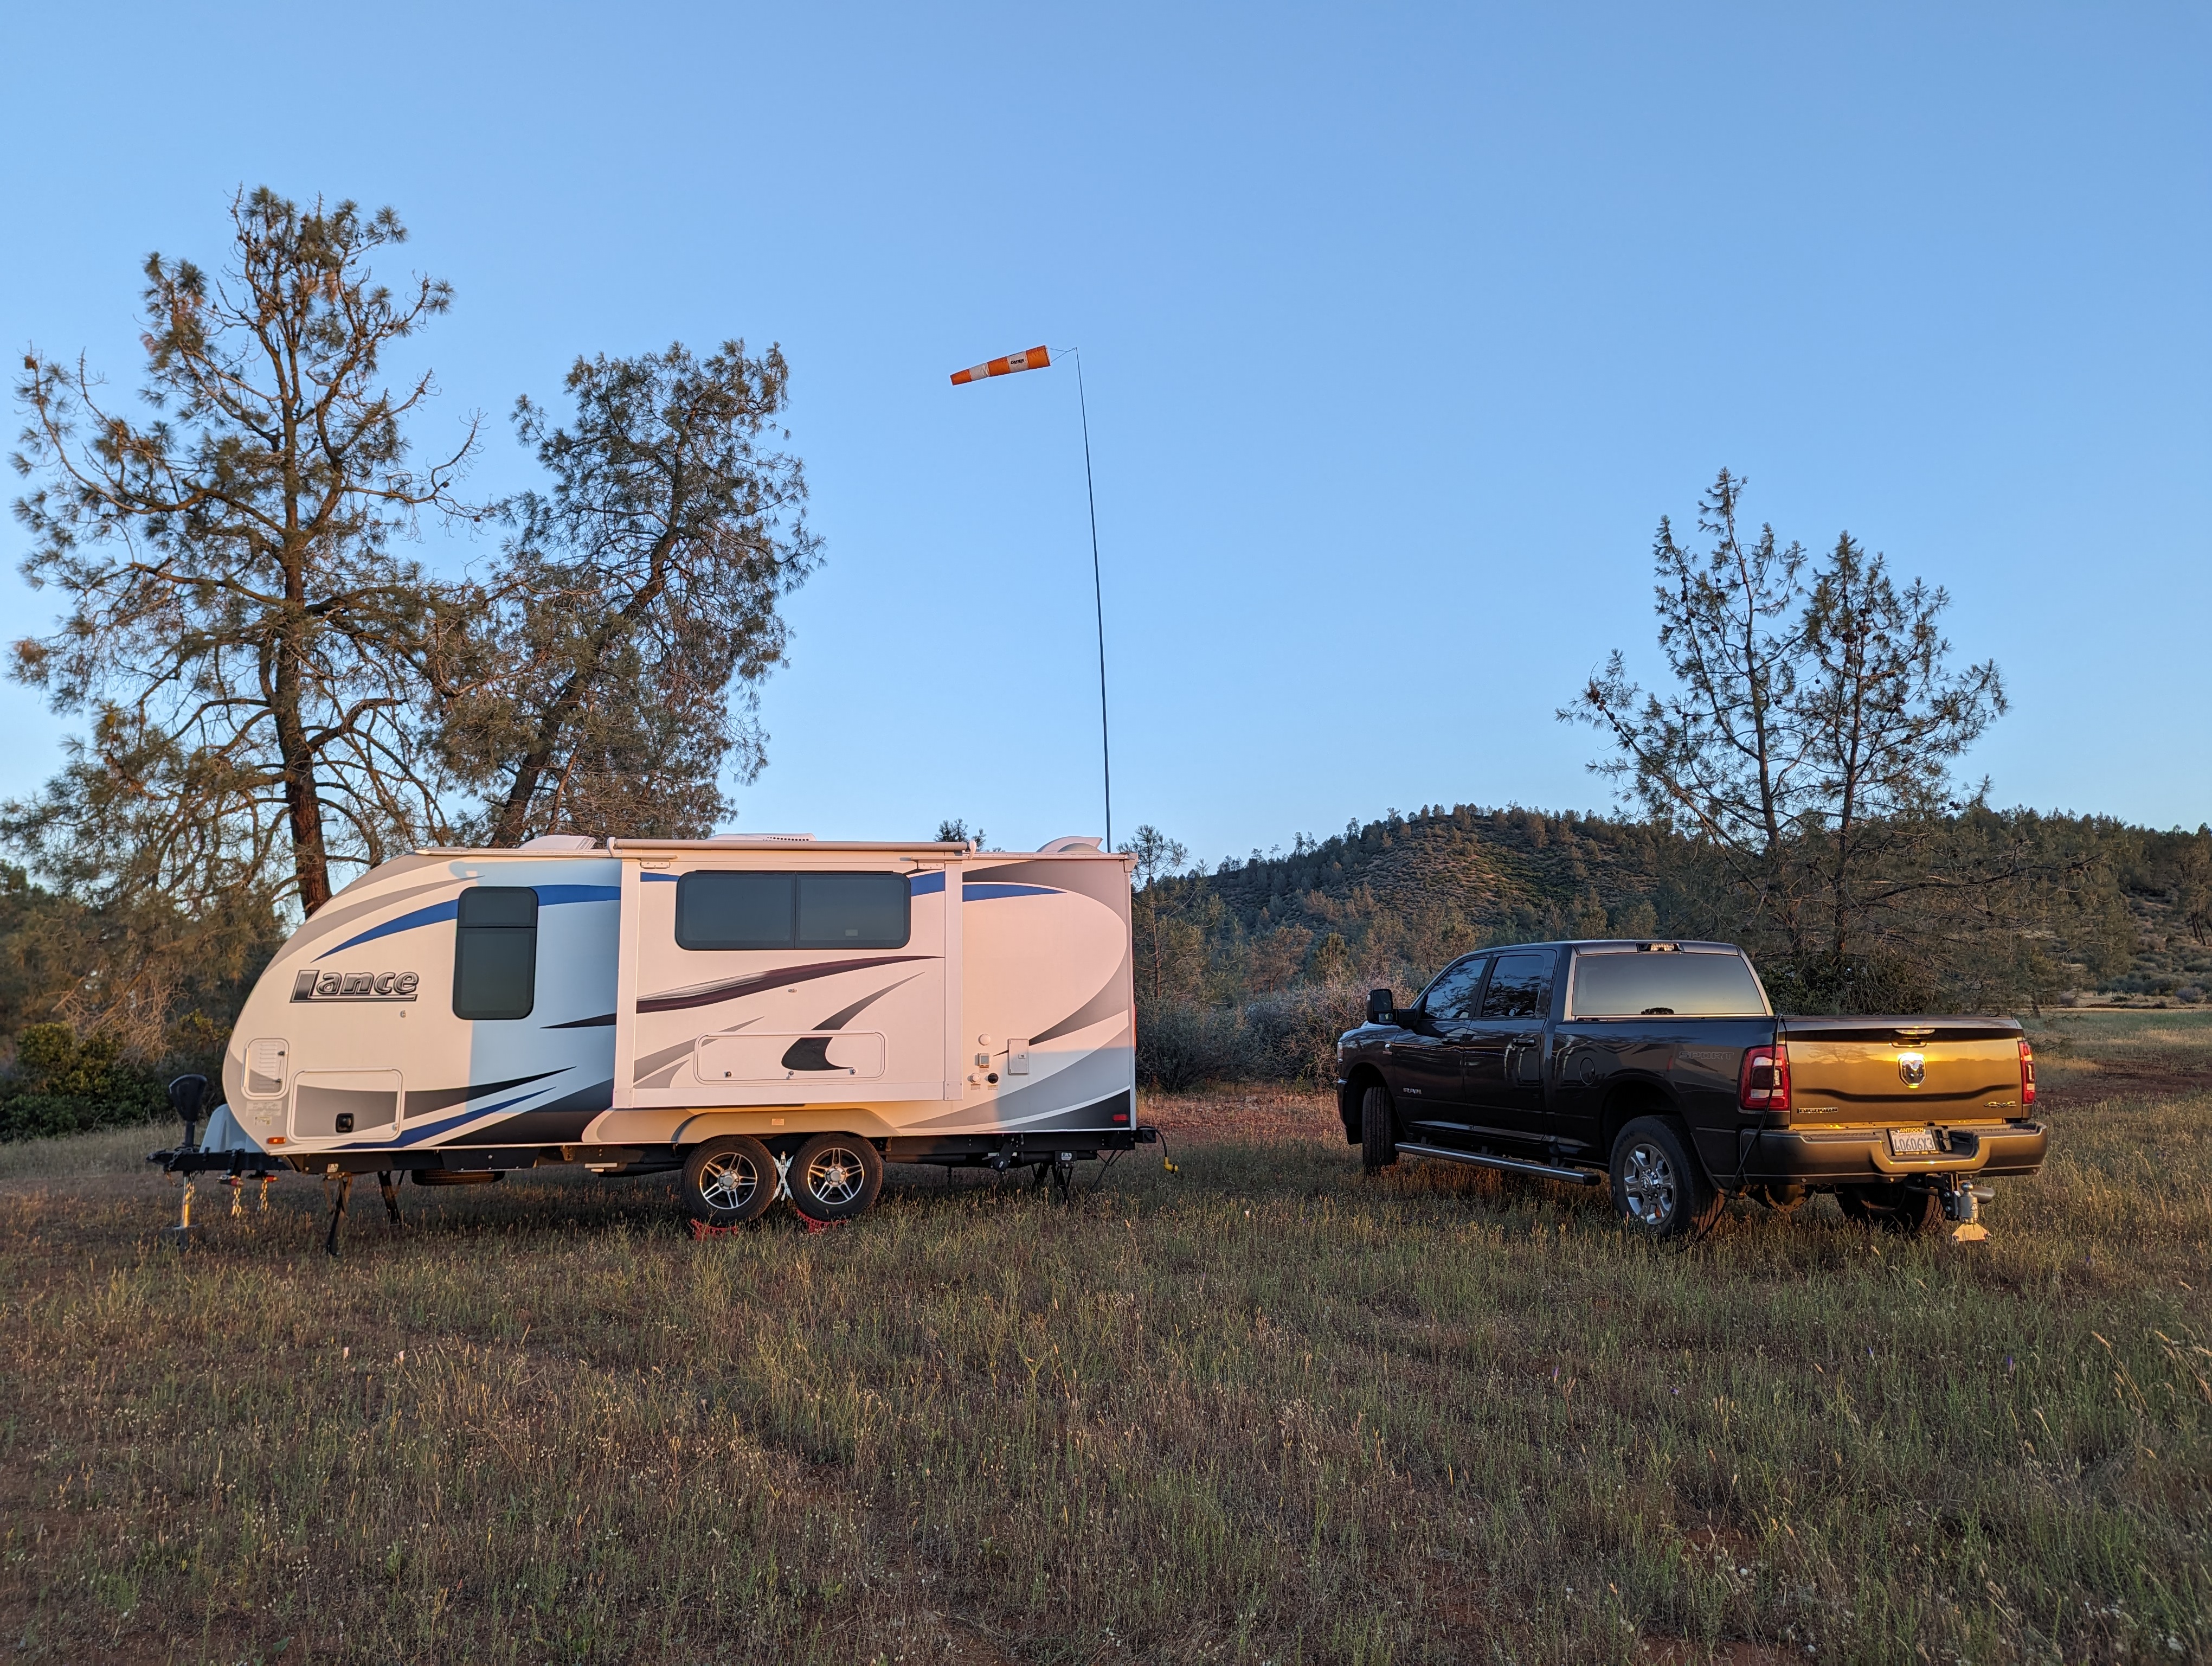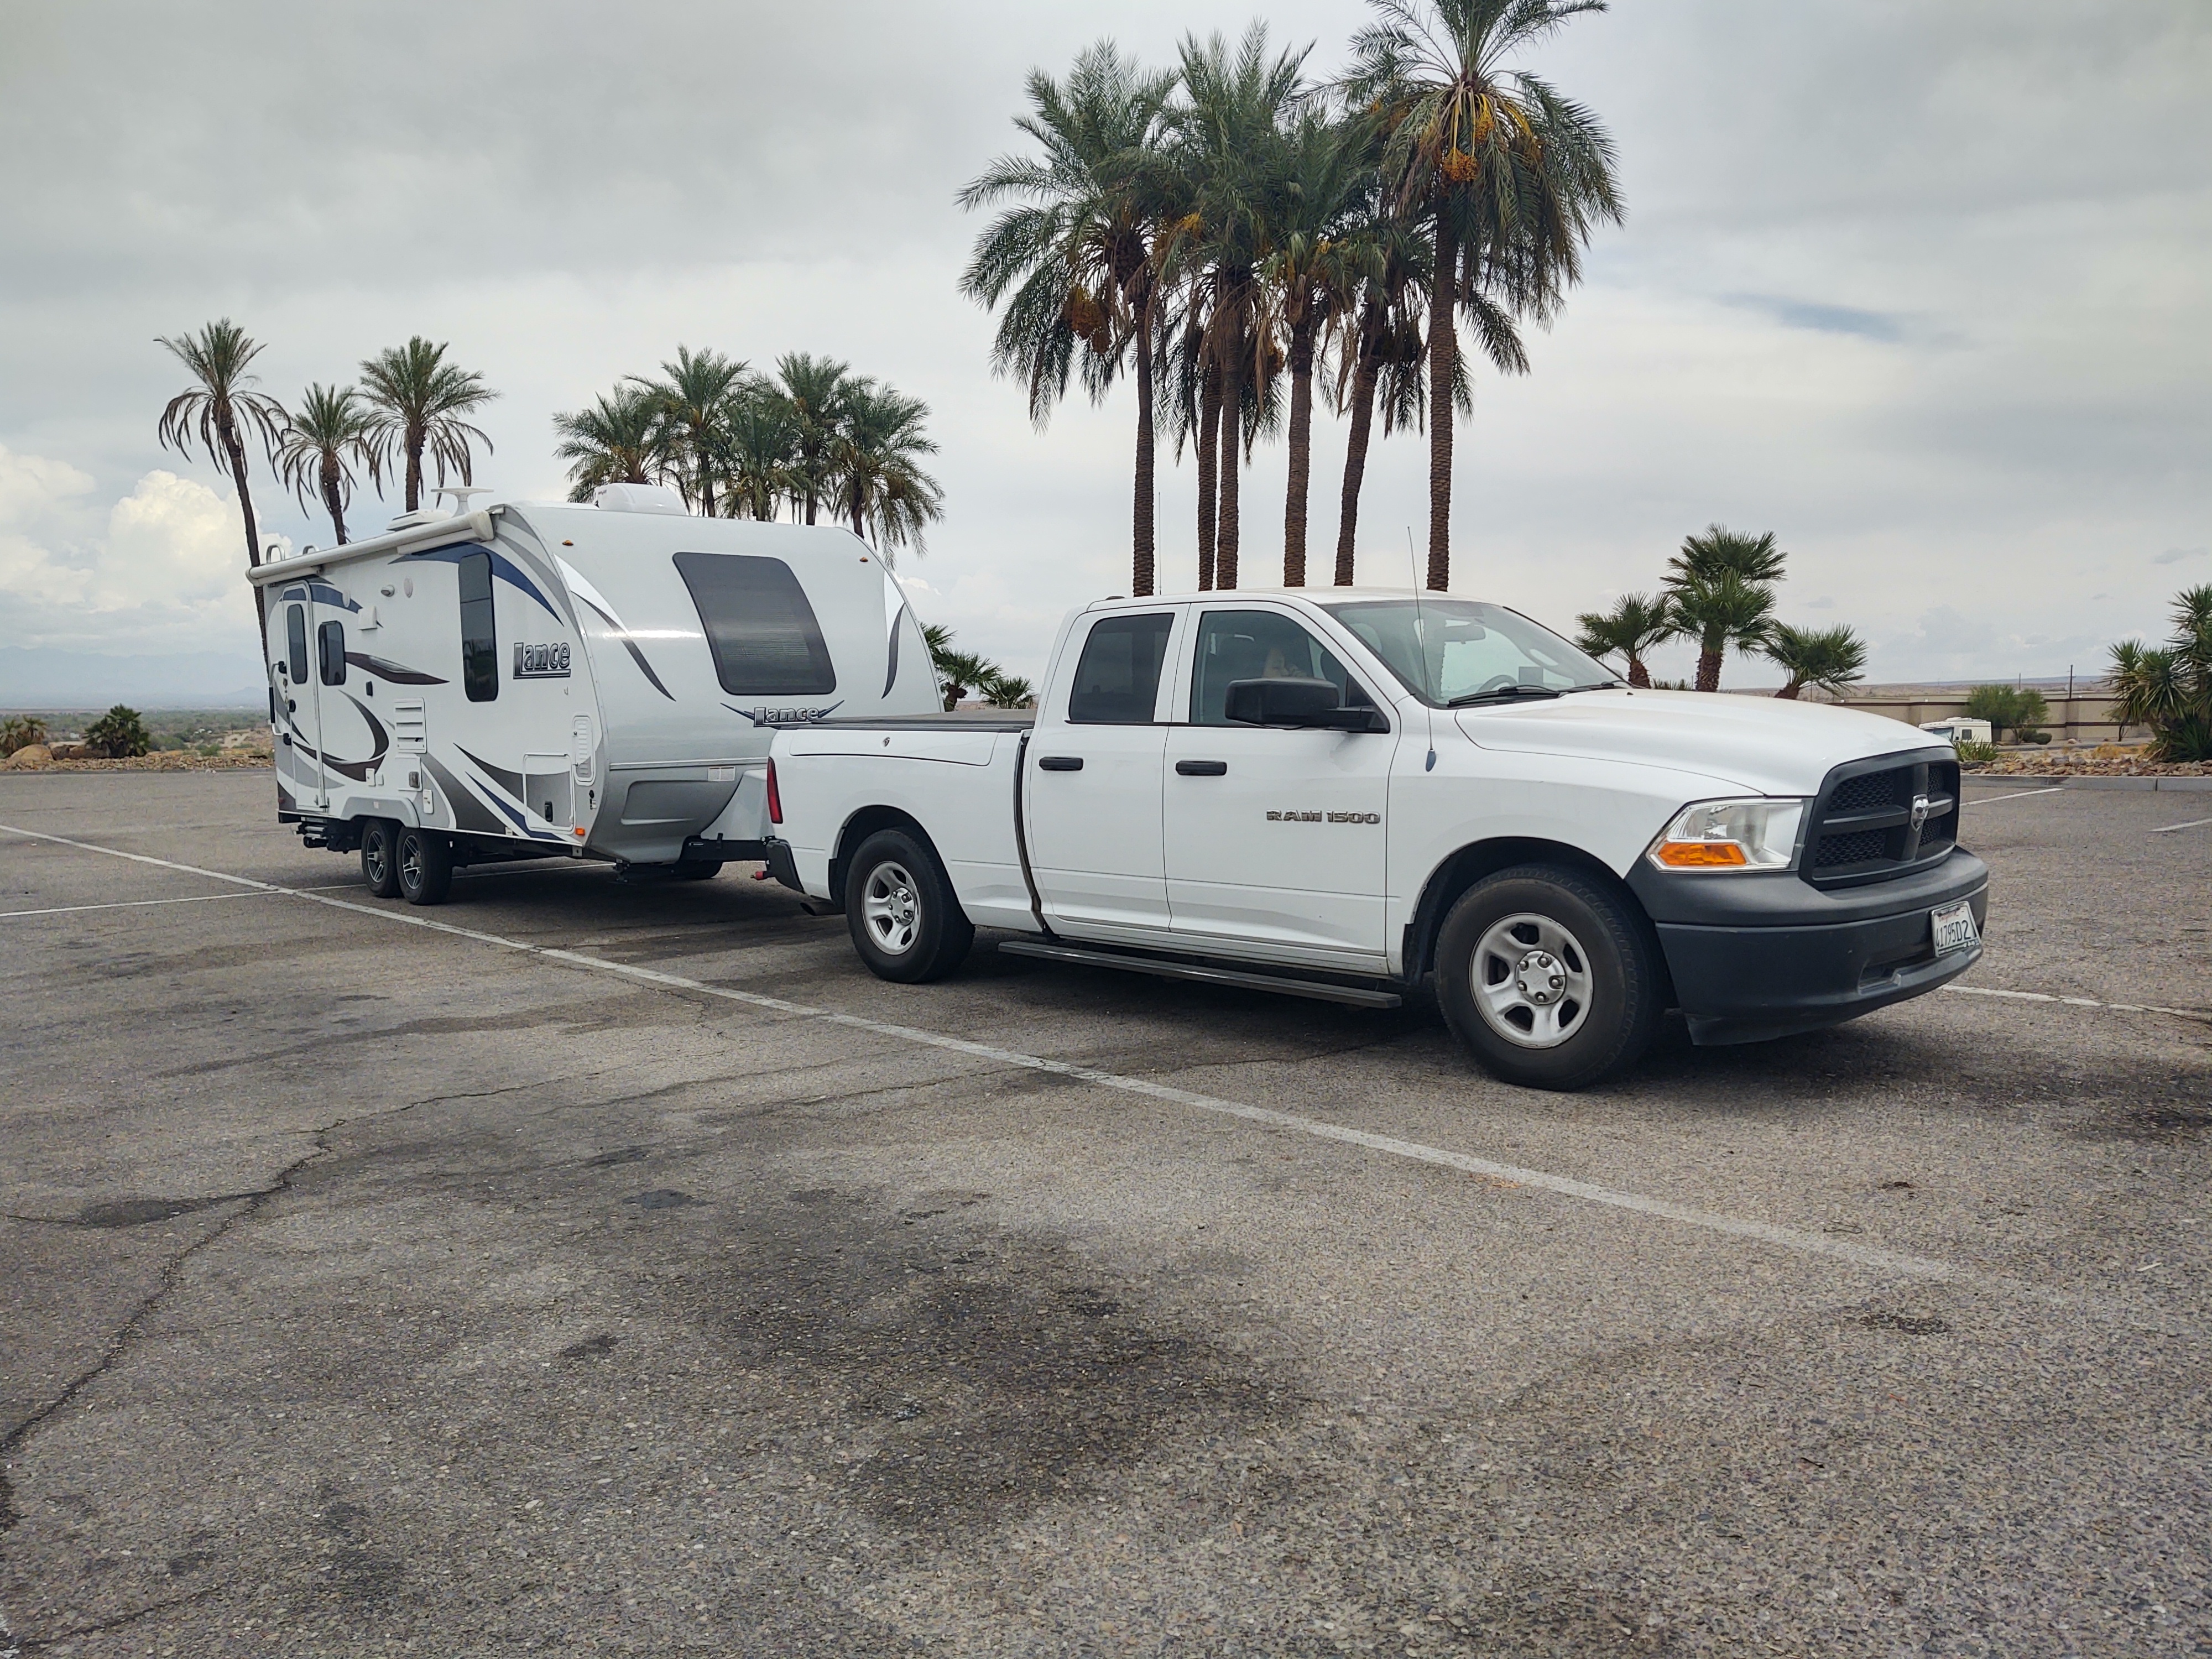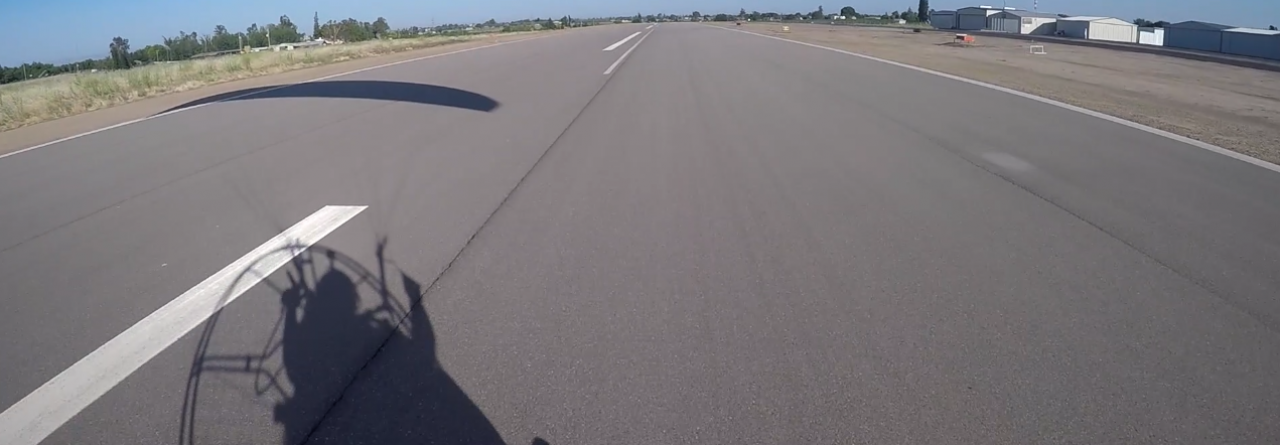
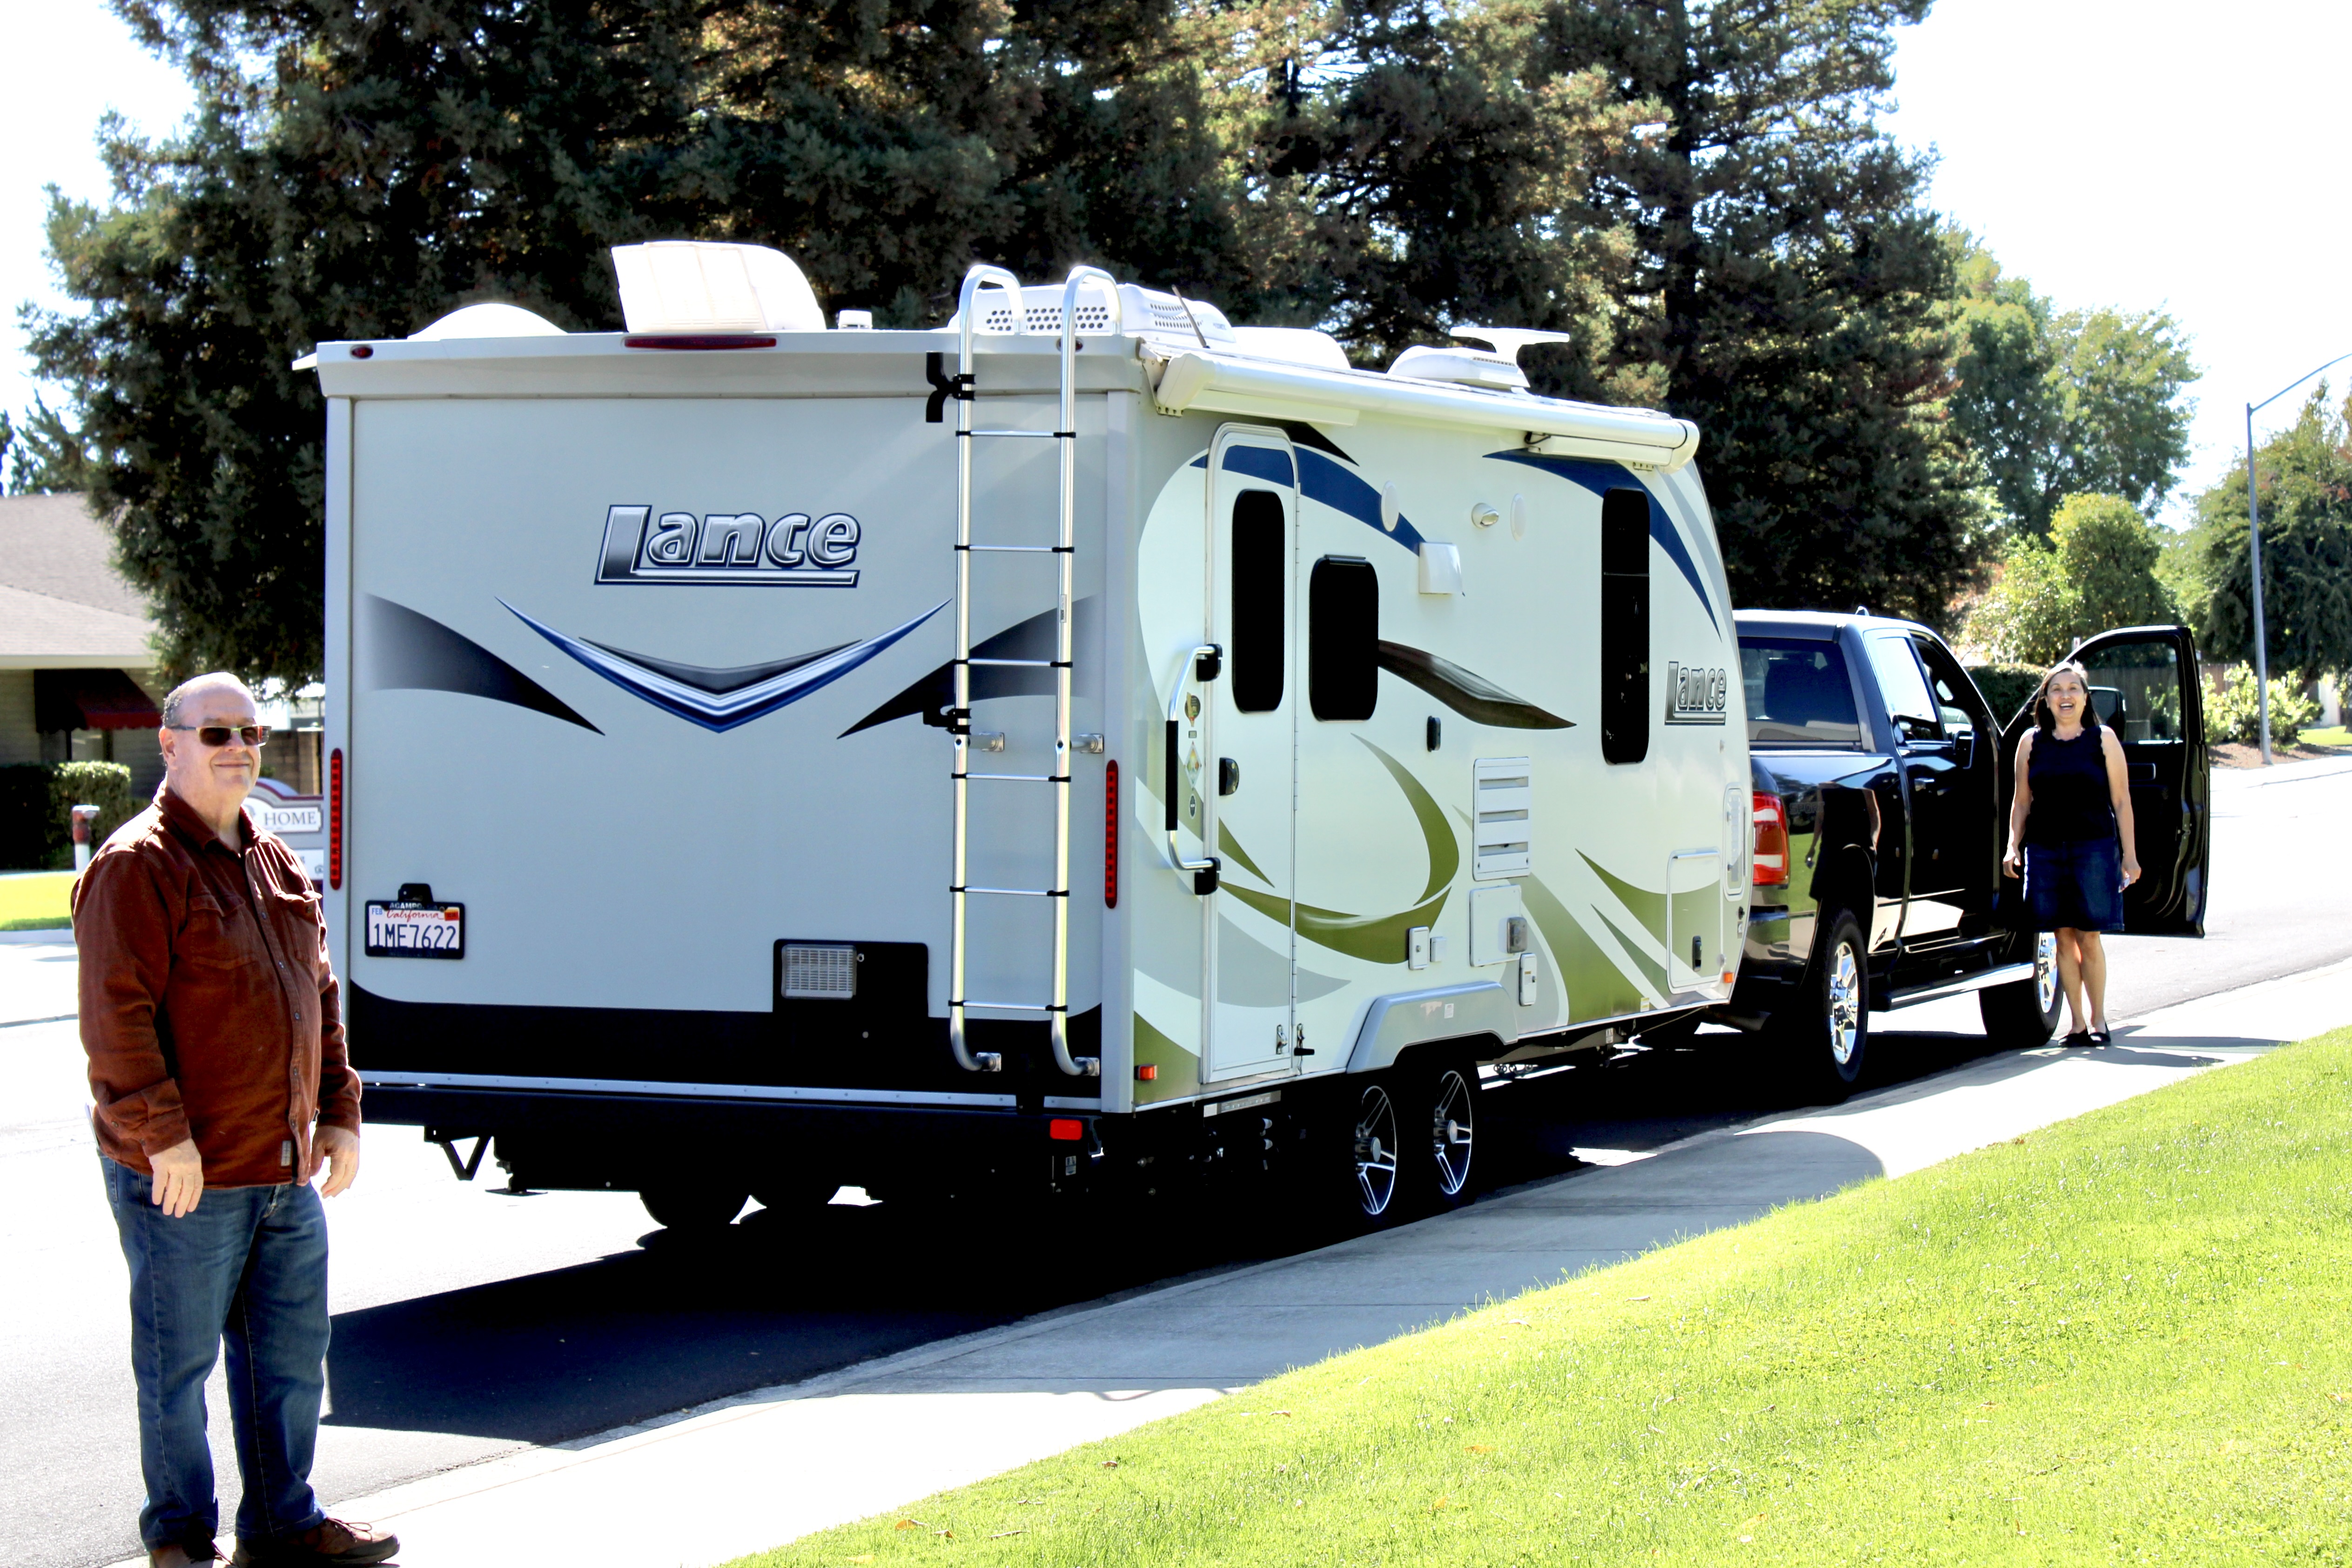
Hard to believe that it’s been 38 years since my wife and I eloped; and took my family with us. This year we decided to take a trip up to Humboldt Redwoods Avenue of the Giants for the week. We packed up the trailer and went to church and afterwards headed off to our first stop.
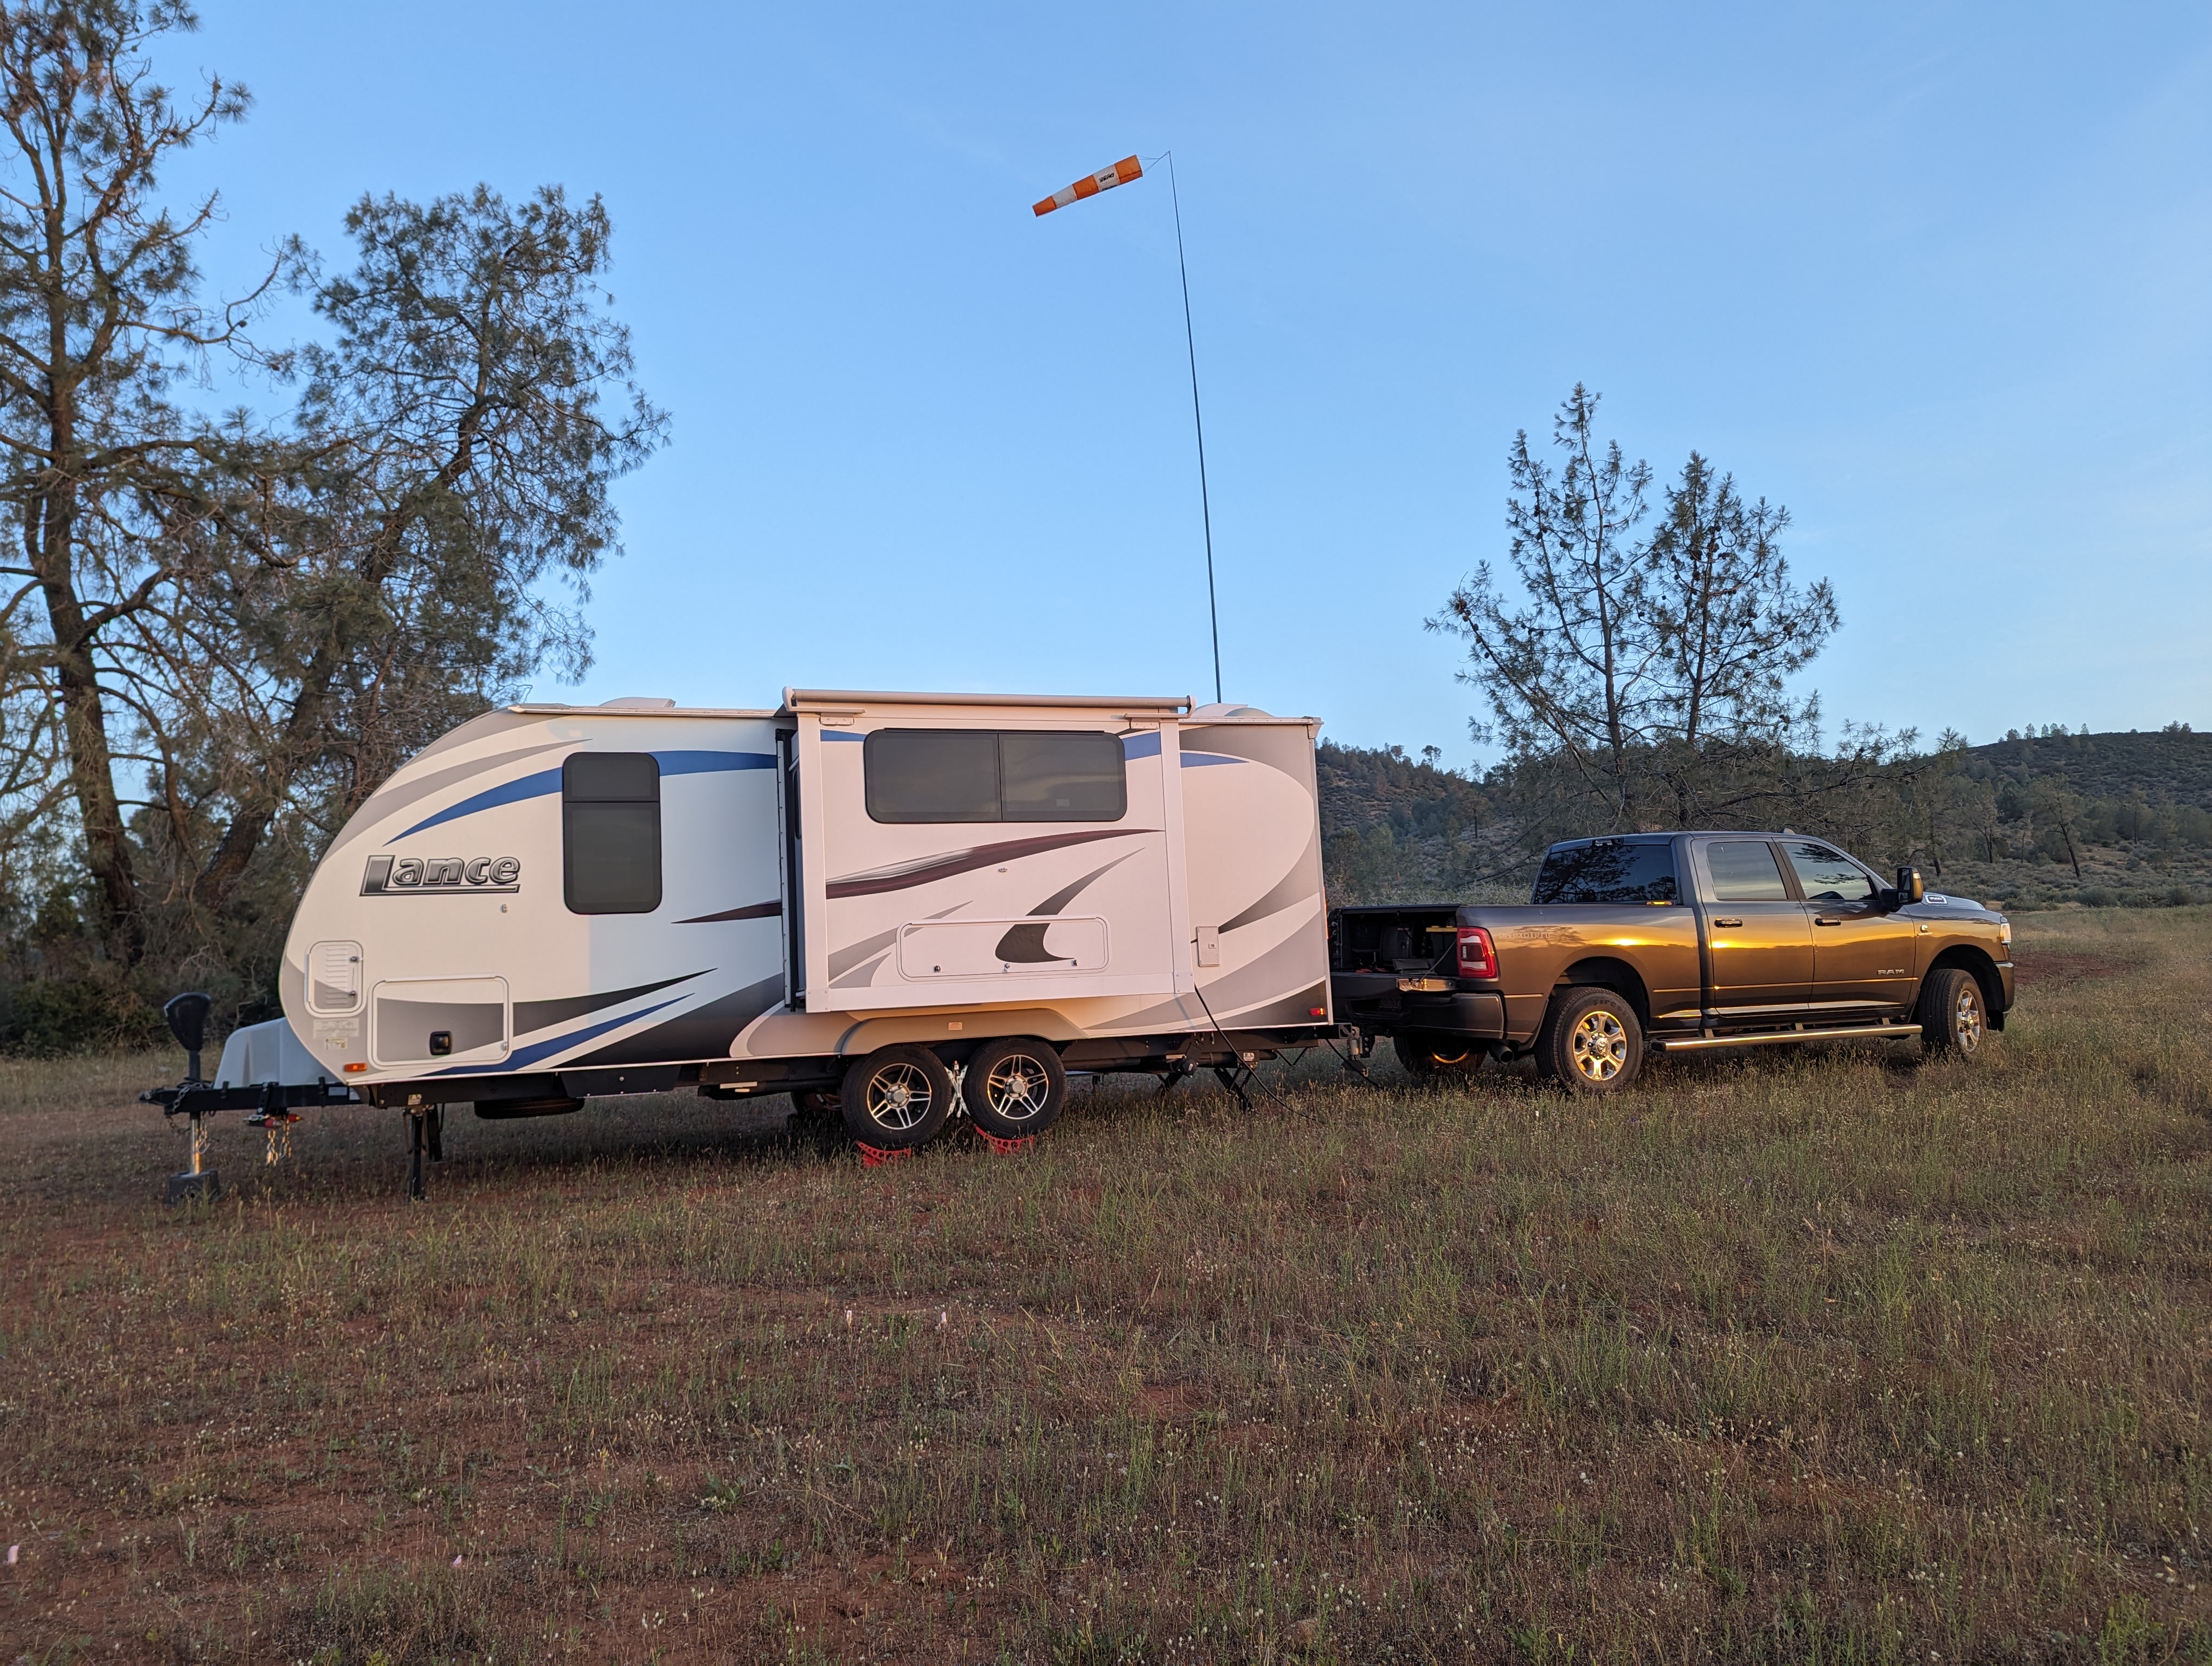
Incidentally, if you look closely you see a white strip above the black bumper of the trailer. Just under the ladder you see a small black dash in the white strip. That black dash is my travel mug for my coffee. There’s no telling how long the mug rode along on the back bumper of the trailer. All I know is that it was never seen again.
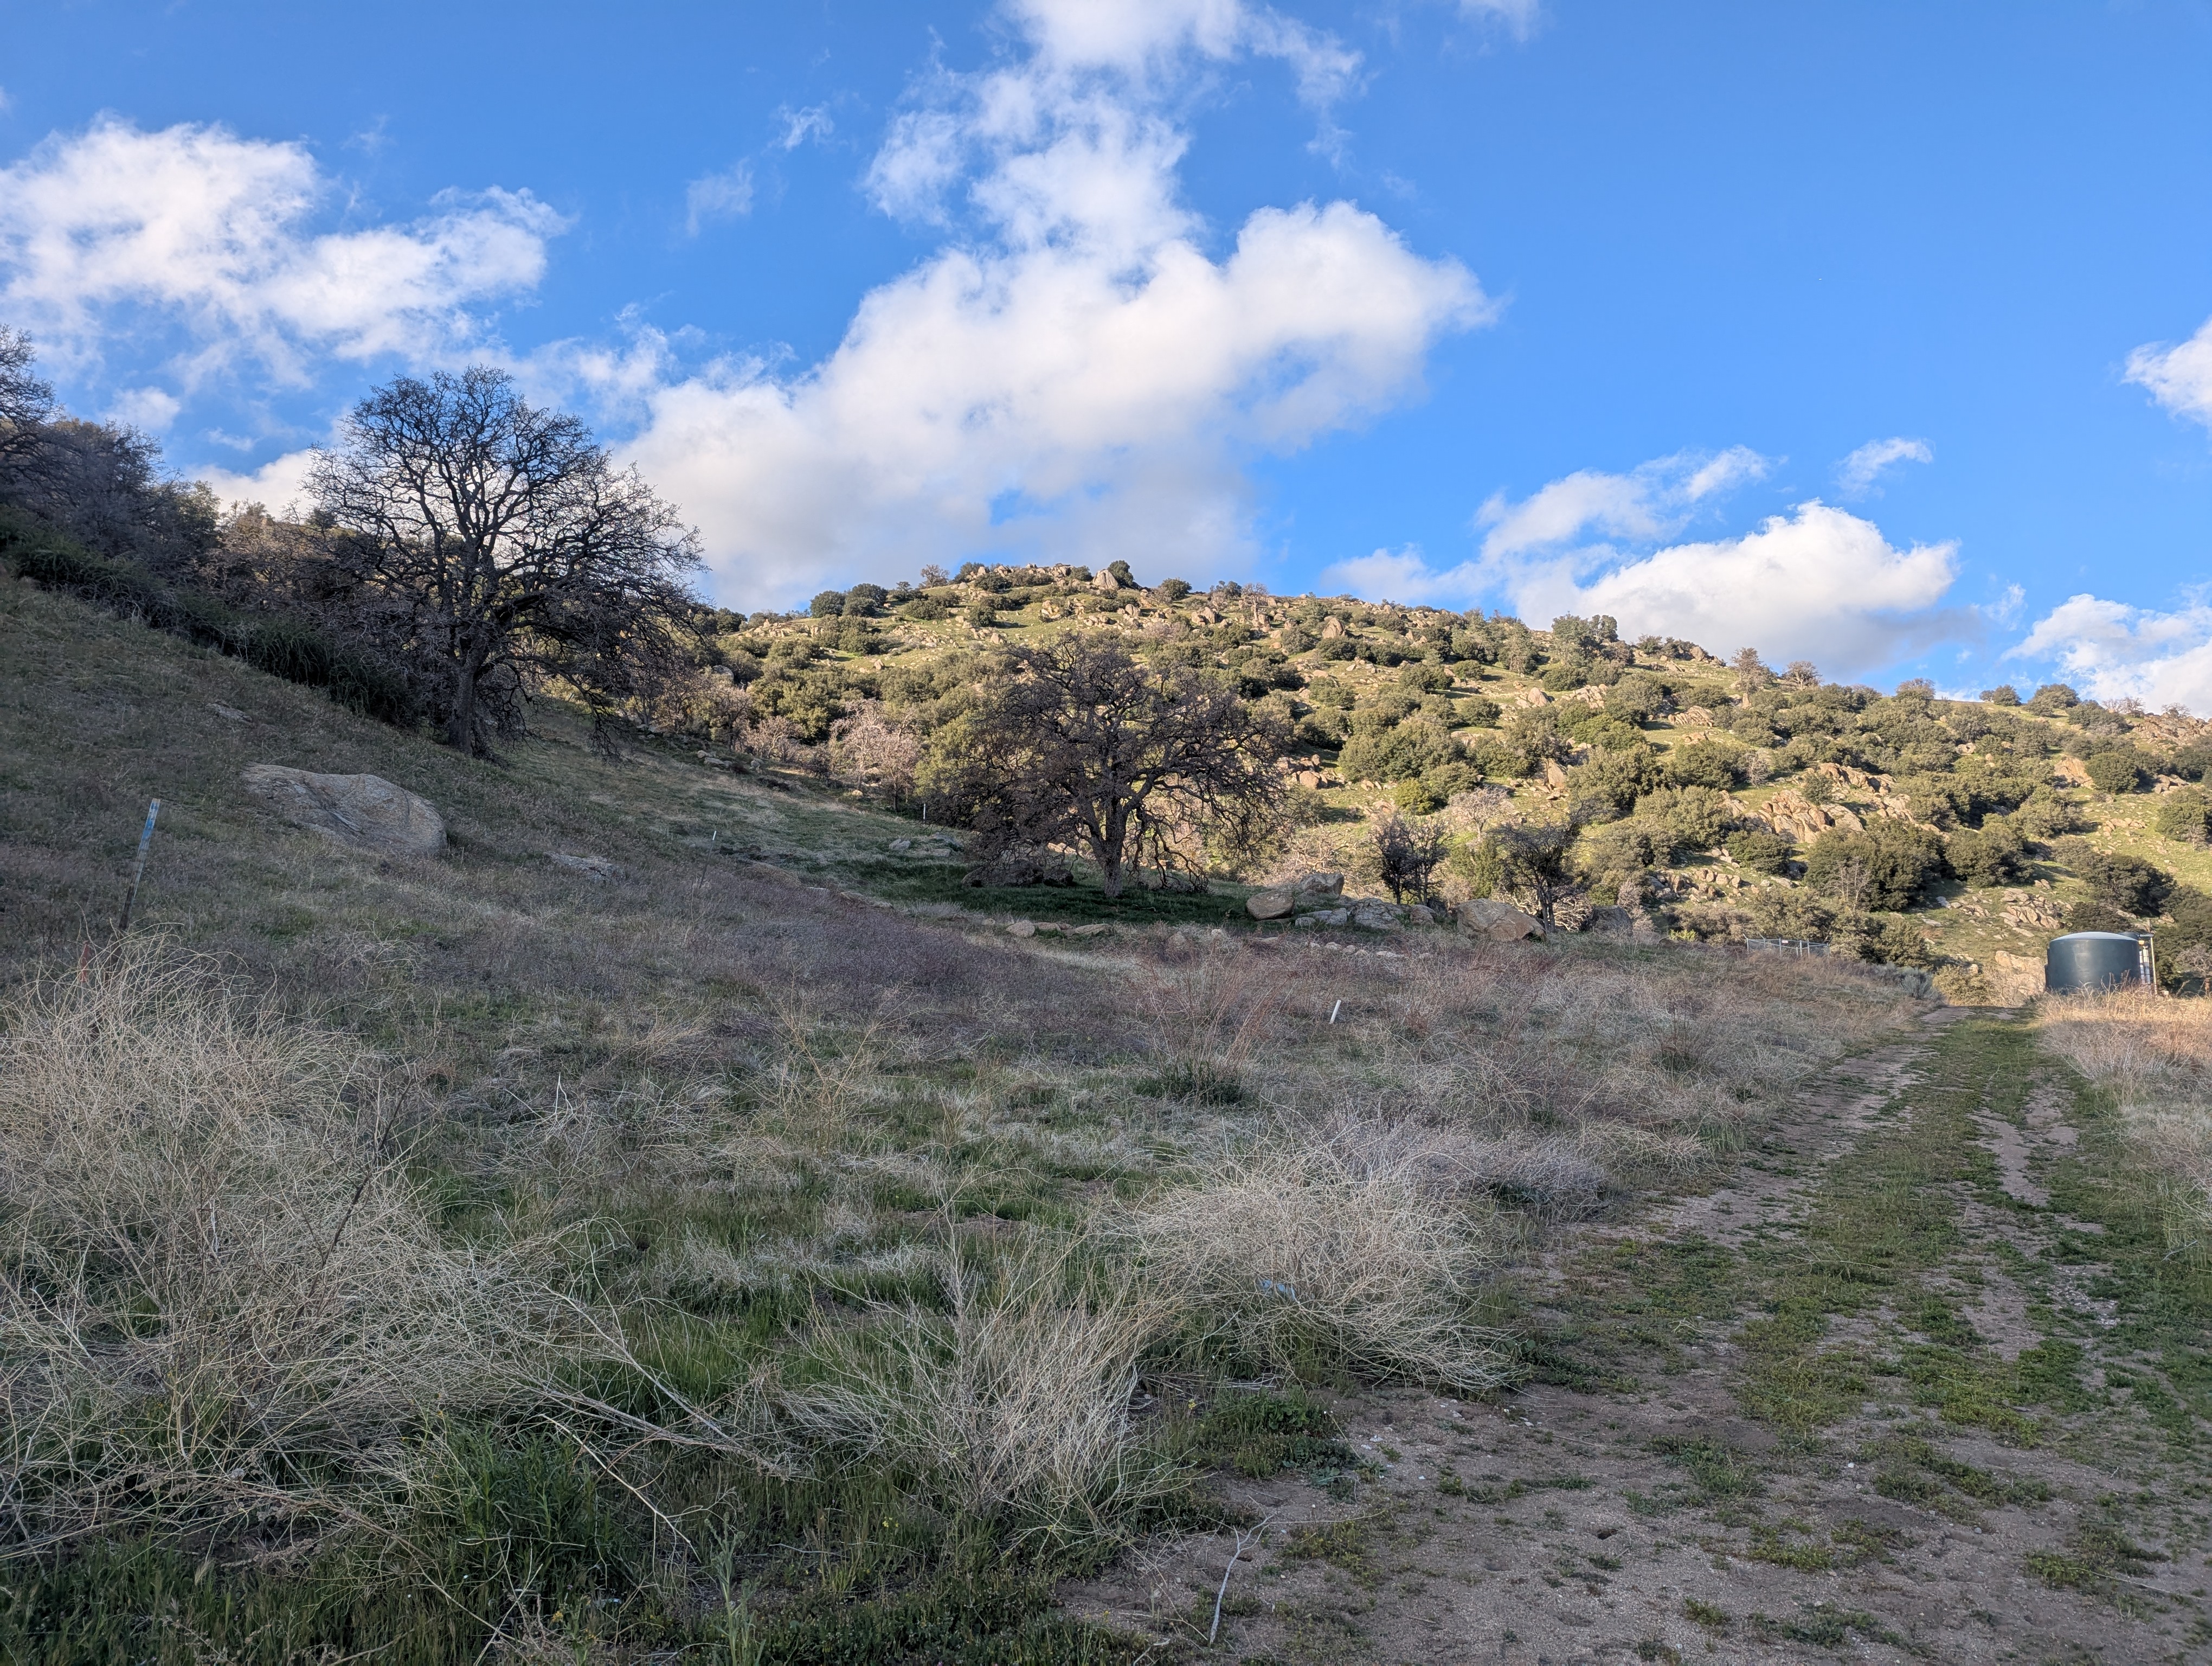
Nelson Family Vineyards
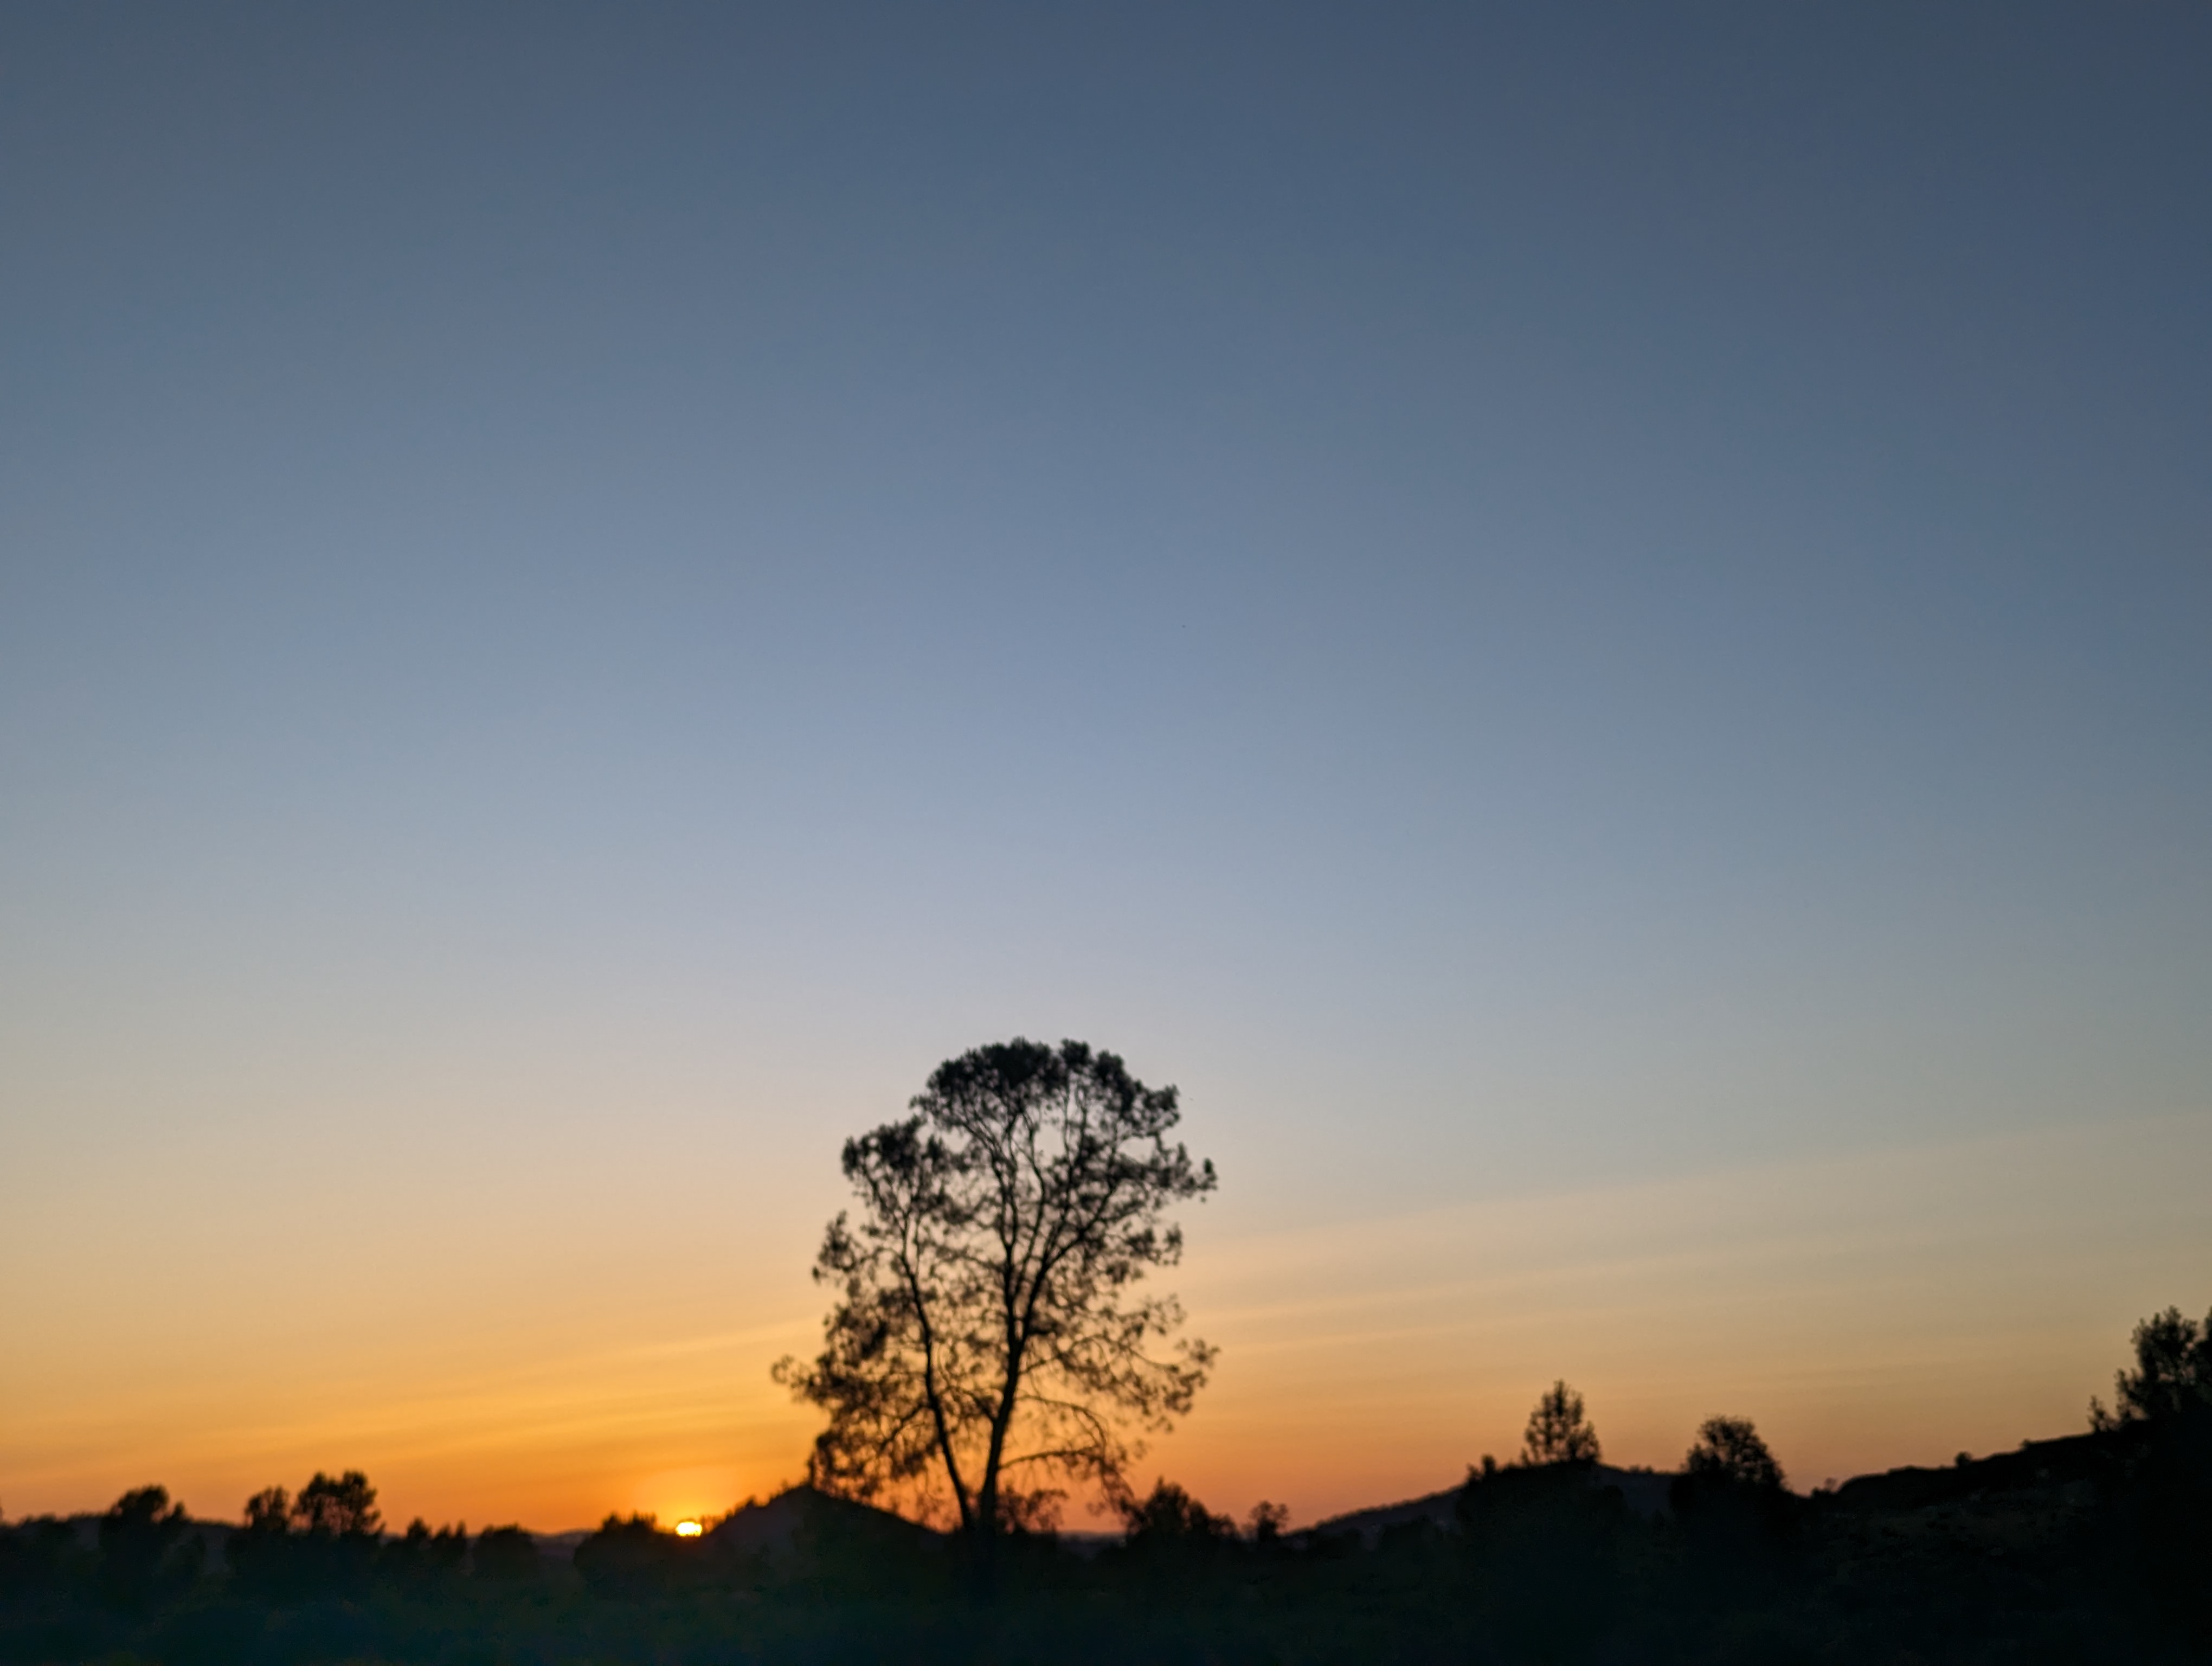
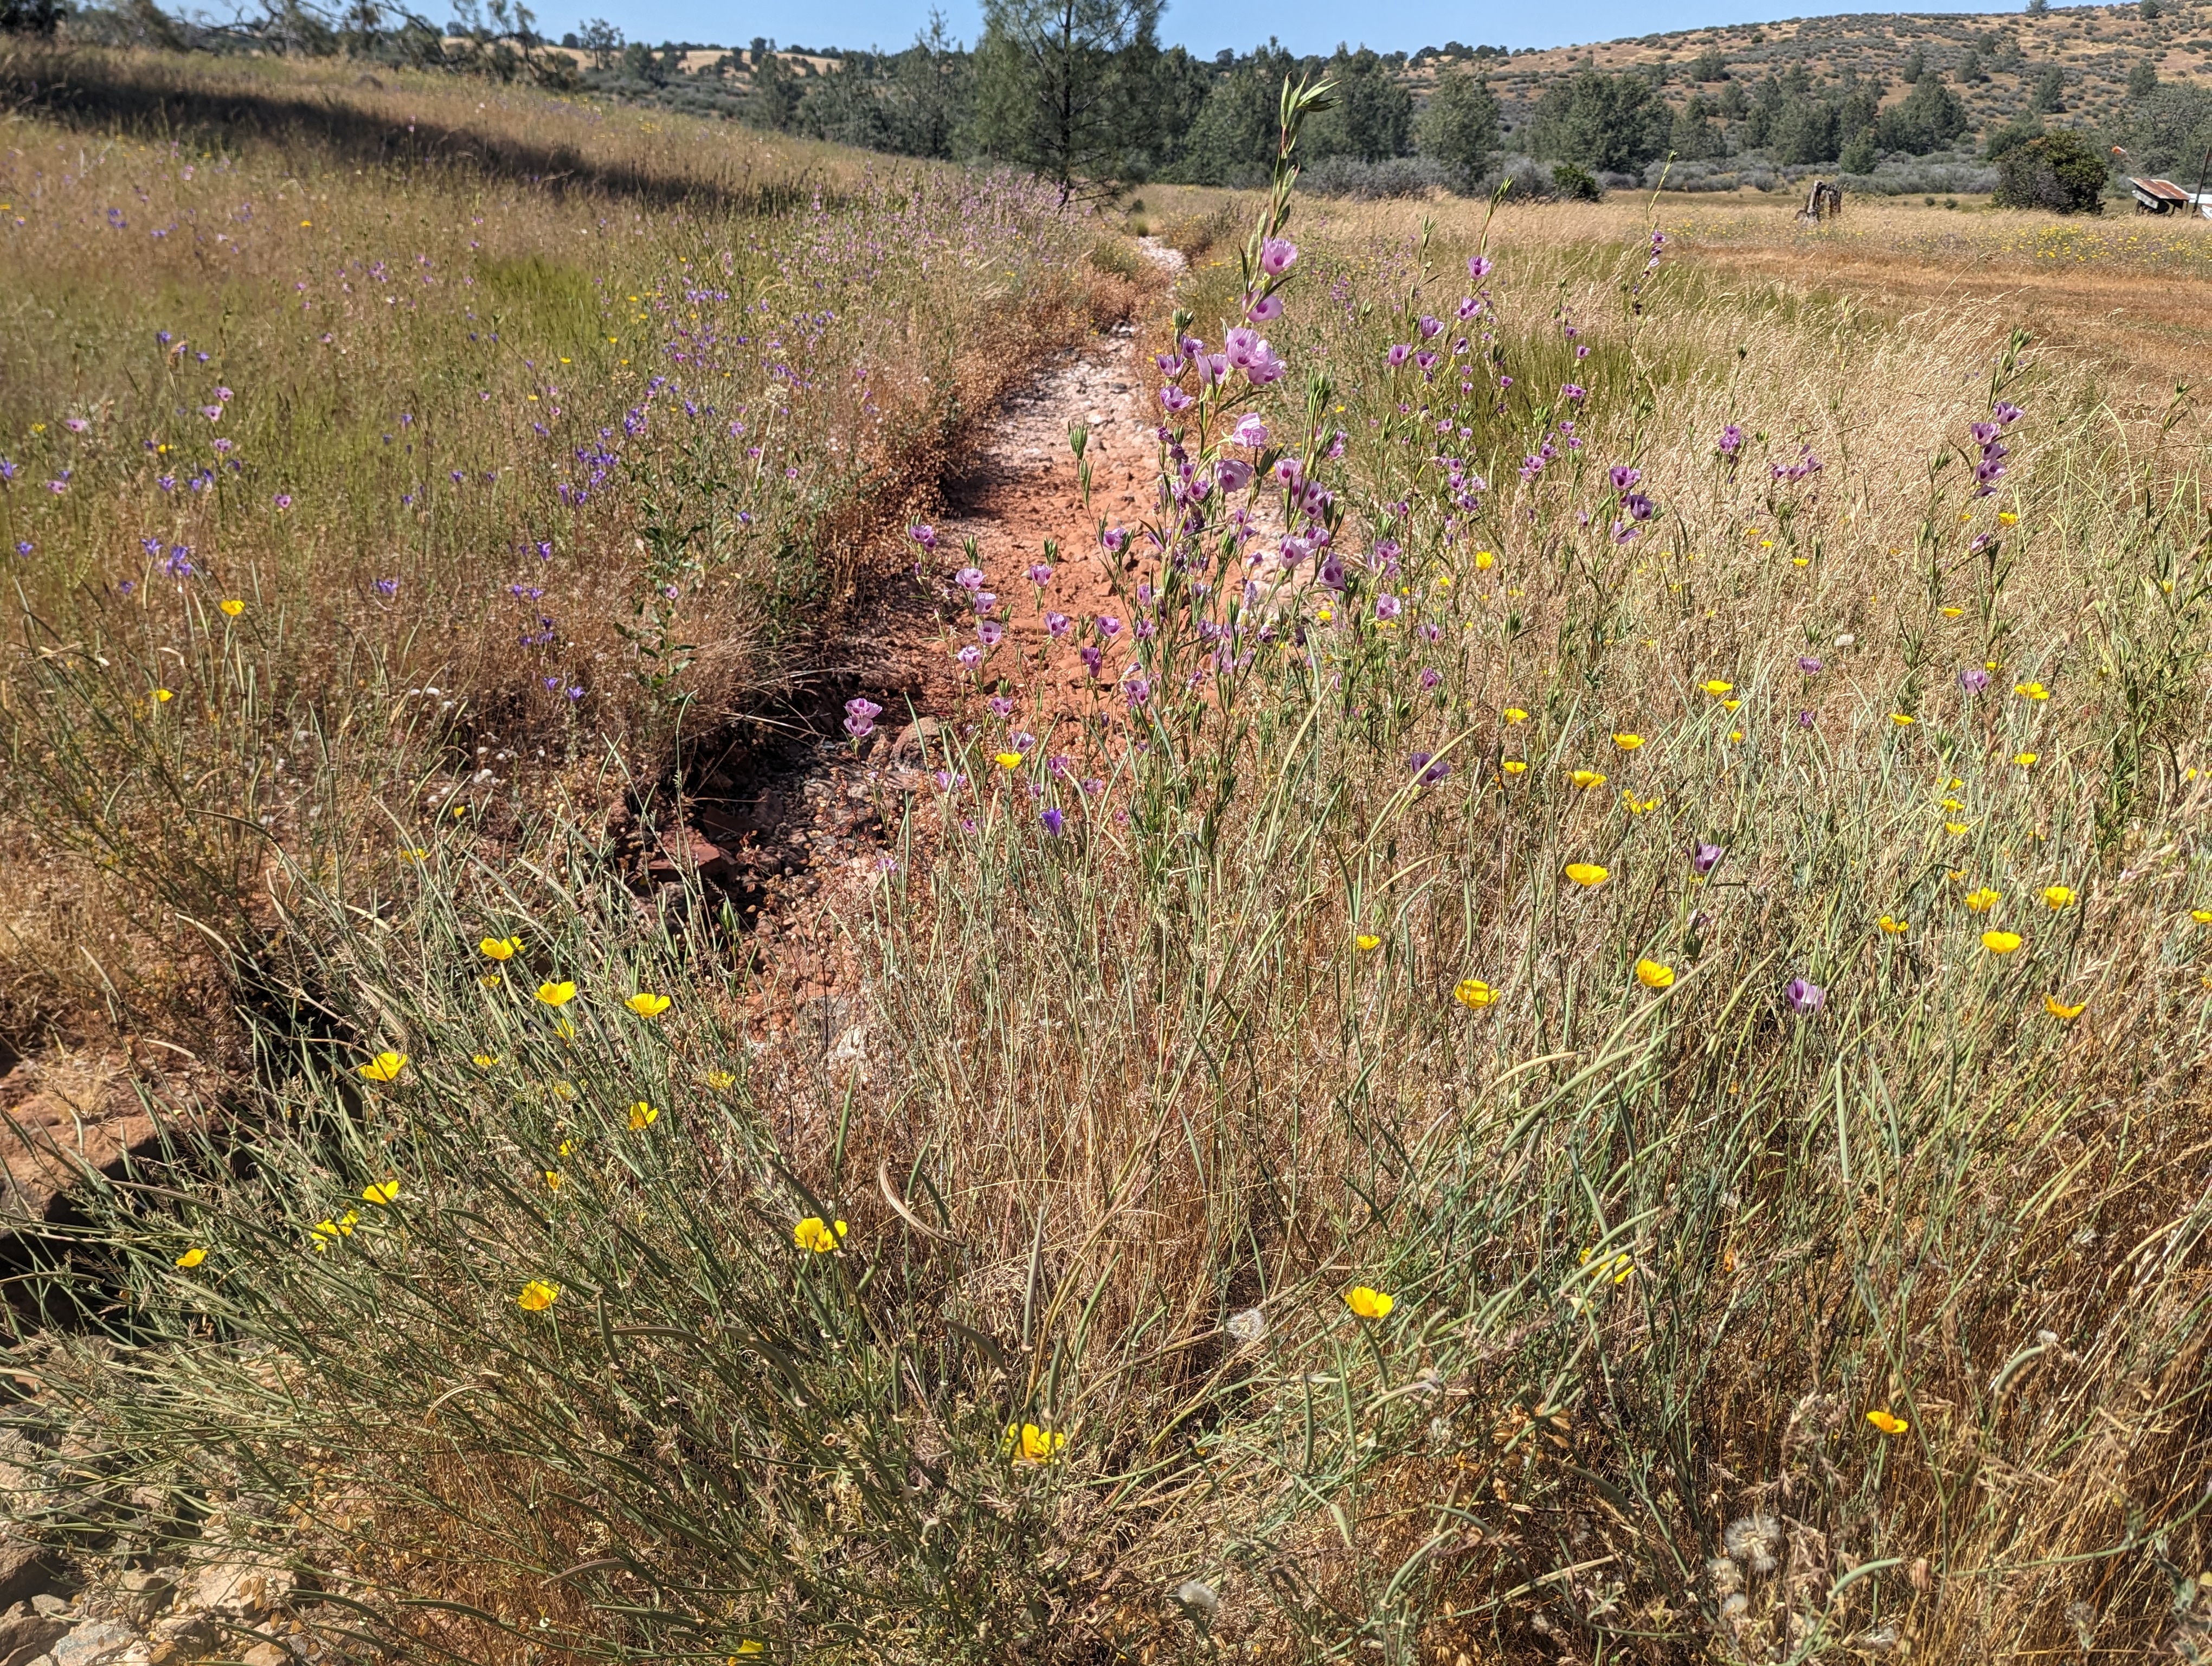
Since it was a long drive we decided to break it up into two days. We drove up to Nelson Family Vineyards, a member of the Harvest Hosts program, to stay our first night. It was absolutely gorgeous and peaceful. It was cloudy when we arrived but the clouds cleared off that night and the stars were unbelievable. We enjoyed the walk along the vineyards and the old-school playground they had there for the kids. Probably installed back in the1960’s. Very quiet stay; the only noises we heard were coyotes.


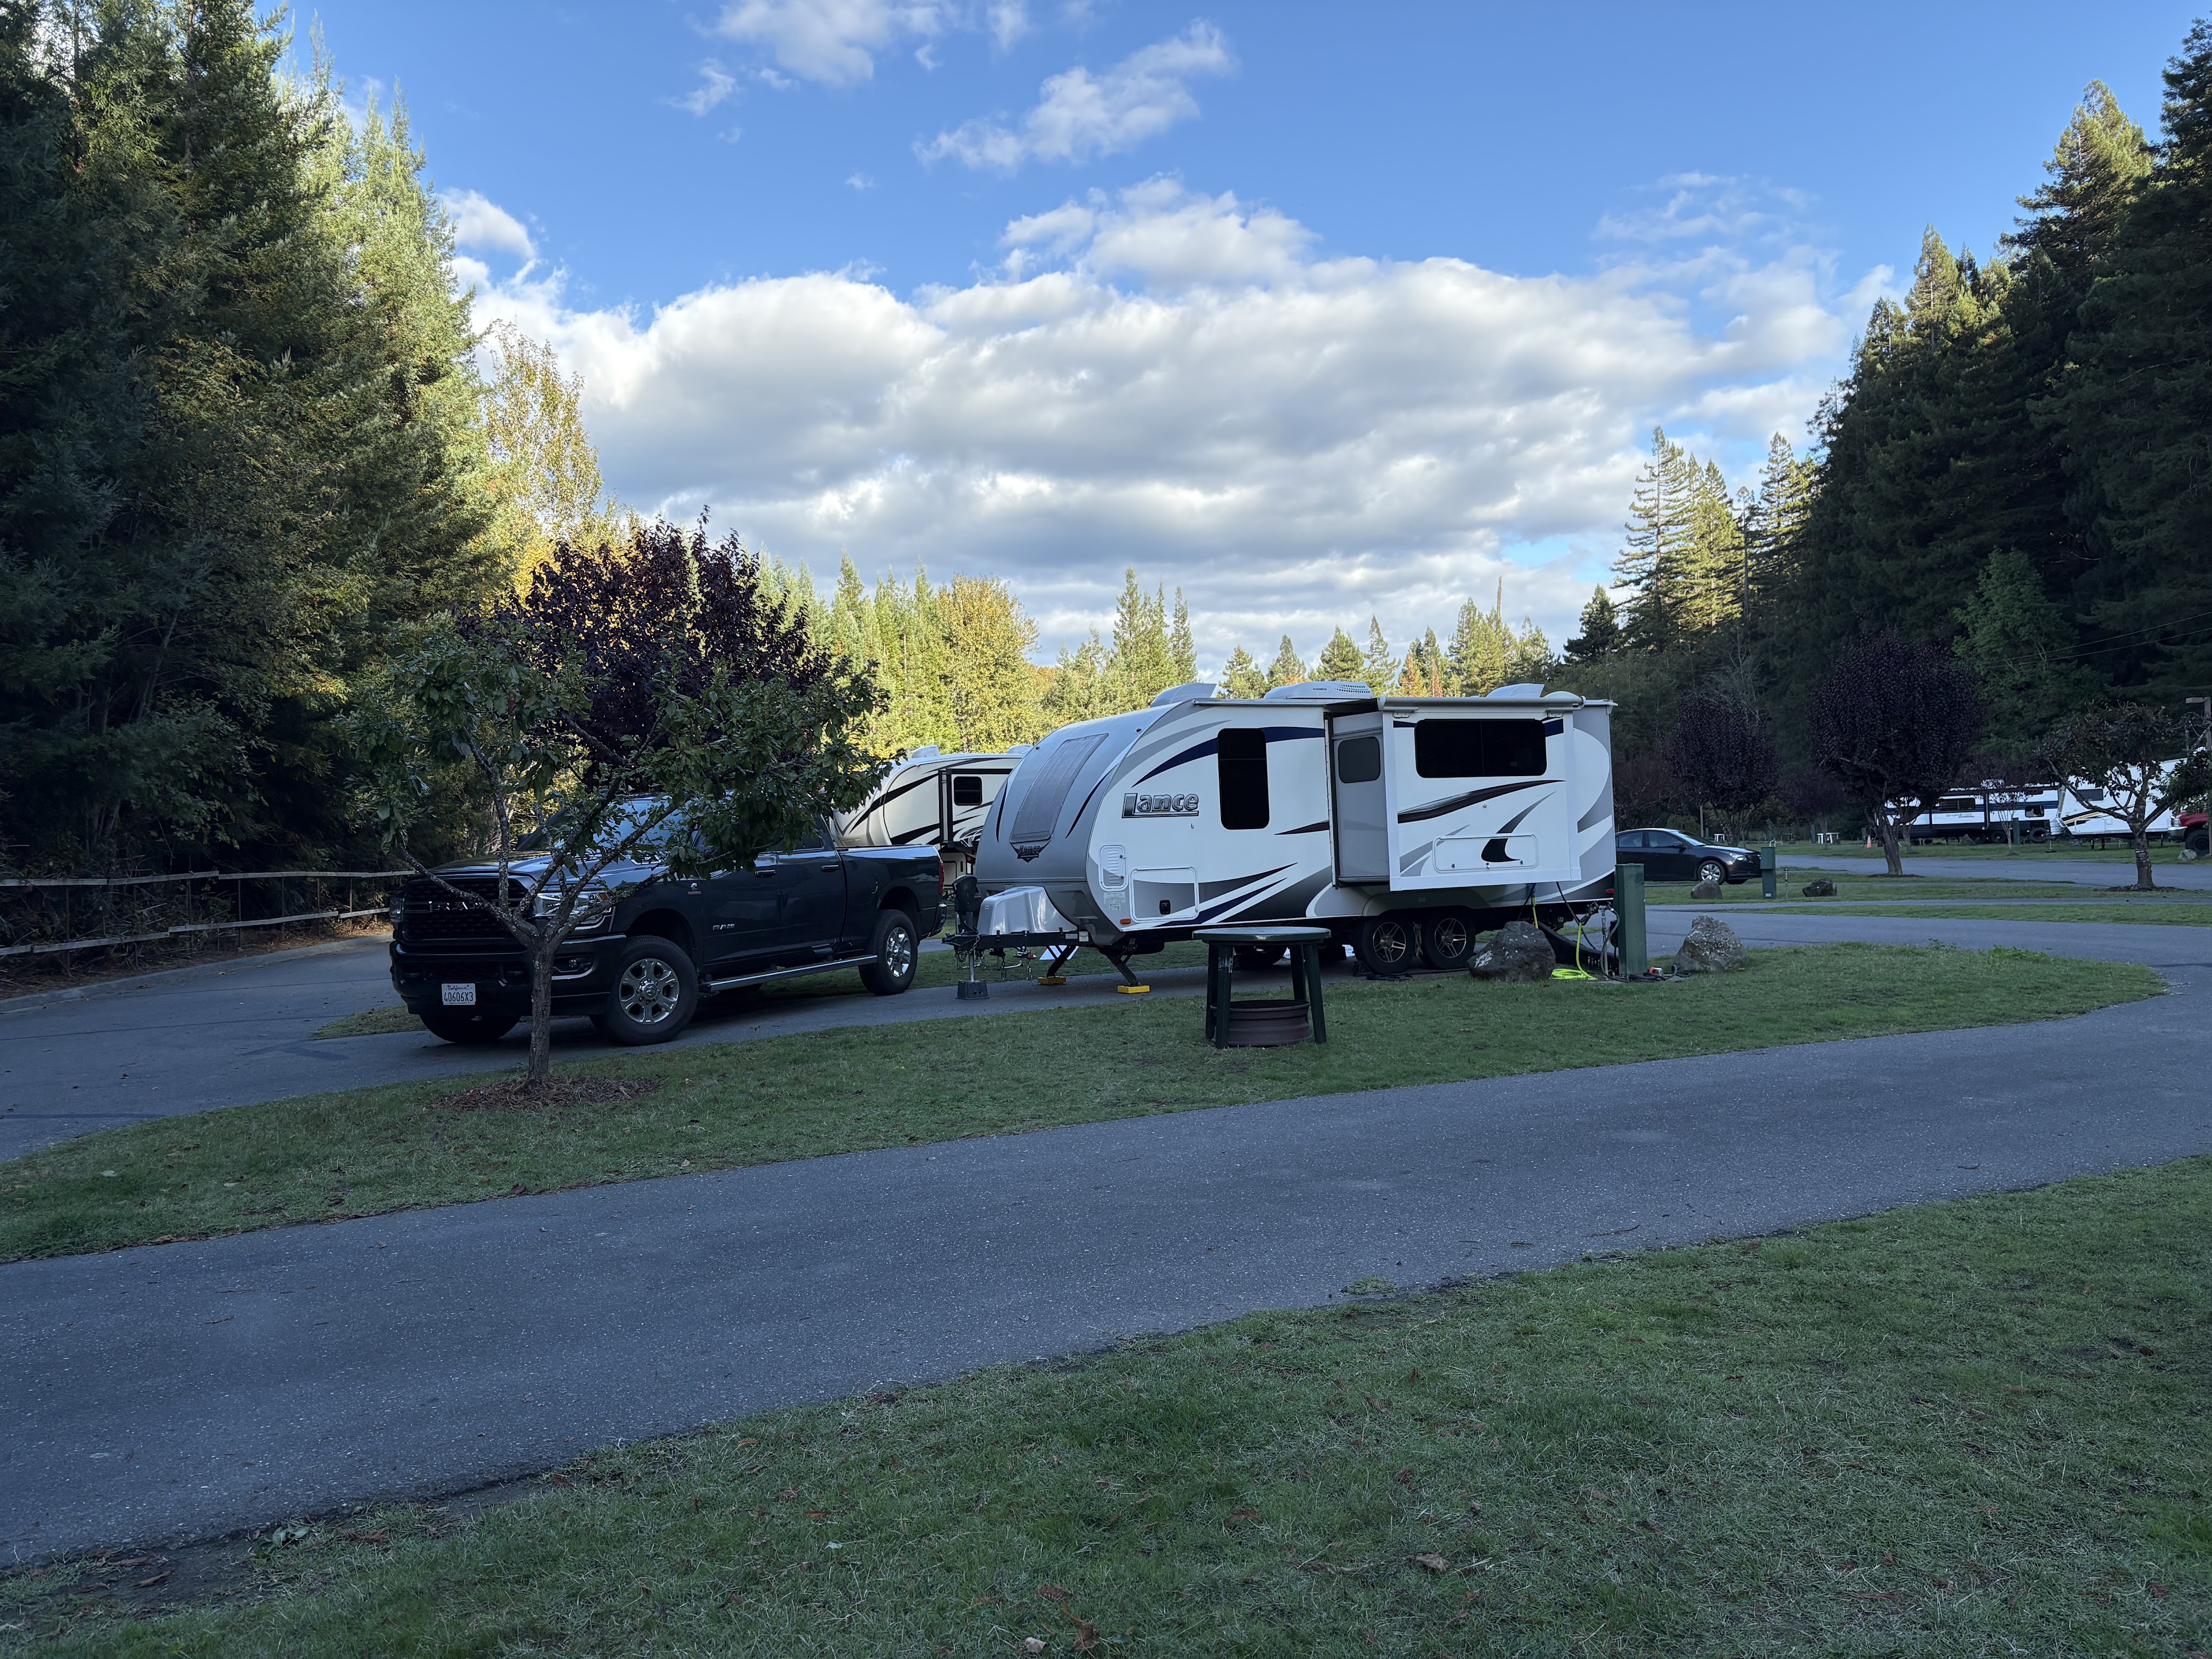
Ancient Redwoods RV Resort
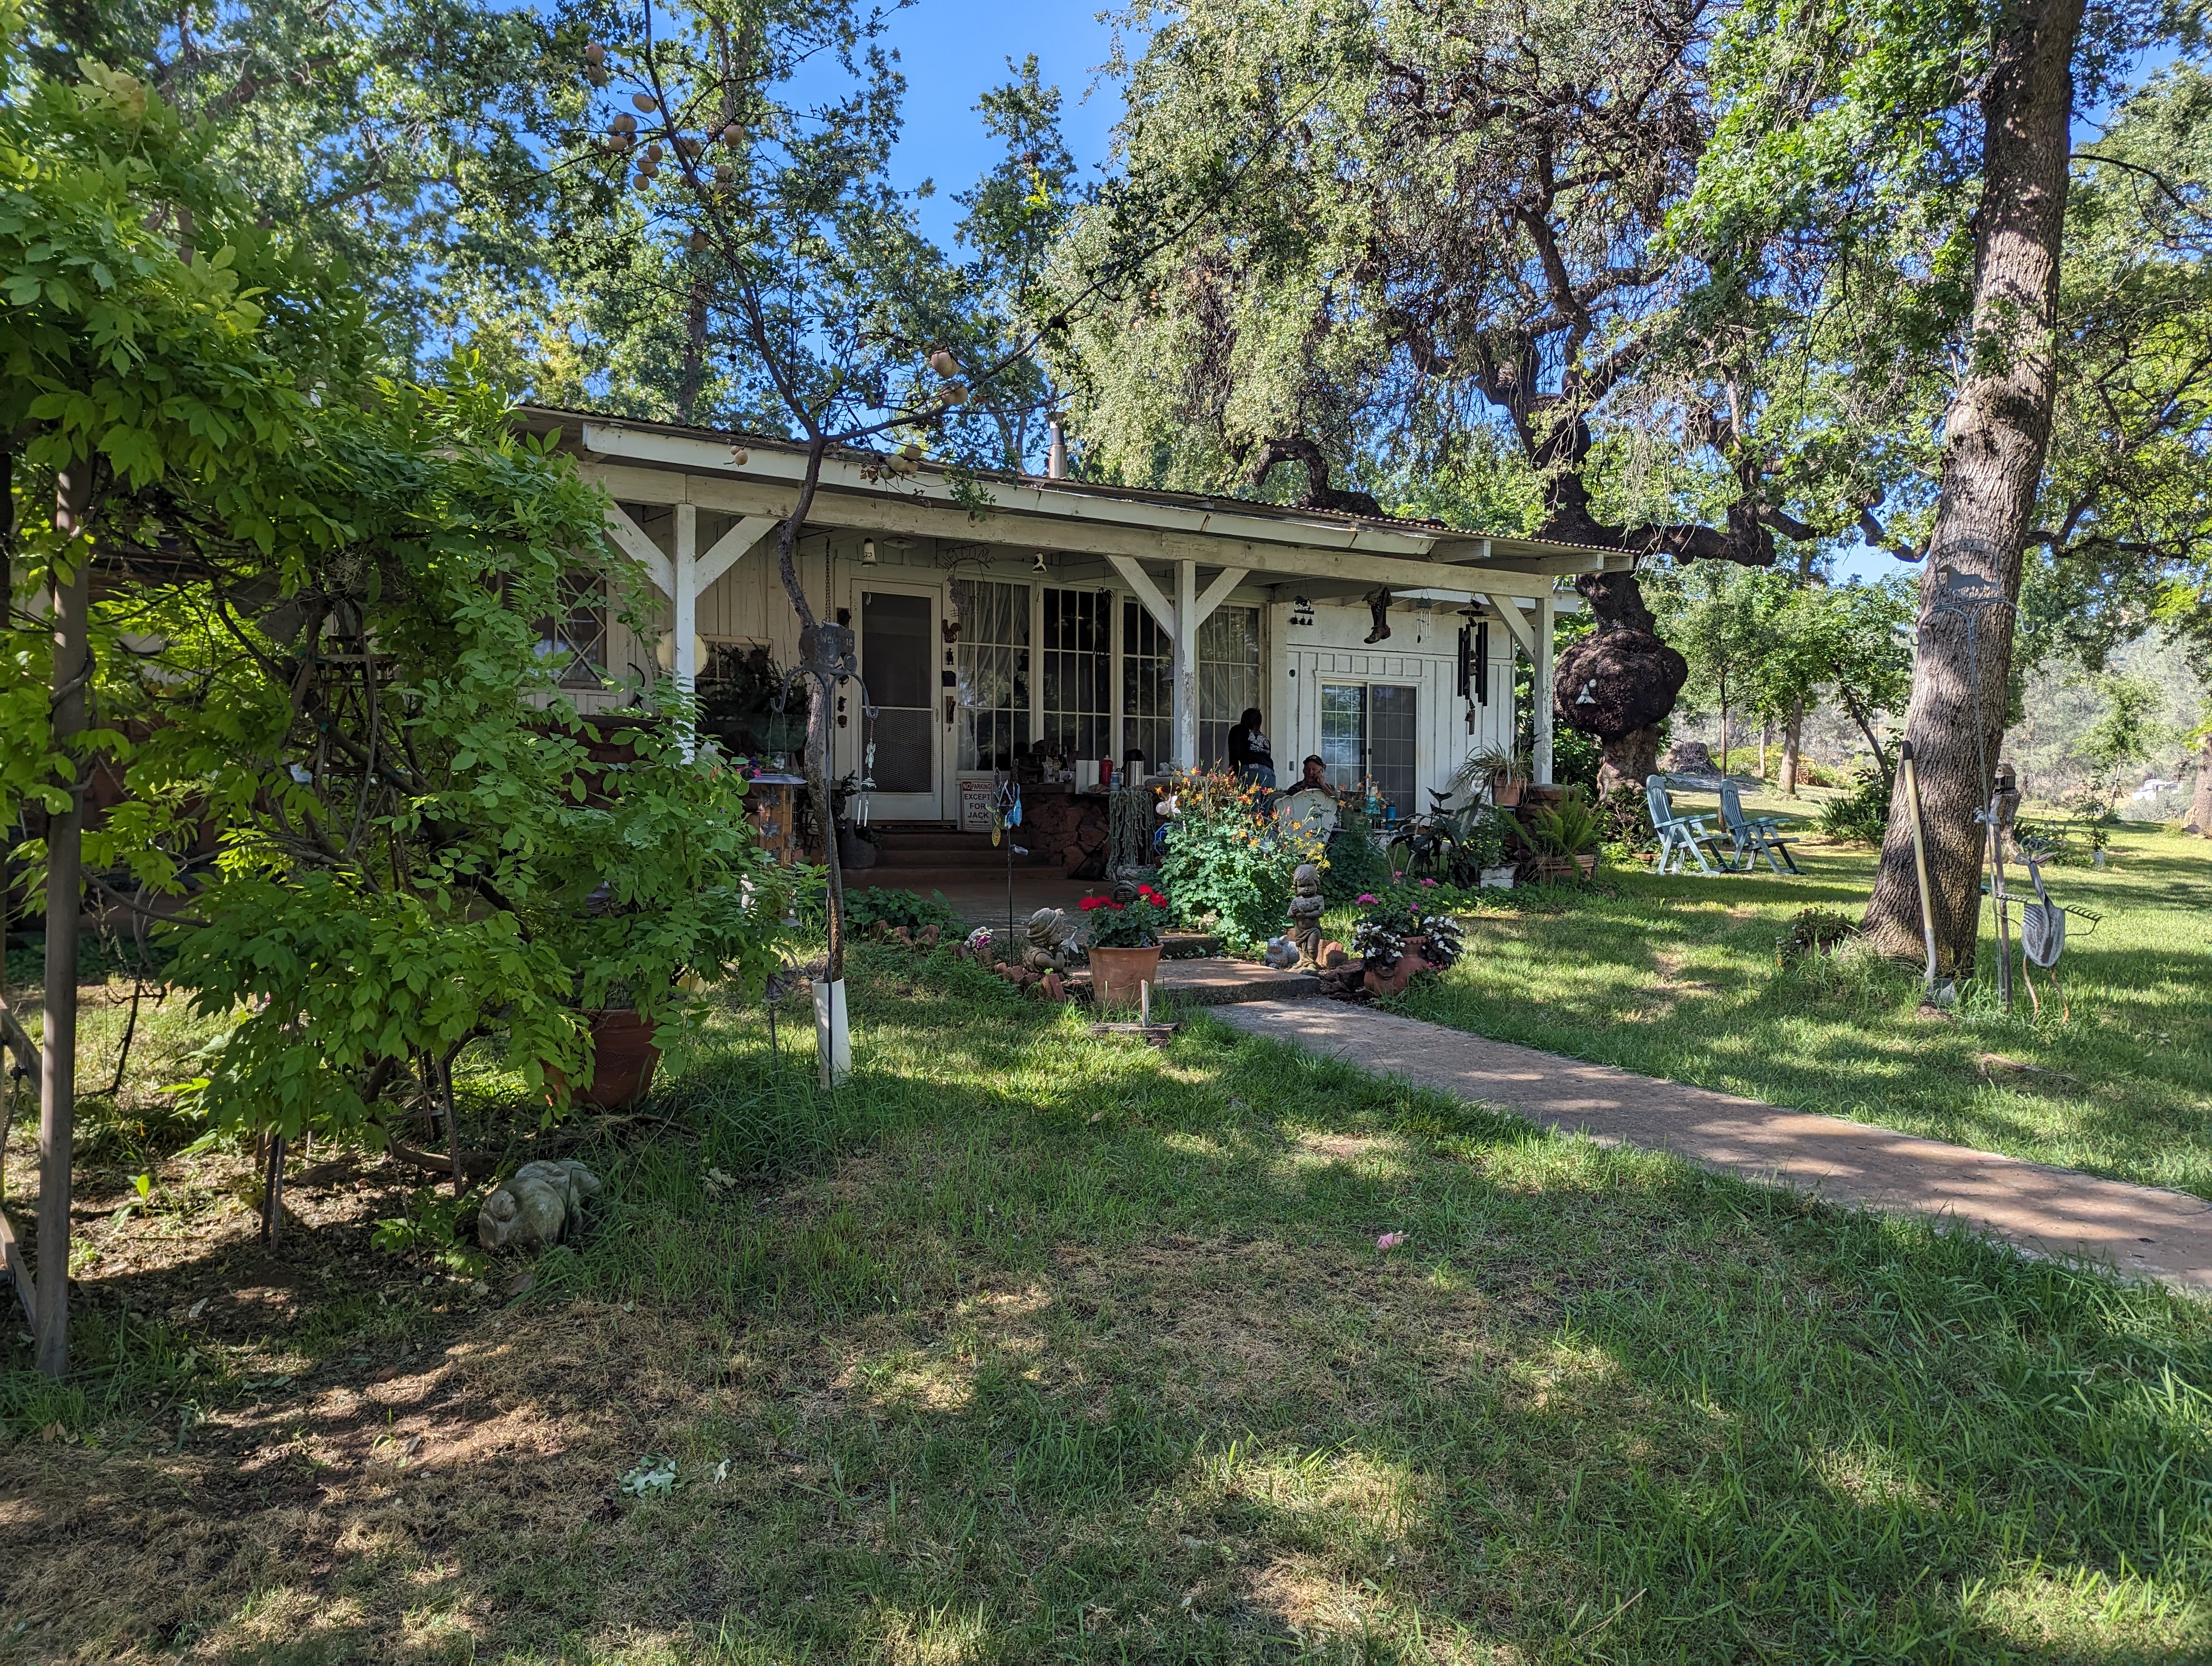
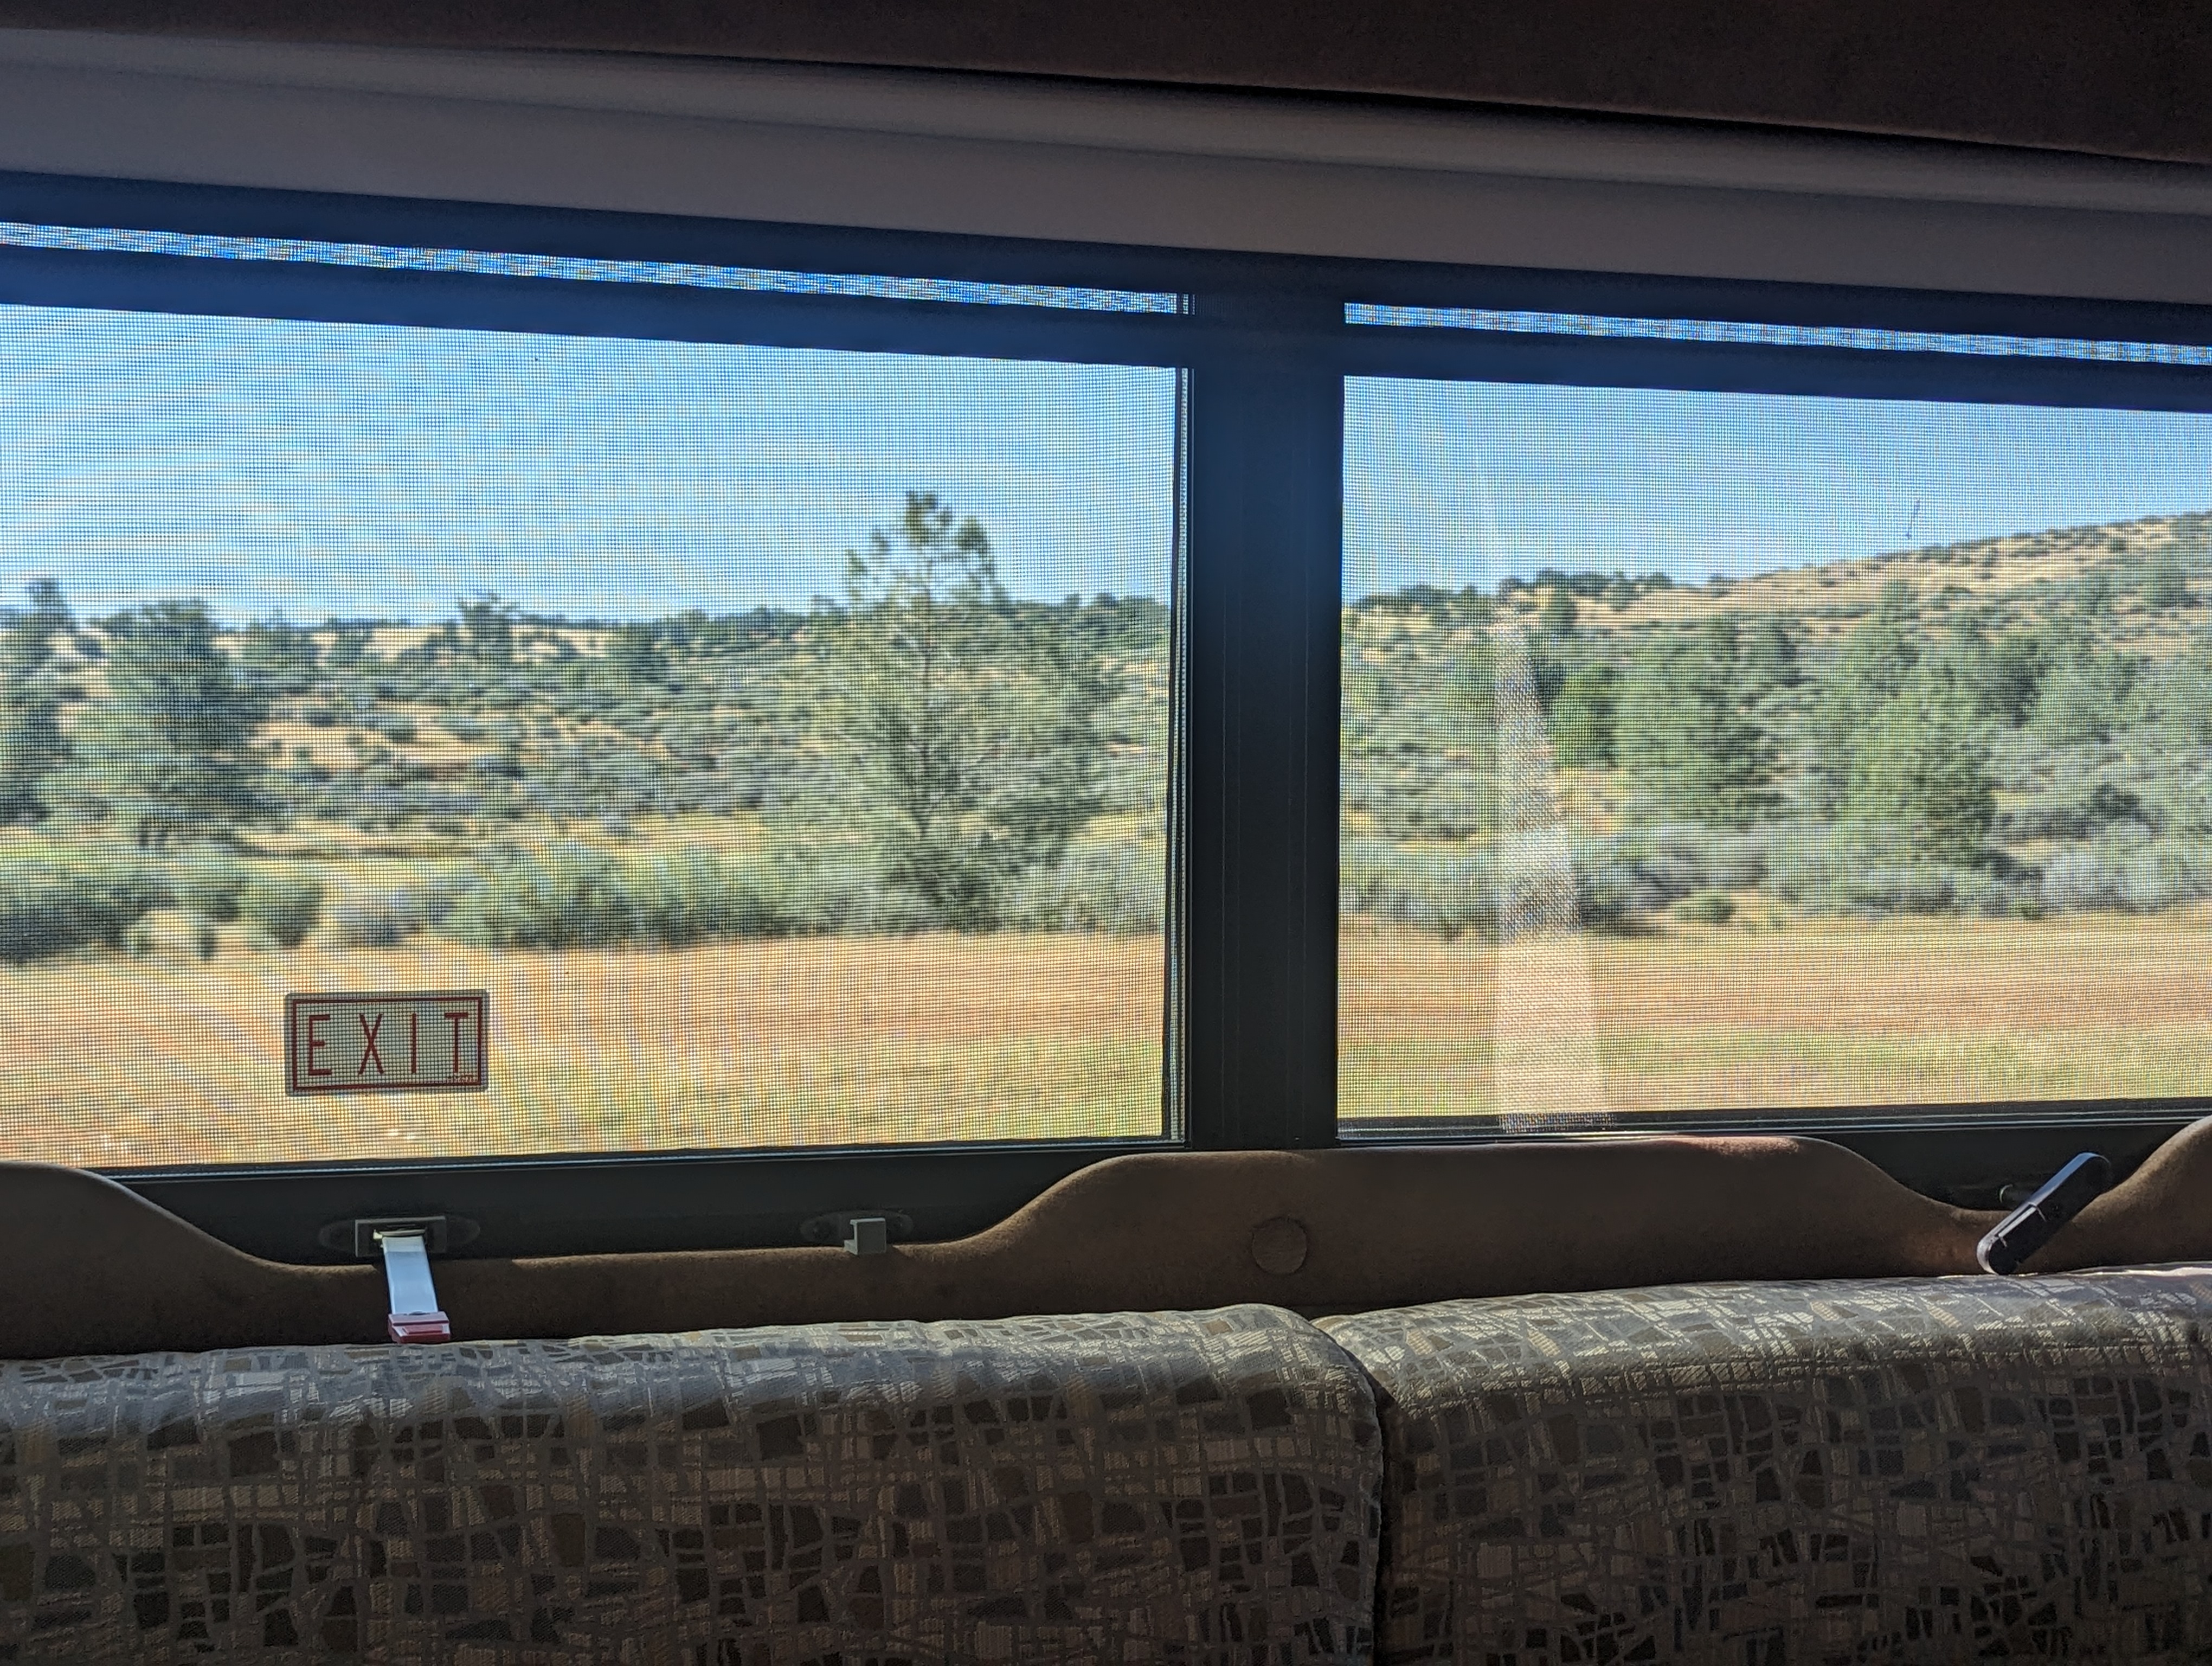
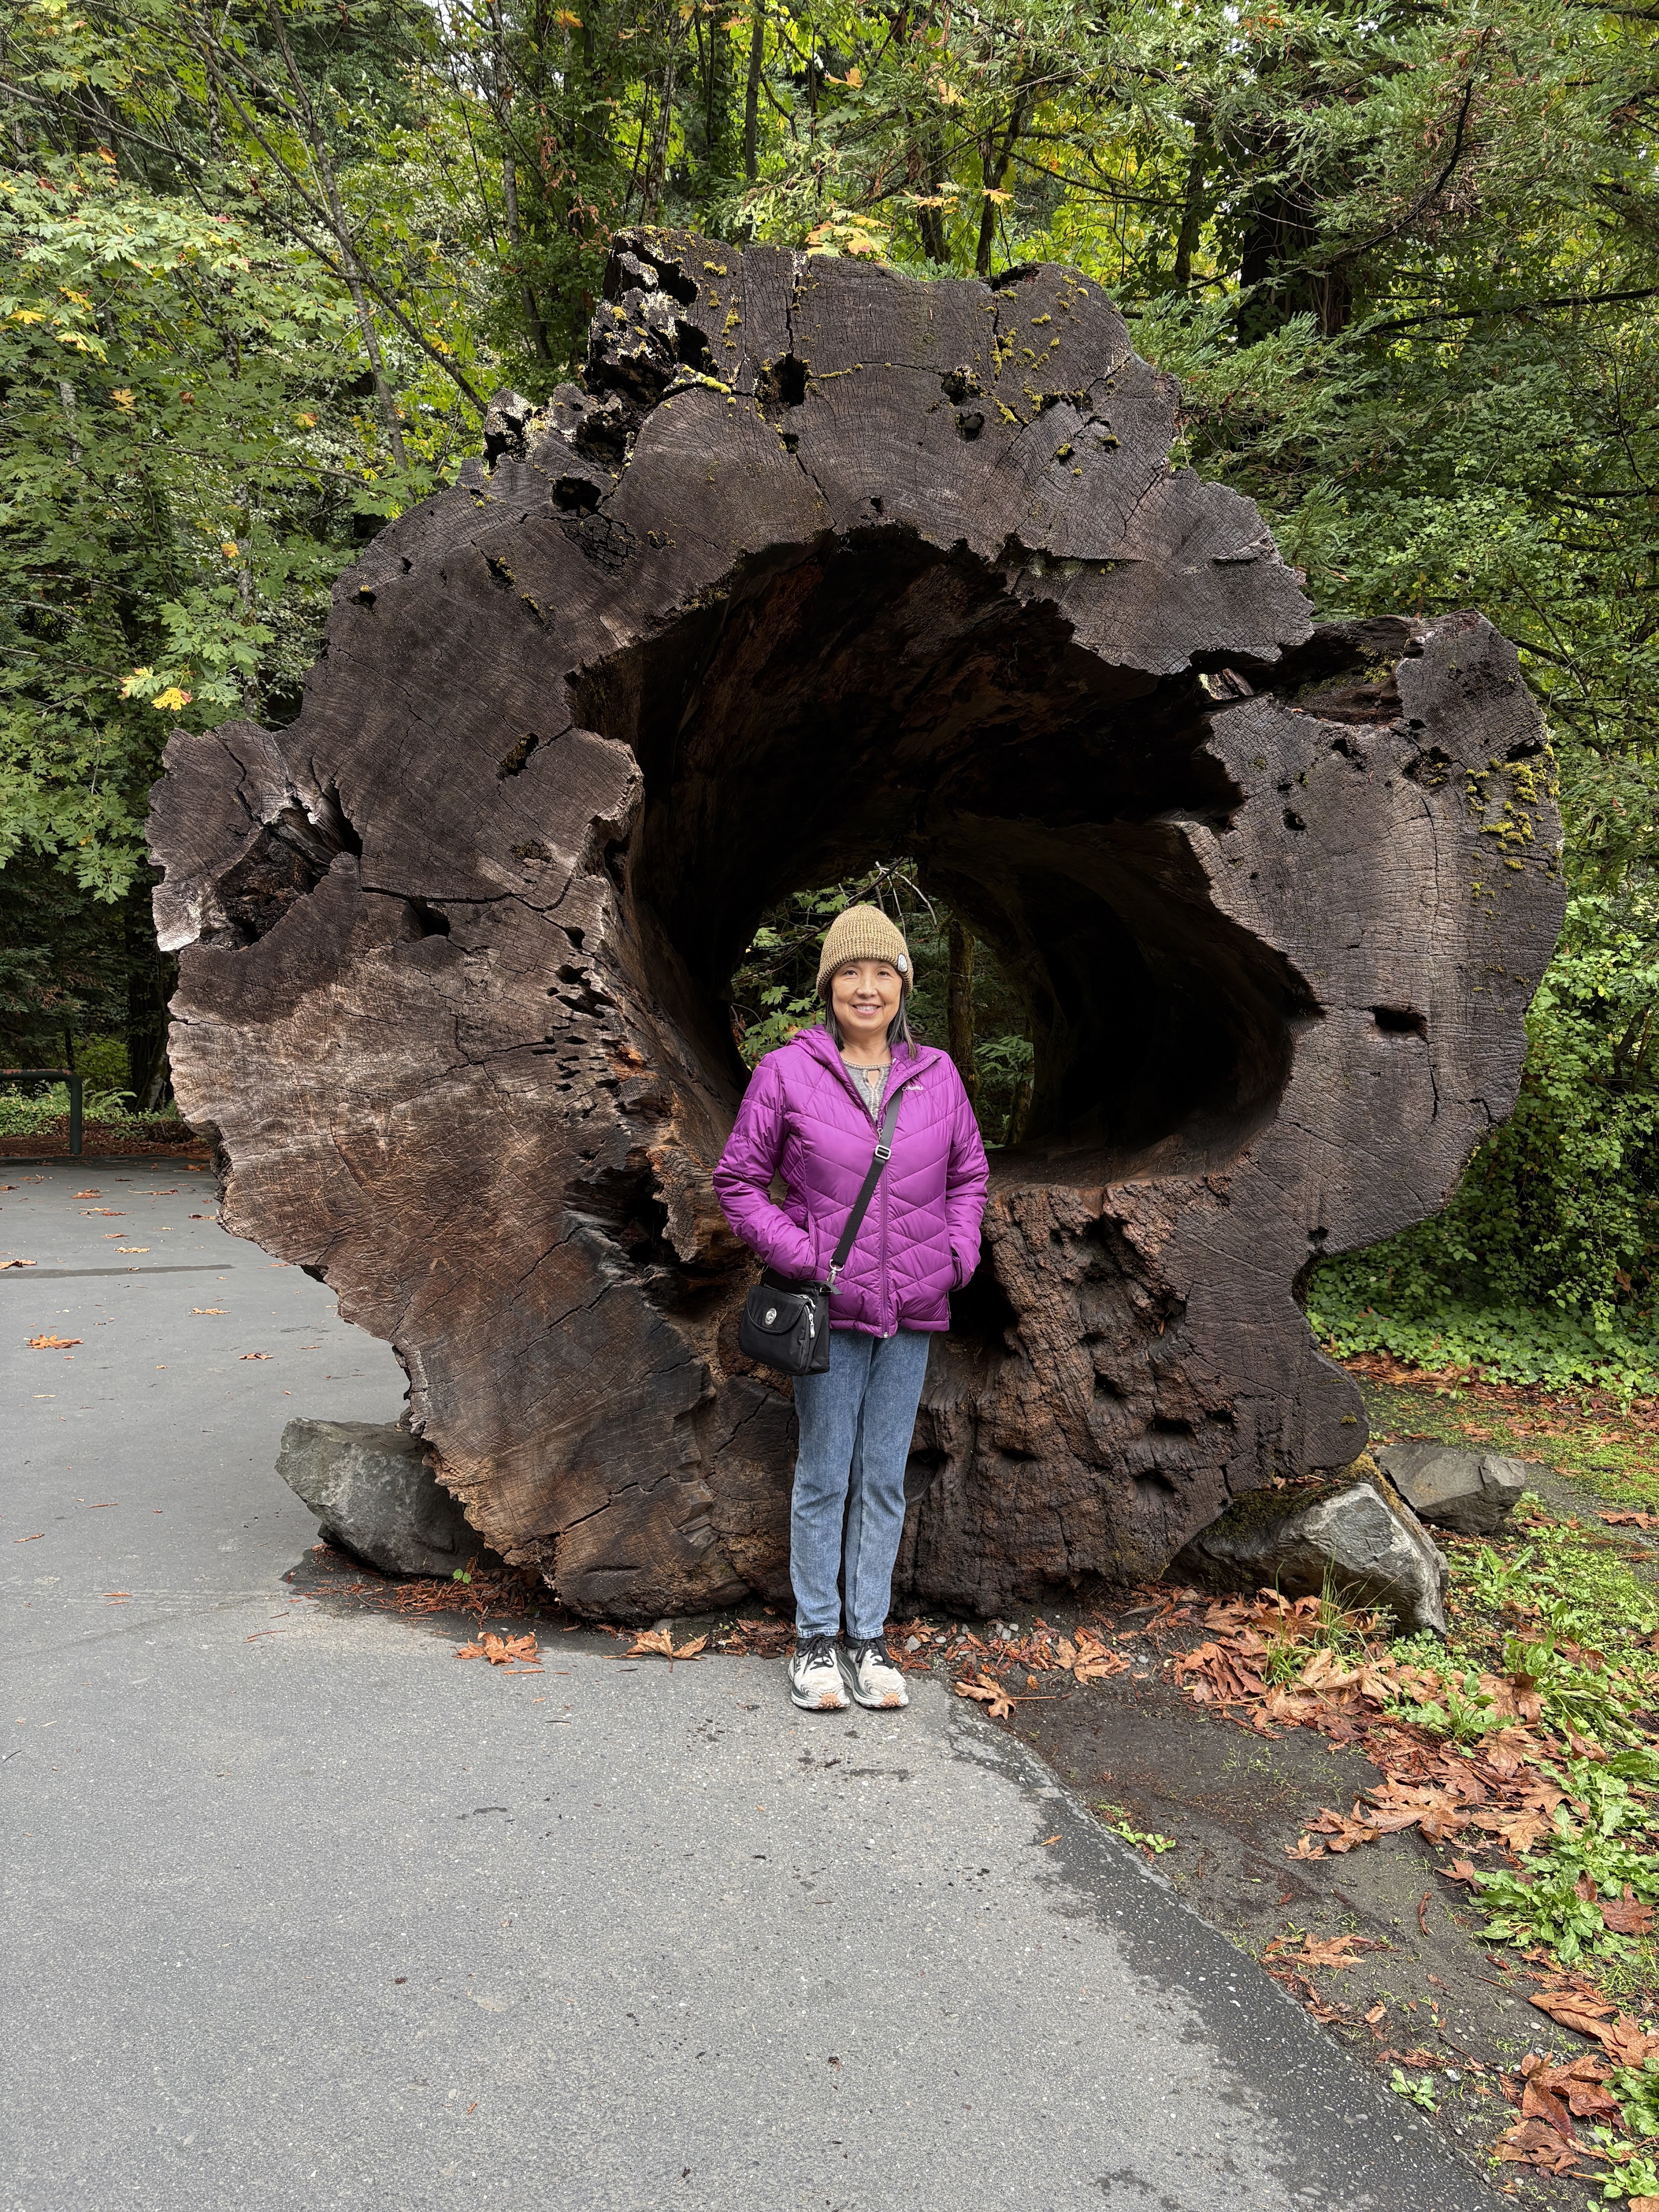
The next day we made the short 2 and 1/2 hour drive up to Ancient Redwoods RV Resort. Per our reservation it told us to drive directly to our site, no check in needed. We did and found our receipt and reservation information on the power pedestal. We were parked up near the front in a pull-thru space. There was no RVs next to us the entire time. There were some 5th wheels and Class A’s clustered together toward the back of the park but we had plenty of privacy and a great view. The pictures below were taken at the entrance to the RV park.
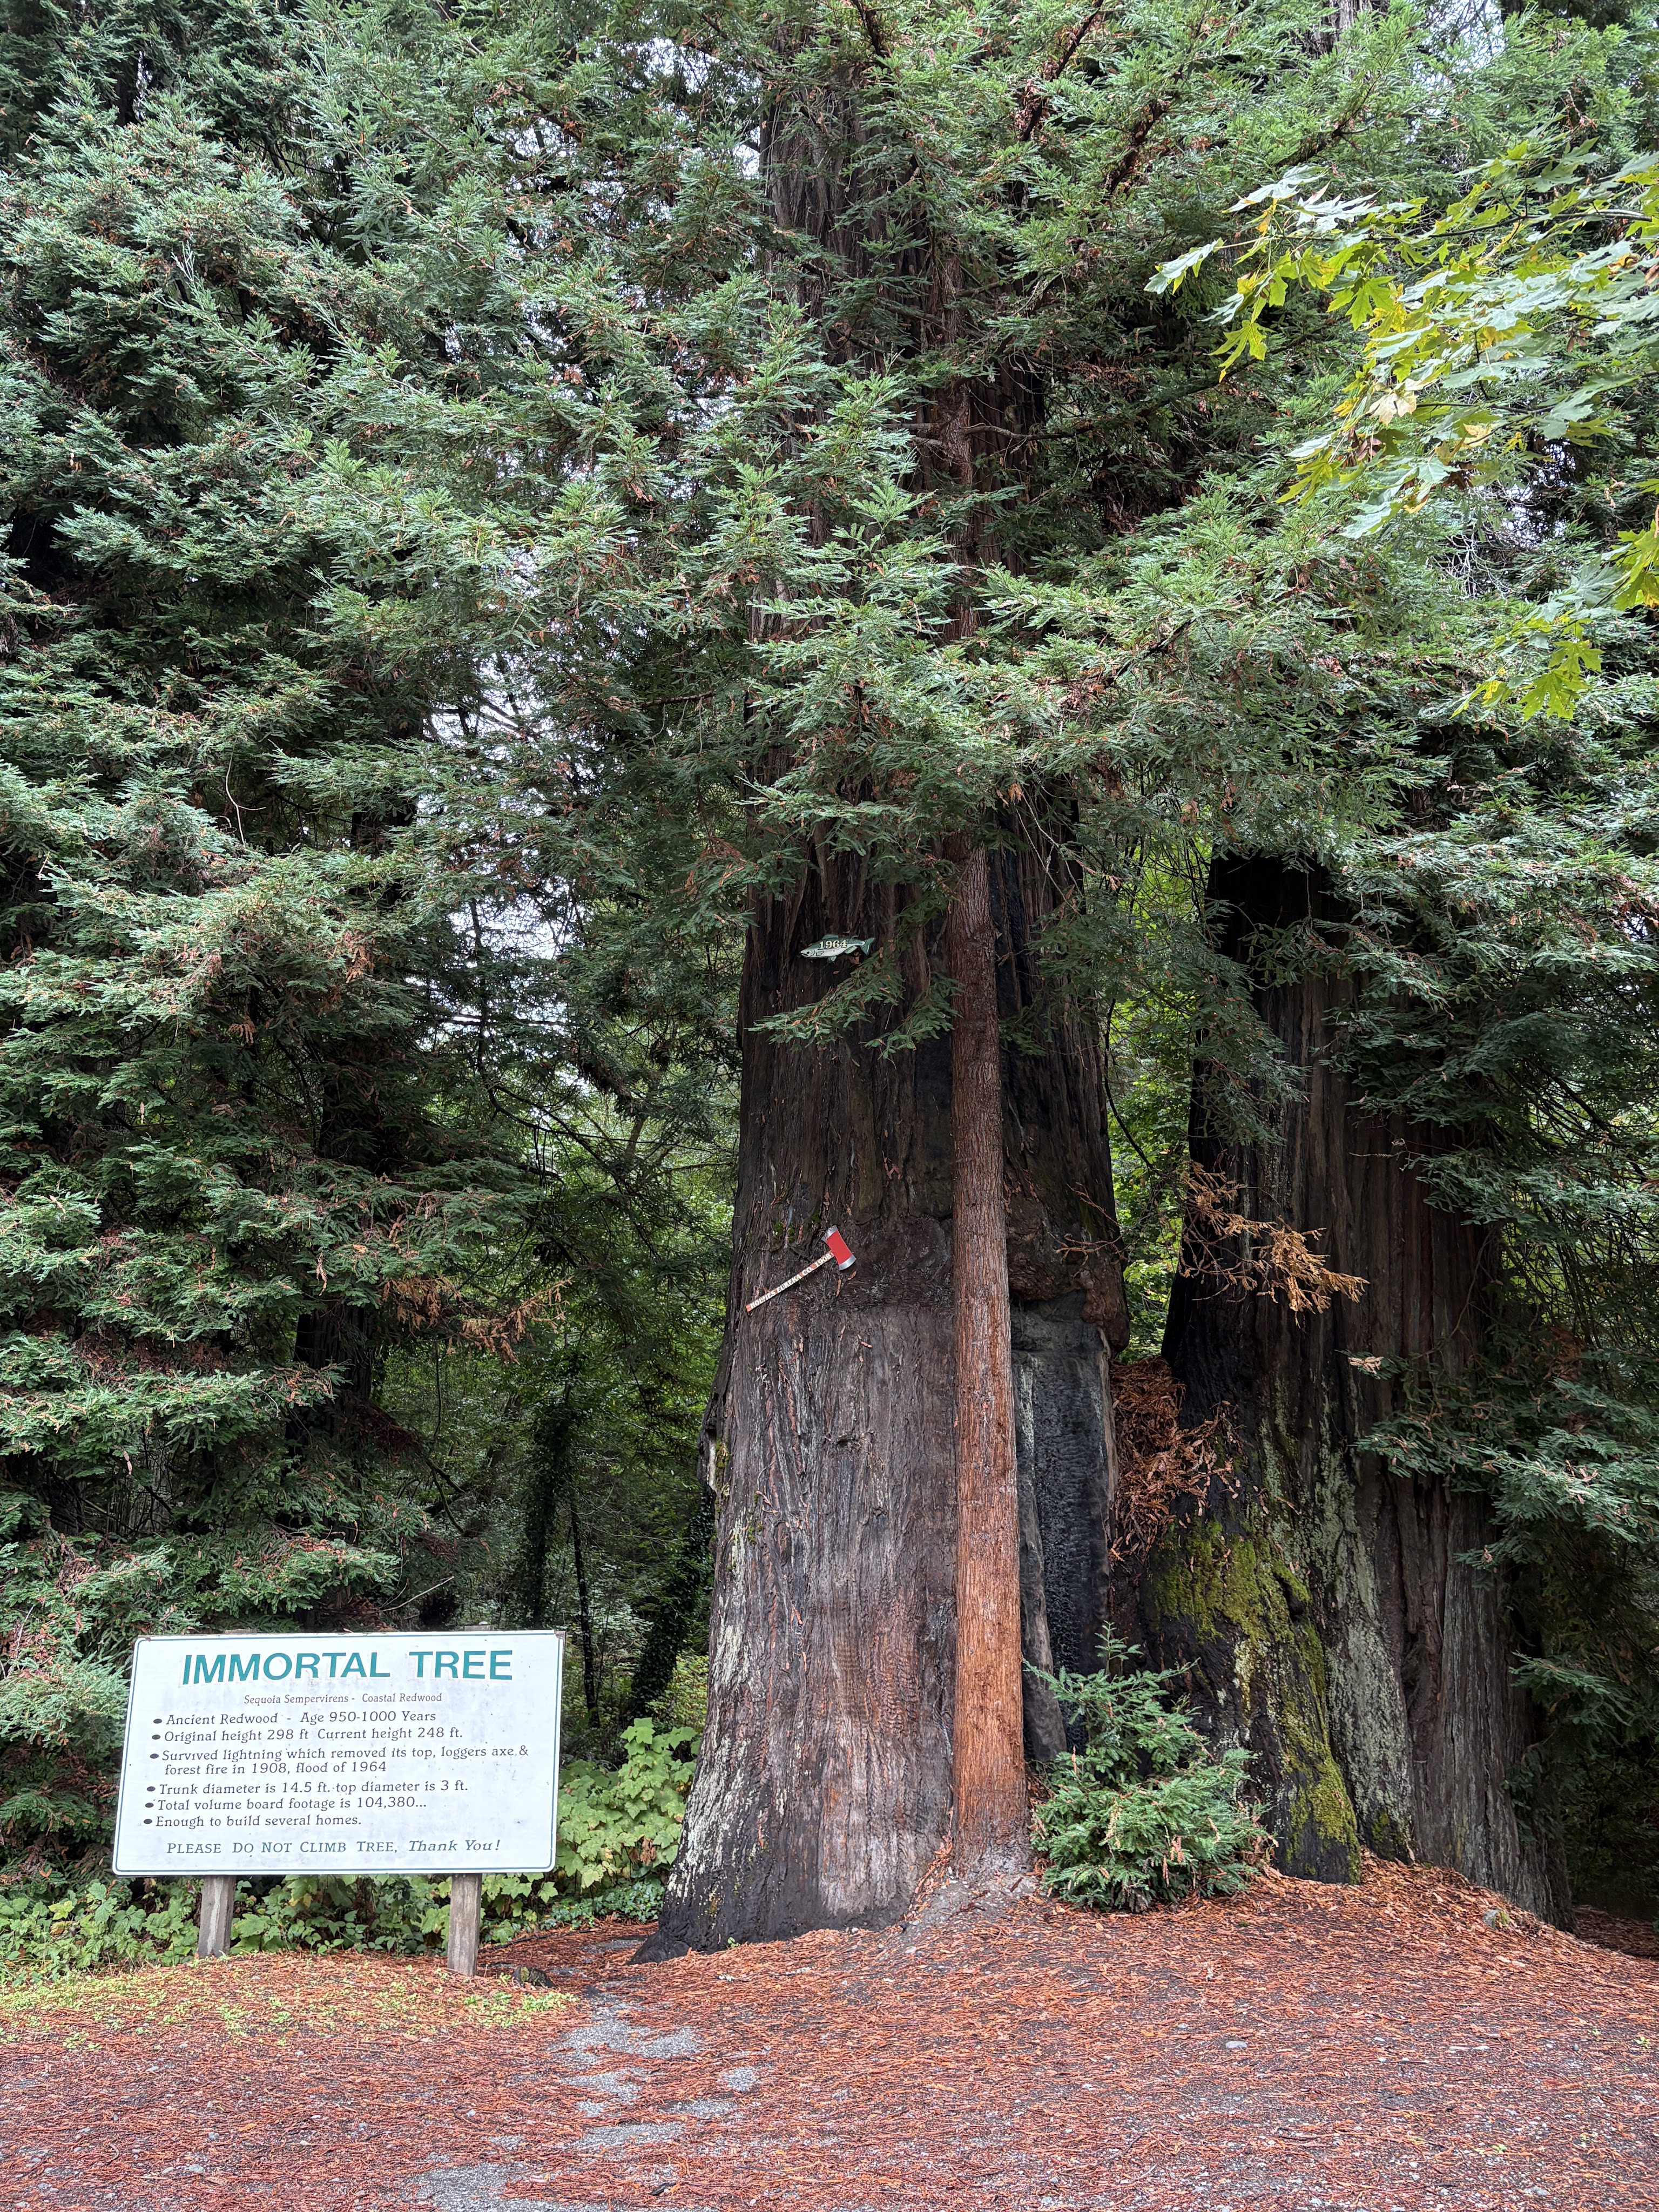
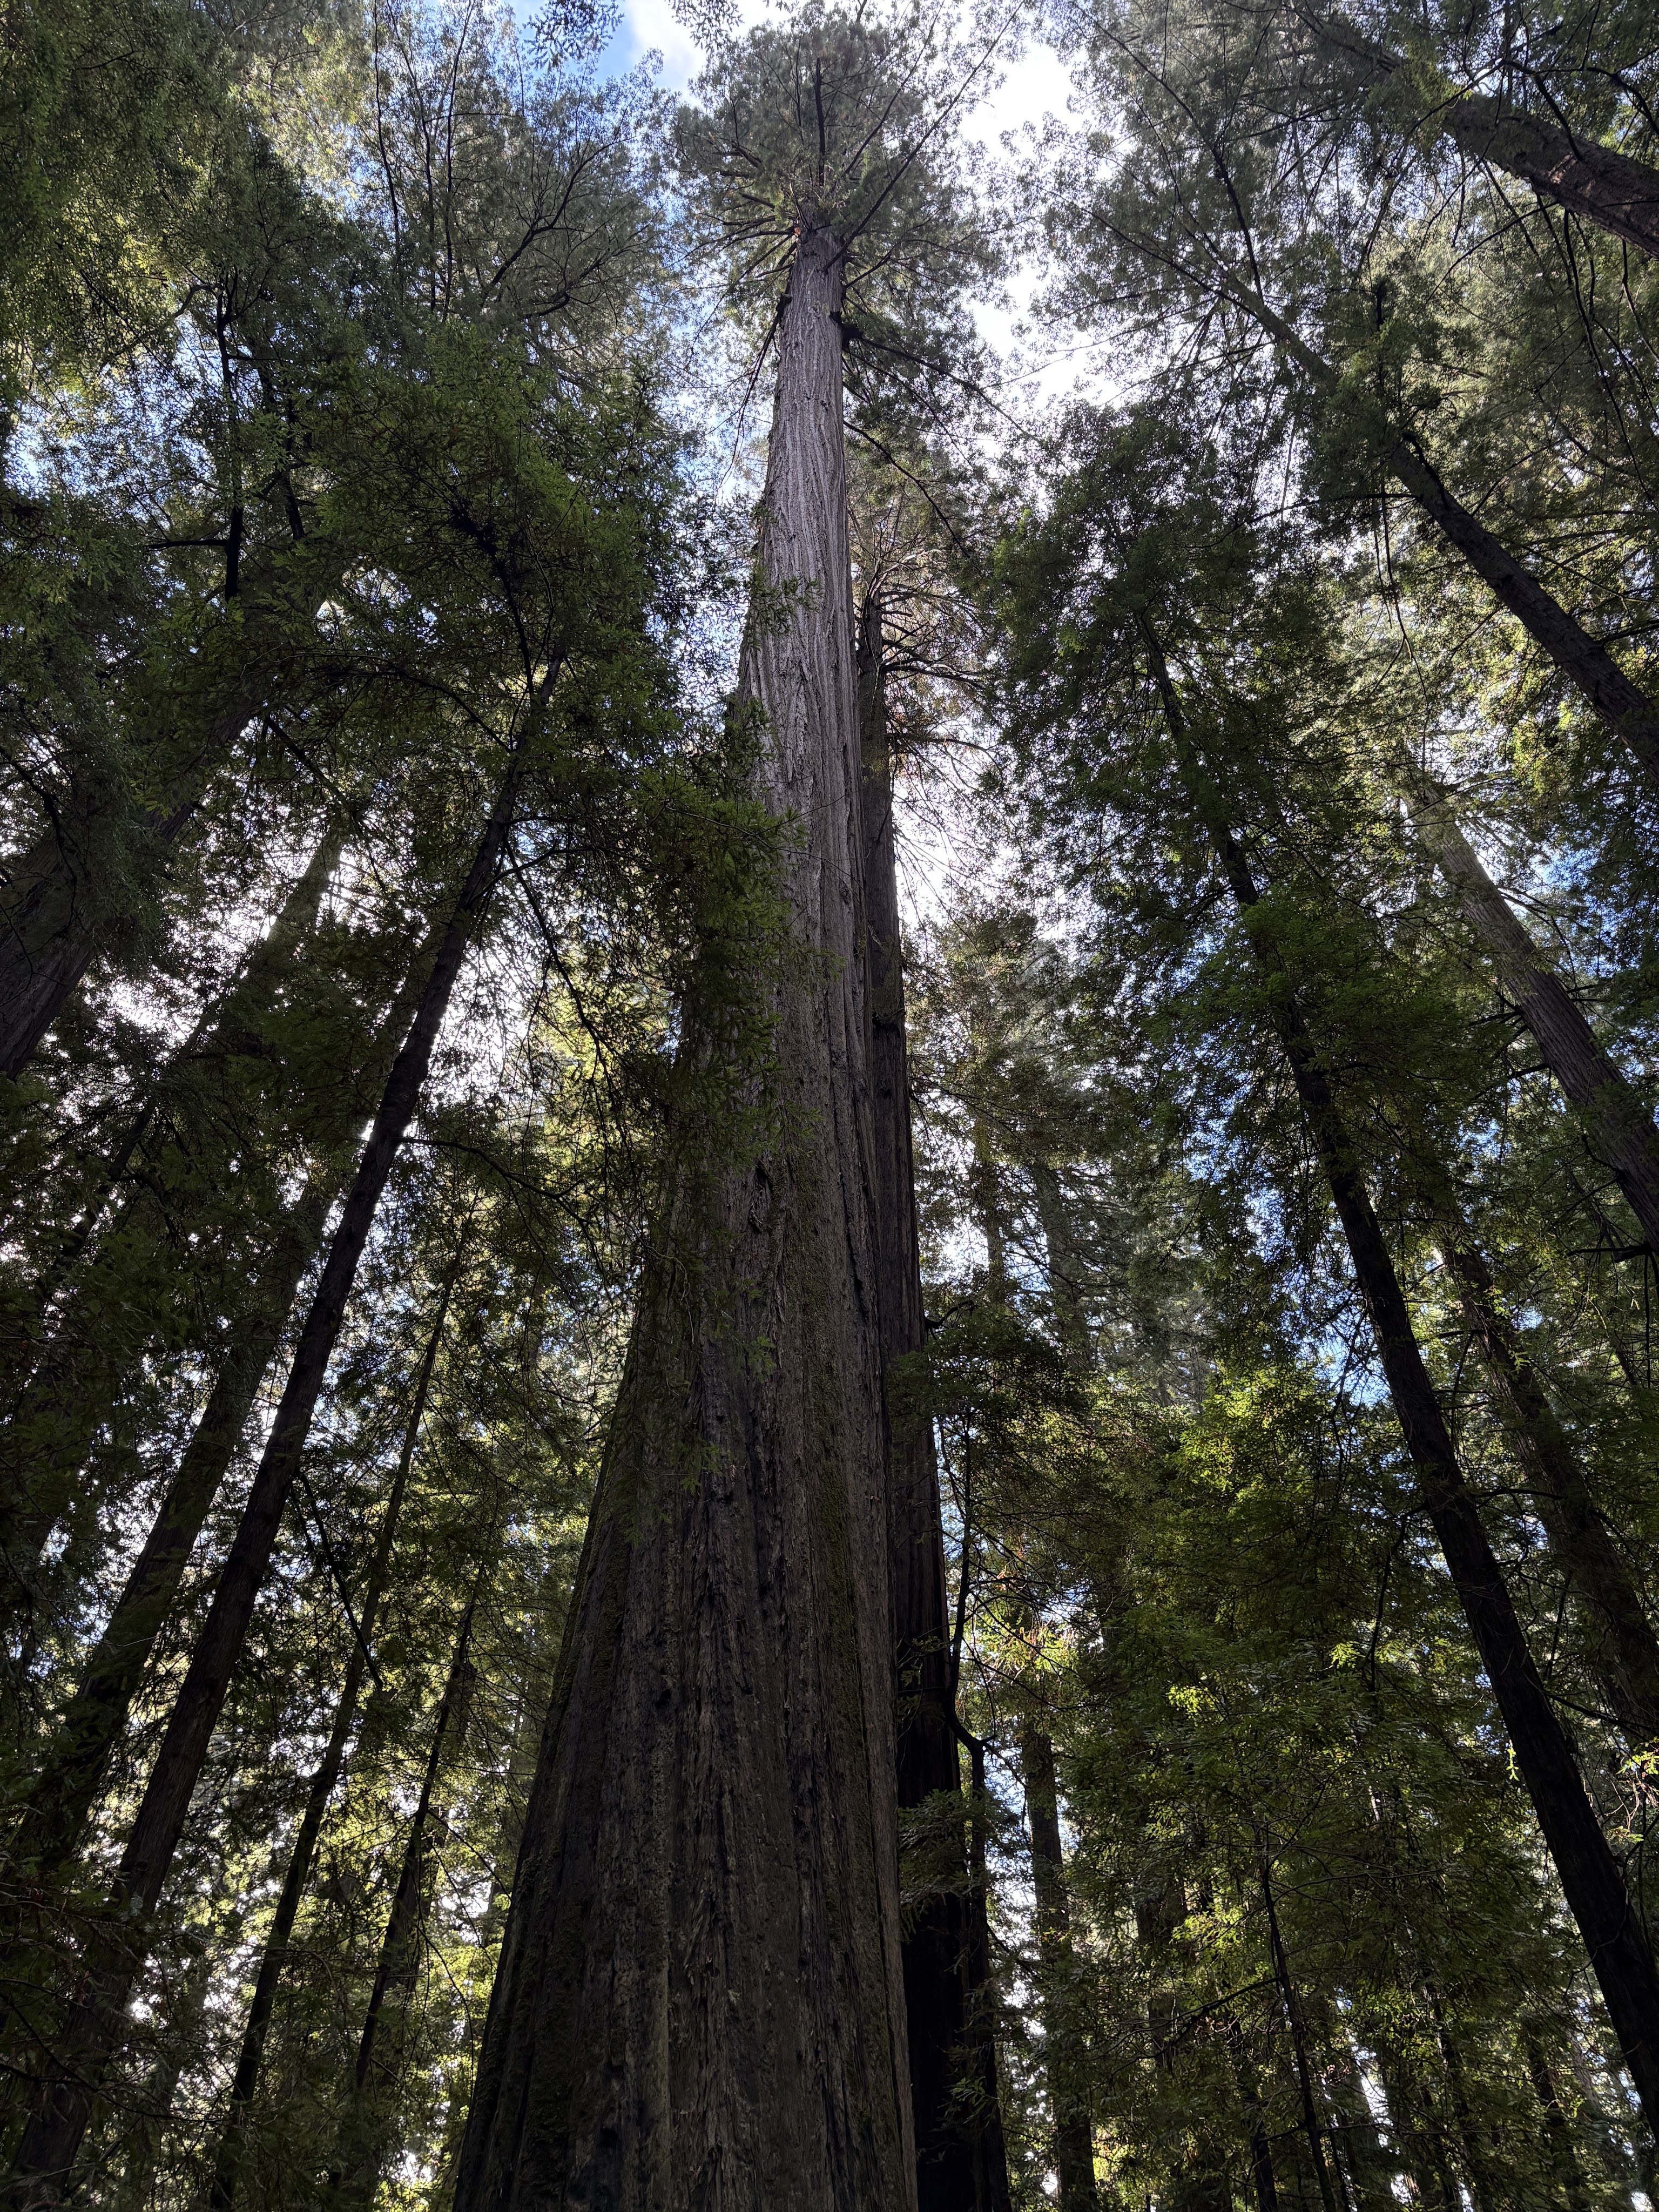
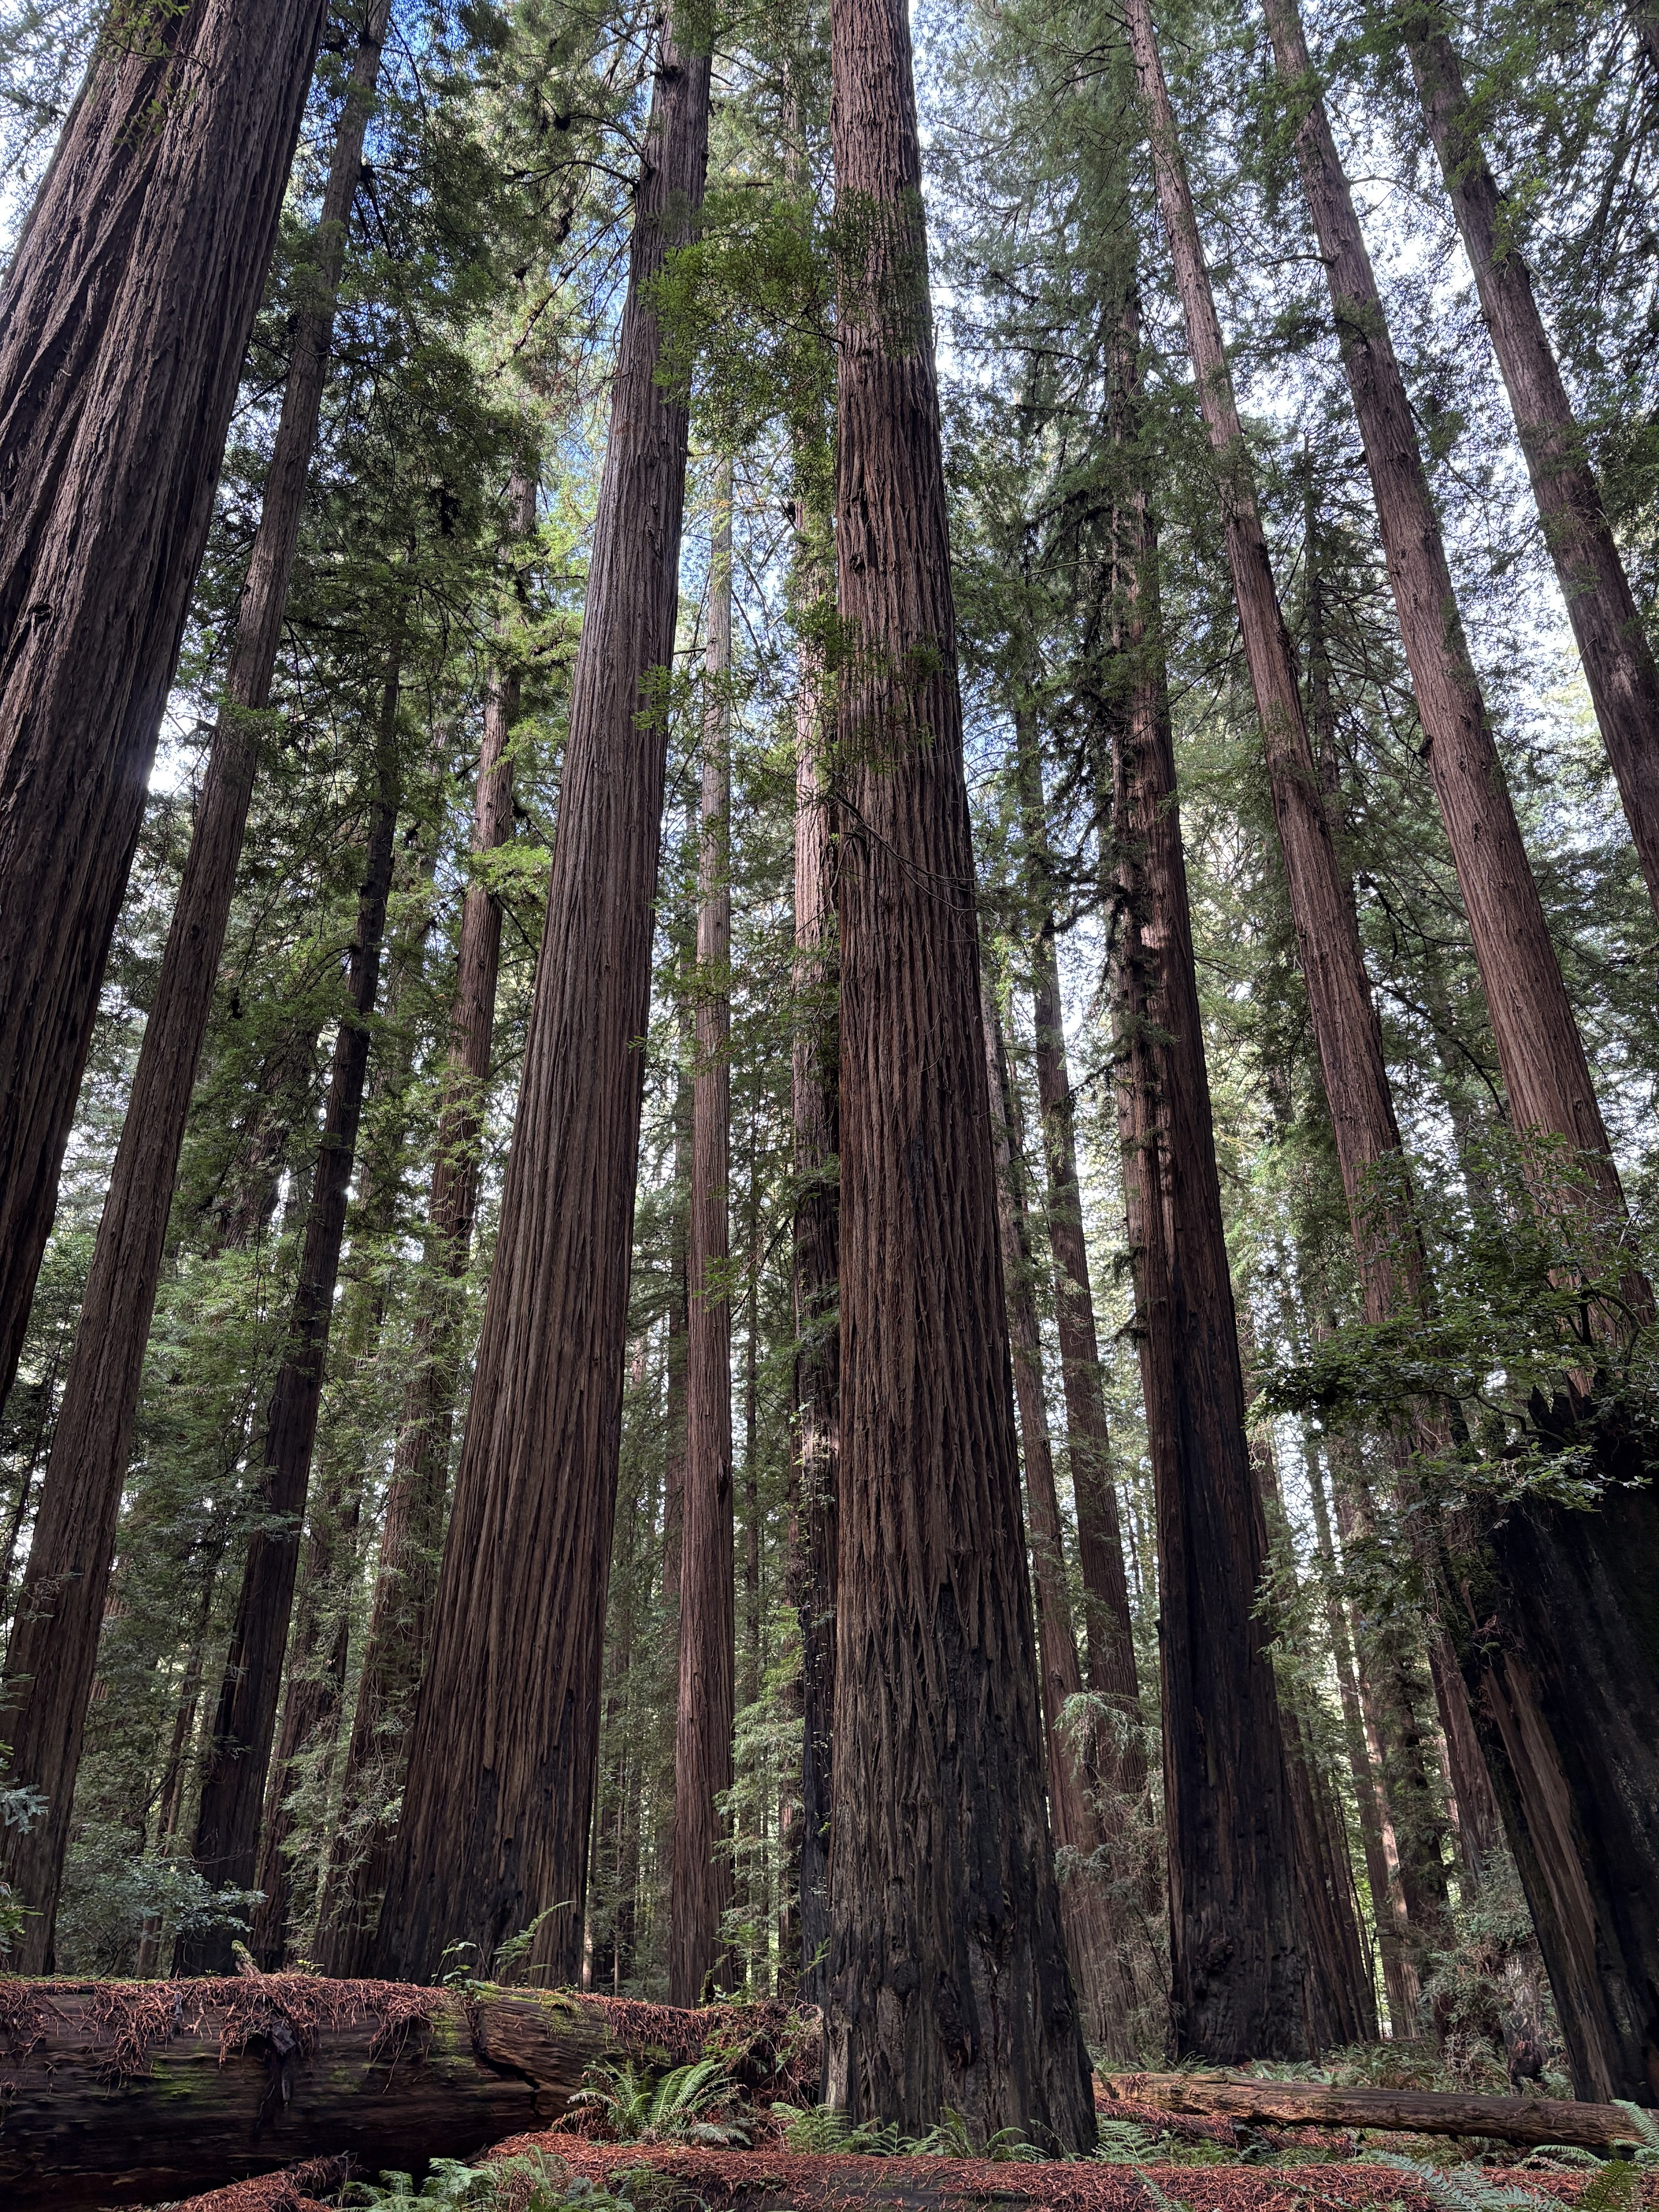
The Redwoods
We spent two days exploring the redwood groves. Not two consecutive days; we tried to break it up between beach days, shopping, and forrest. Here are some of the pictures we took.

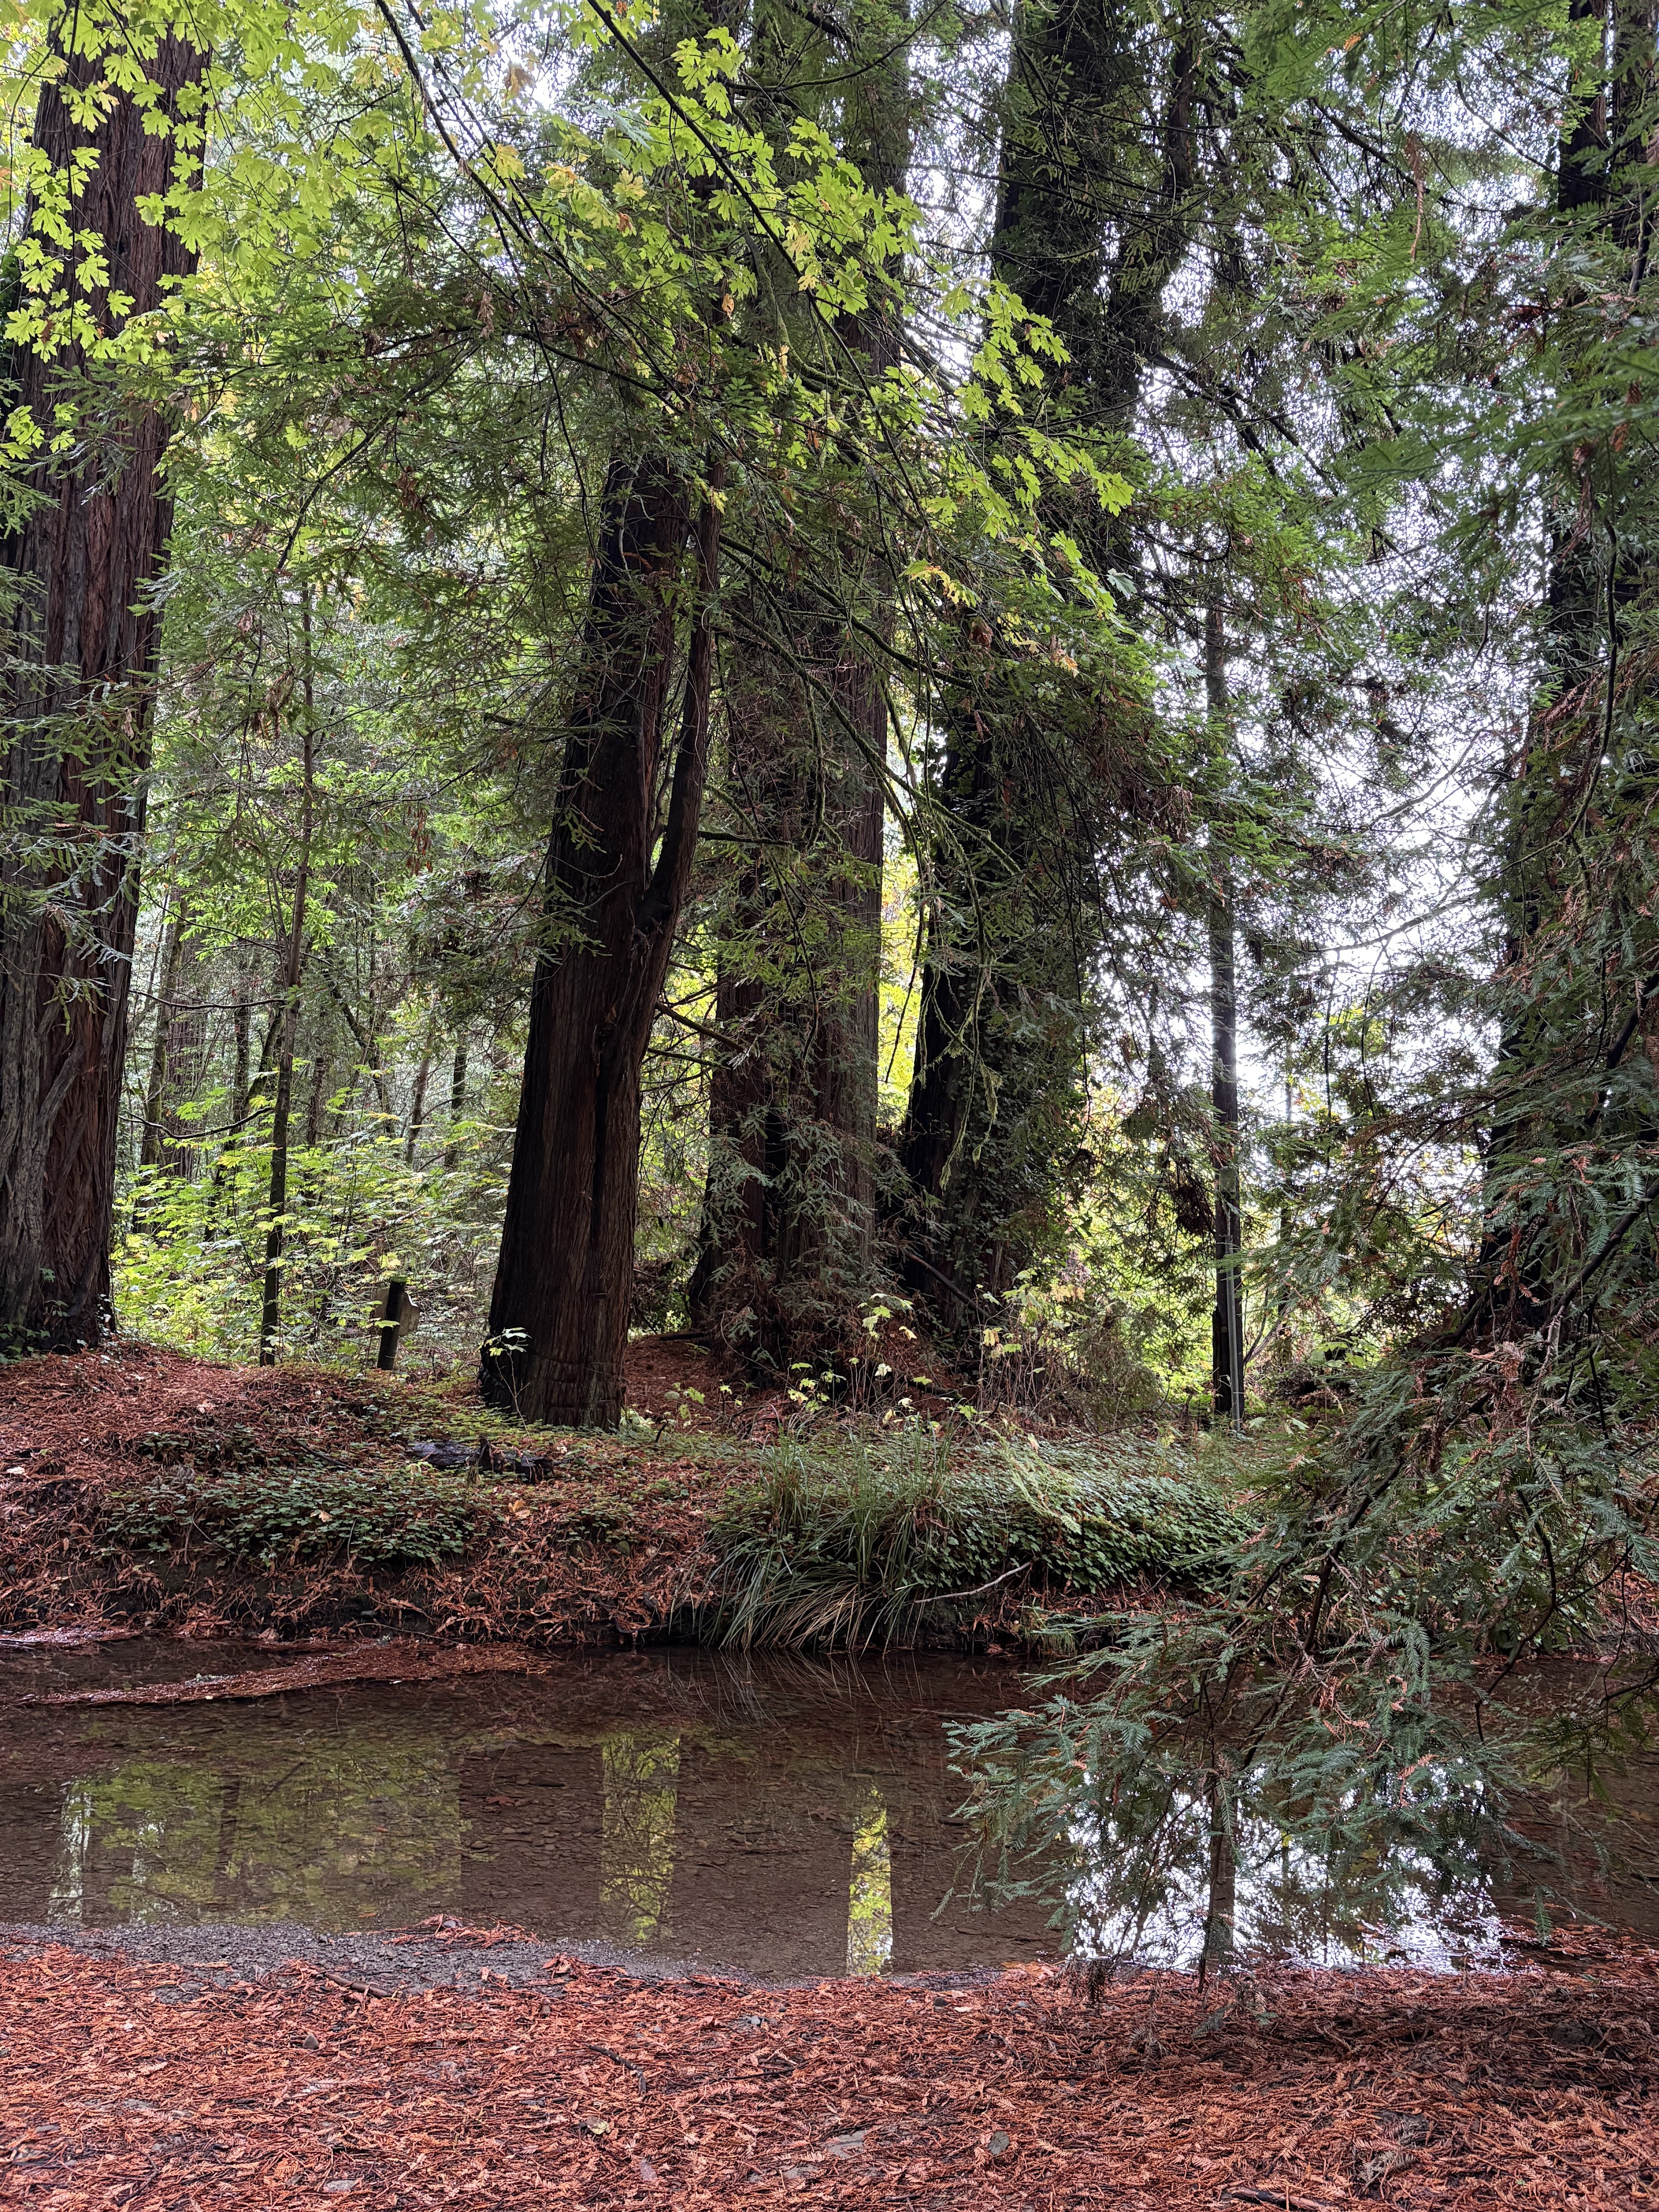
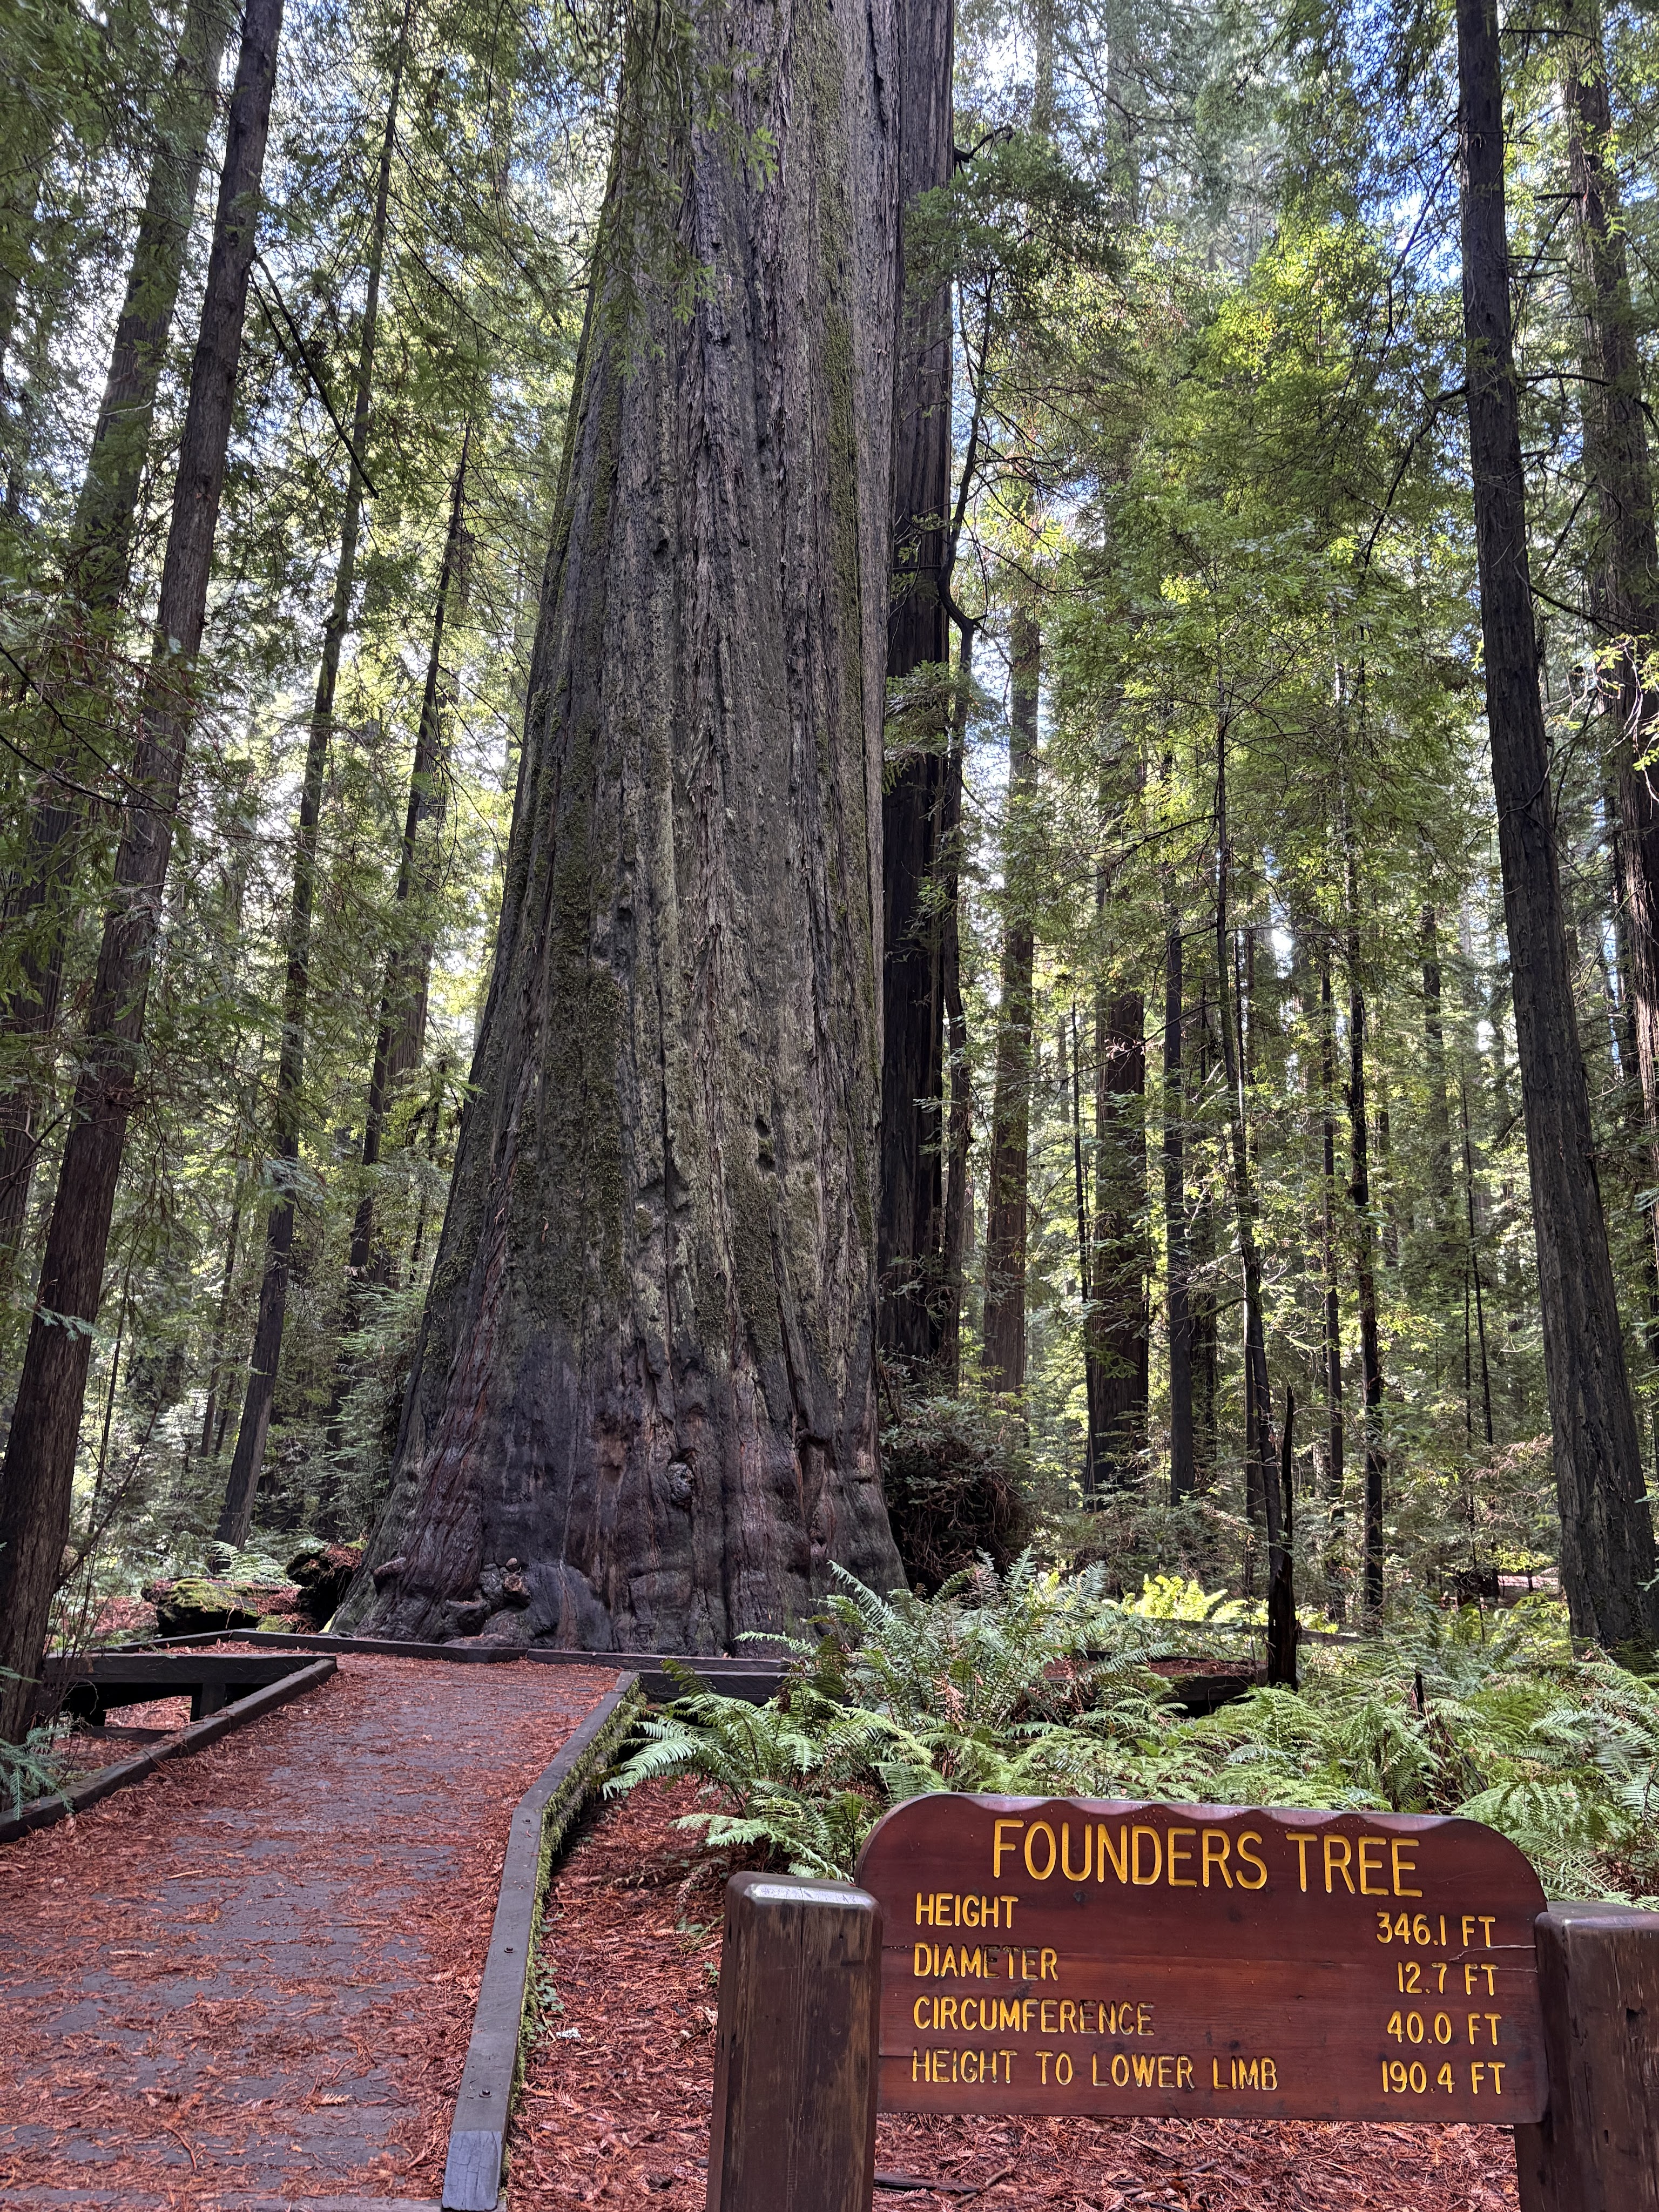
Our first redwood day was spent walking on the Founder’s Grove trail. Just a short two-mile round trip walk in the woods.


On another day we visited the Garden Club of America Grove which was technically closed but only to automobile traffic. We walked in and enjoyed the peace and quiet of the end of the season.


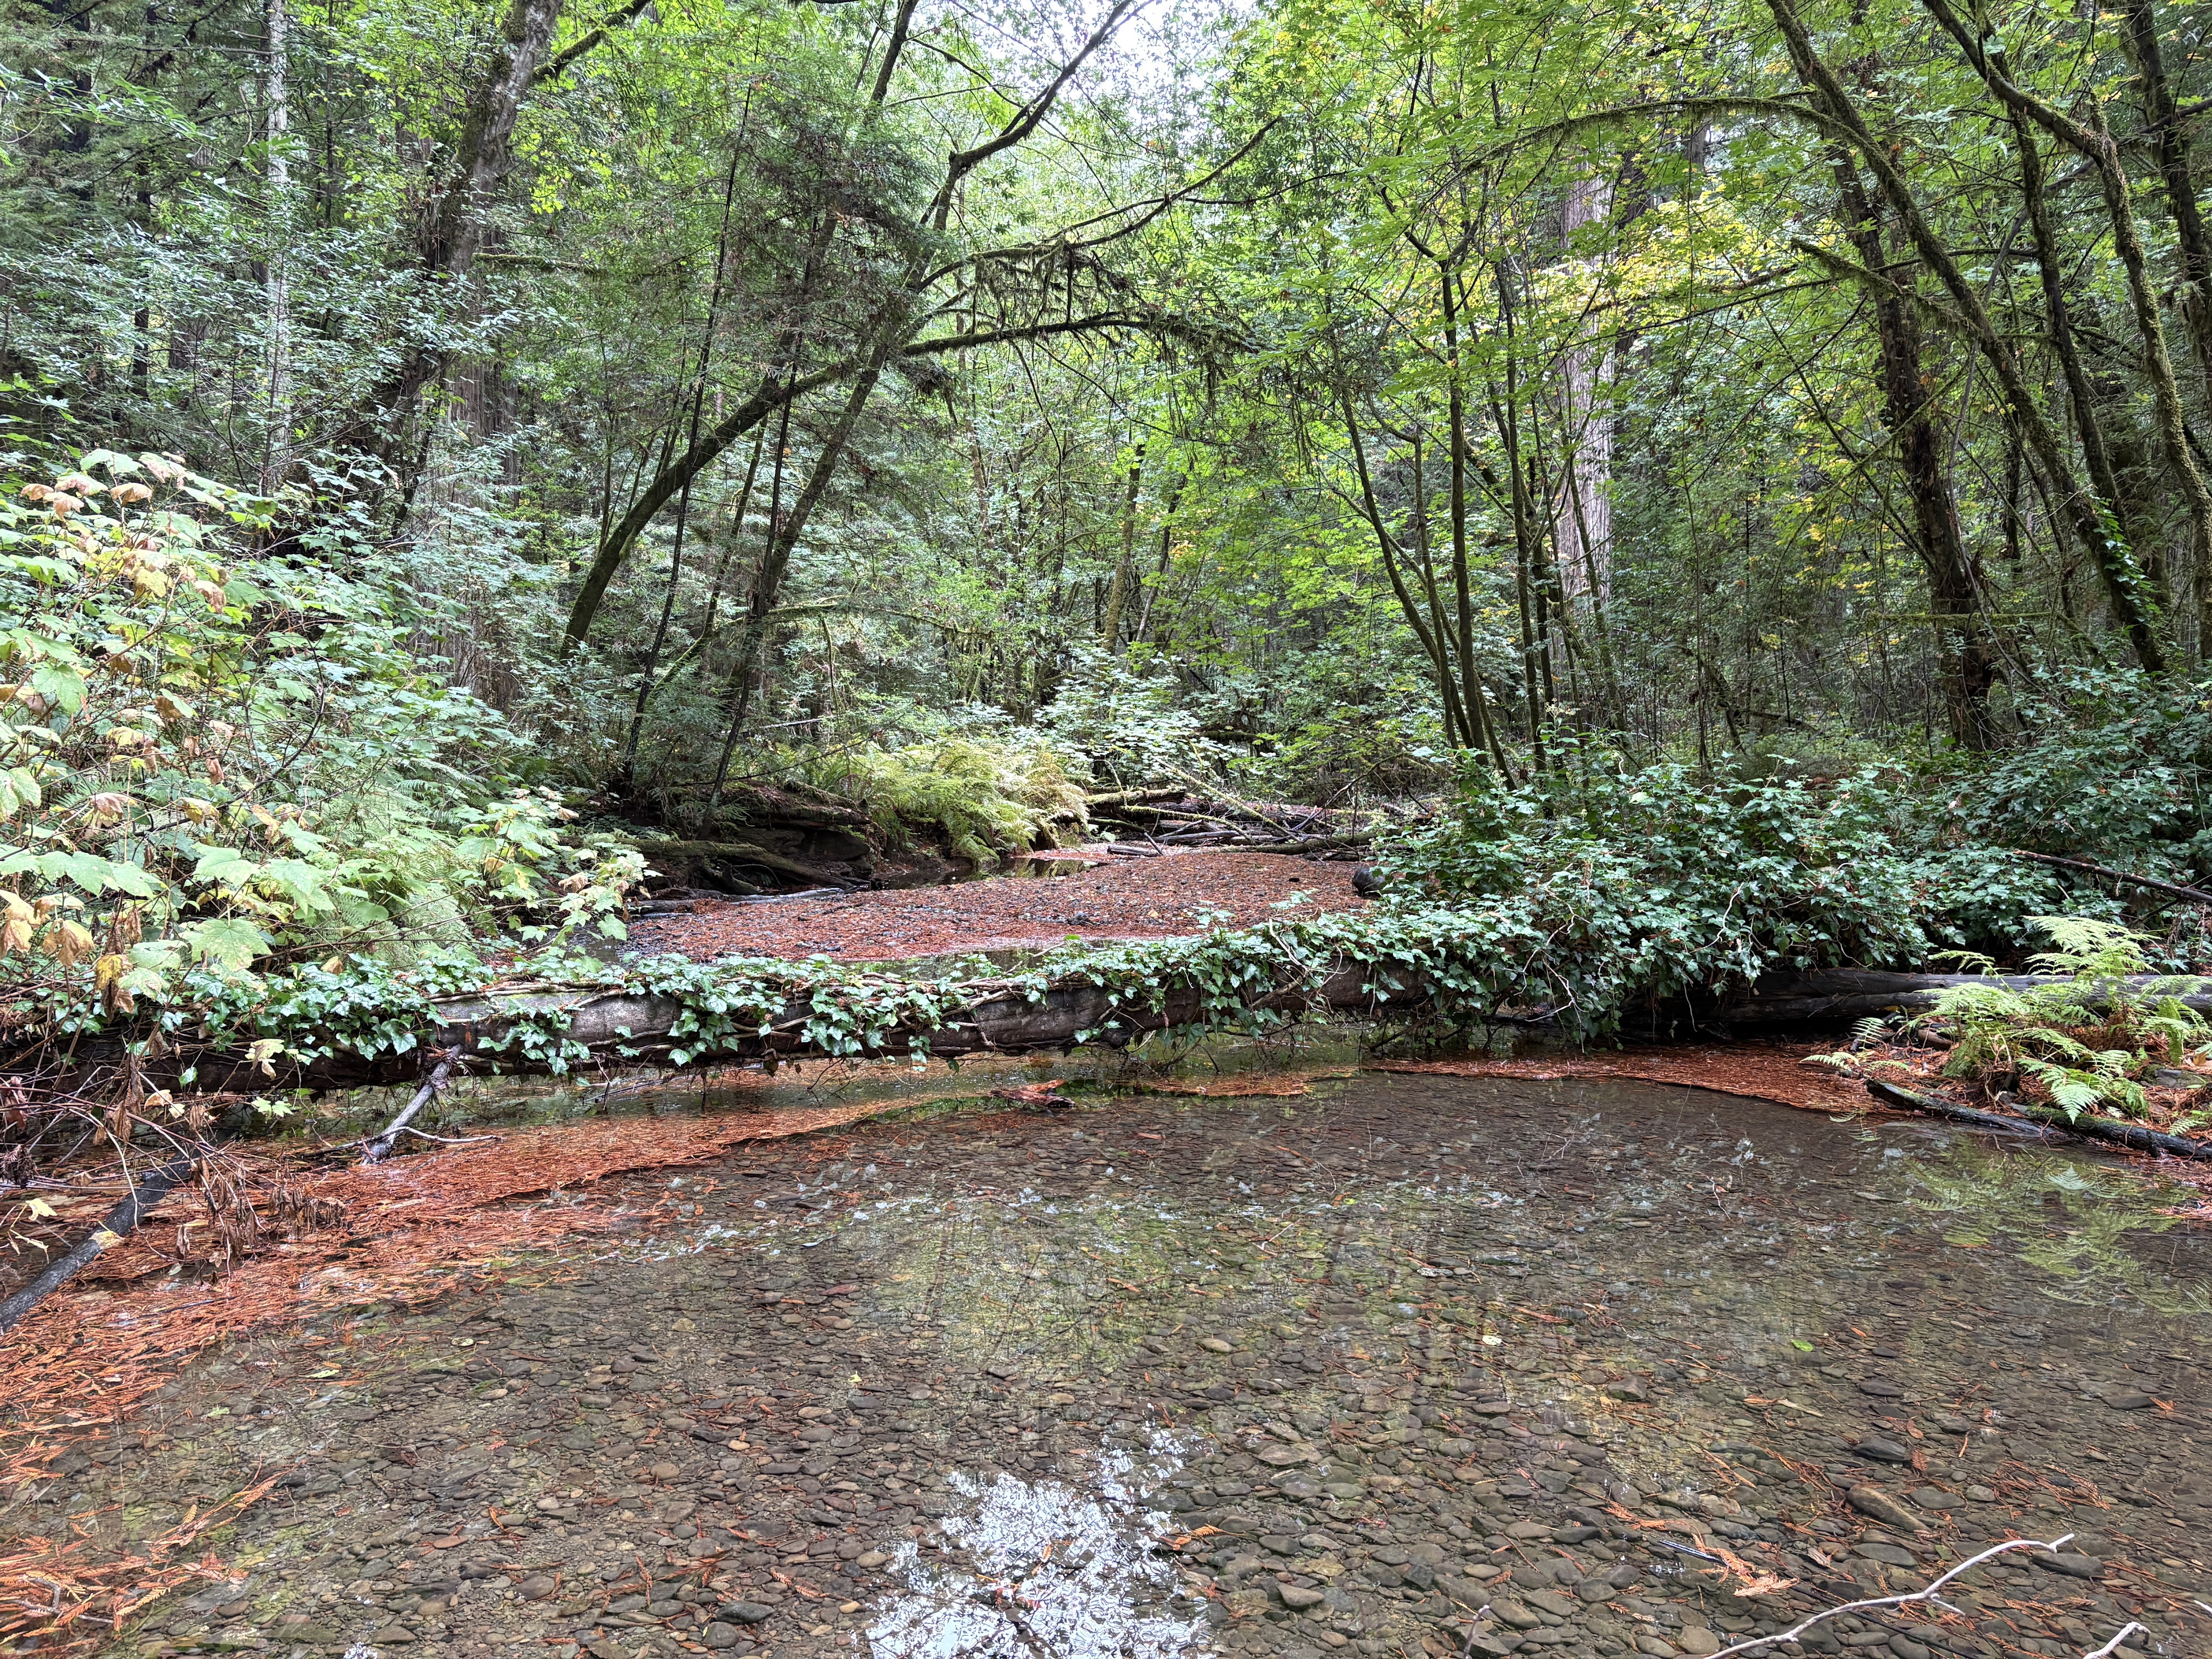
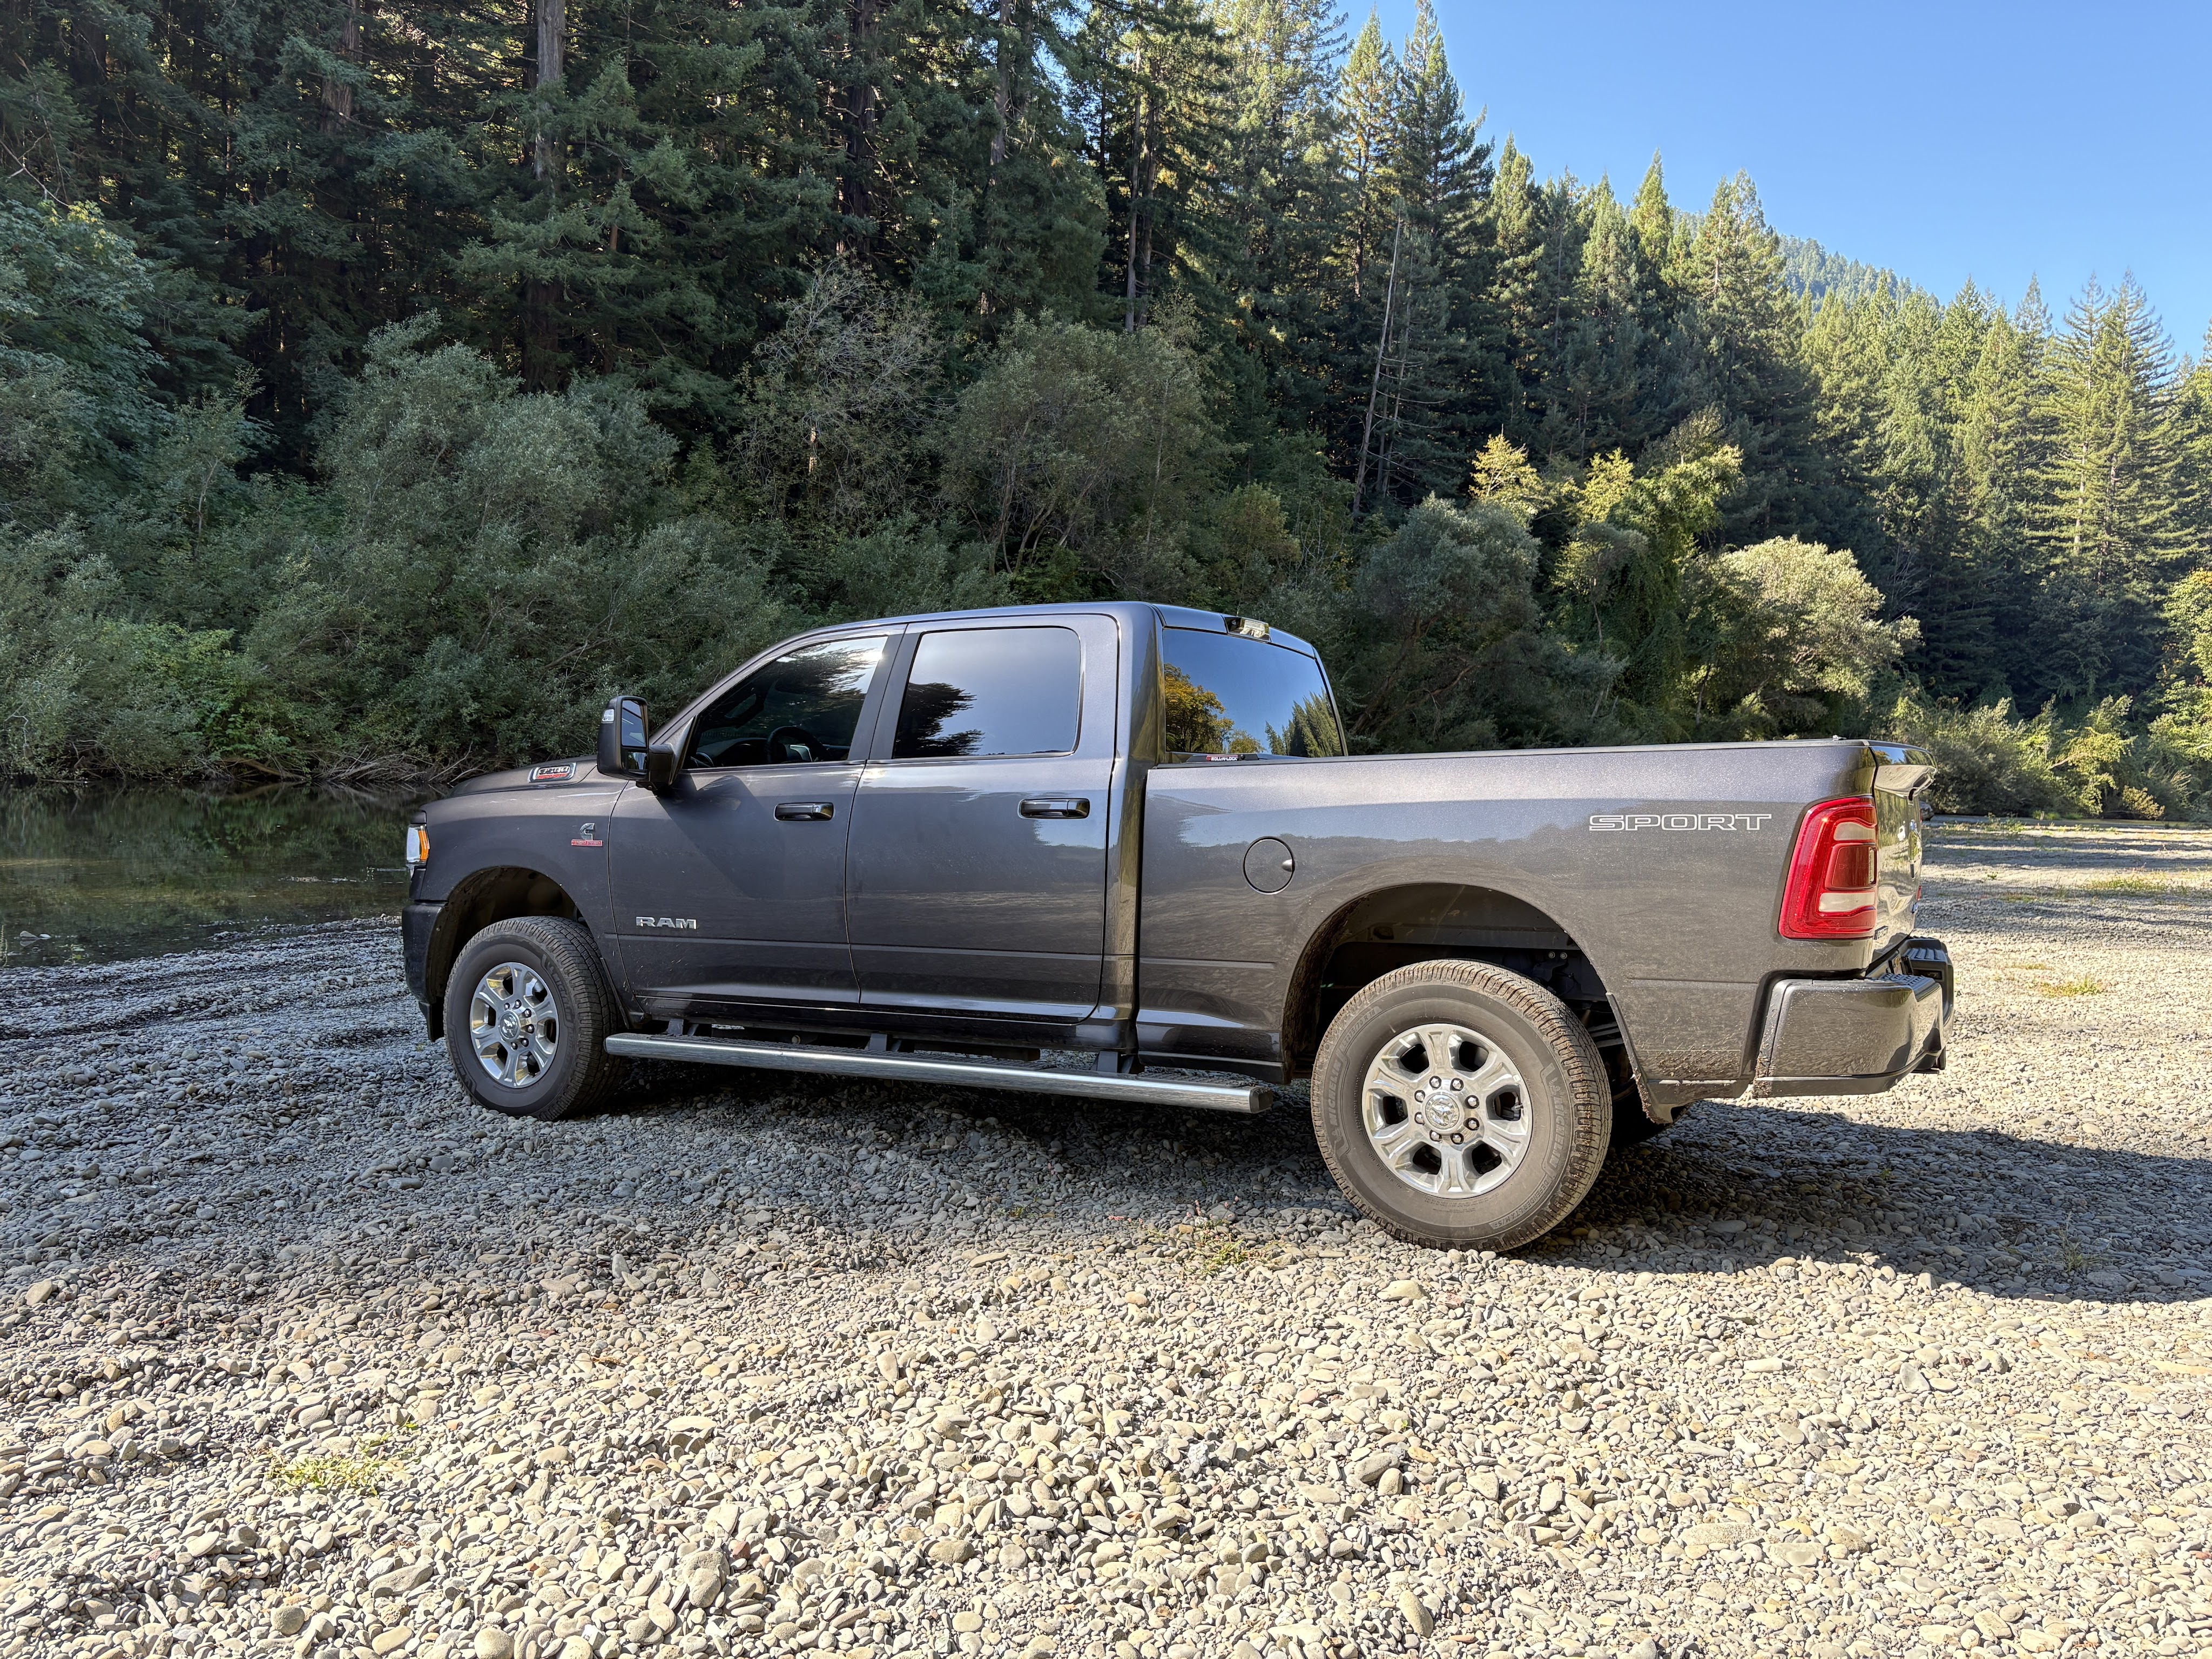
We also drove down onto a gravel bar on the Eel River. We spent some time enjoying the peace and quiet of the river.

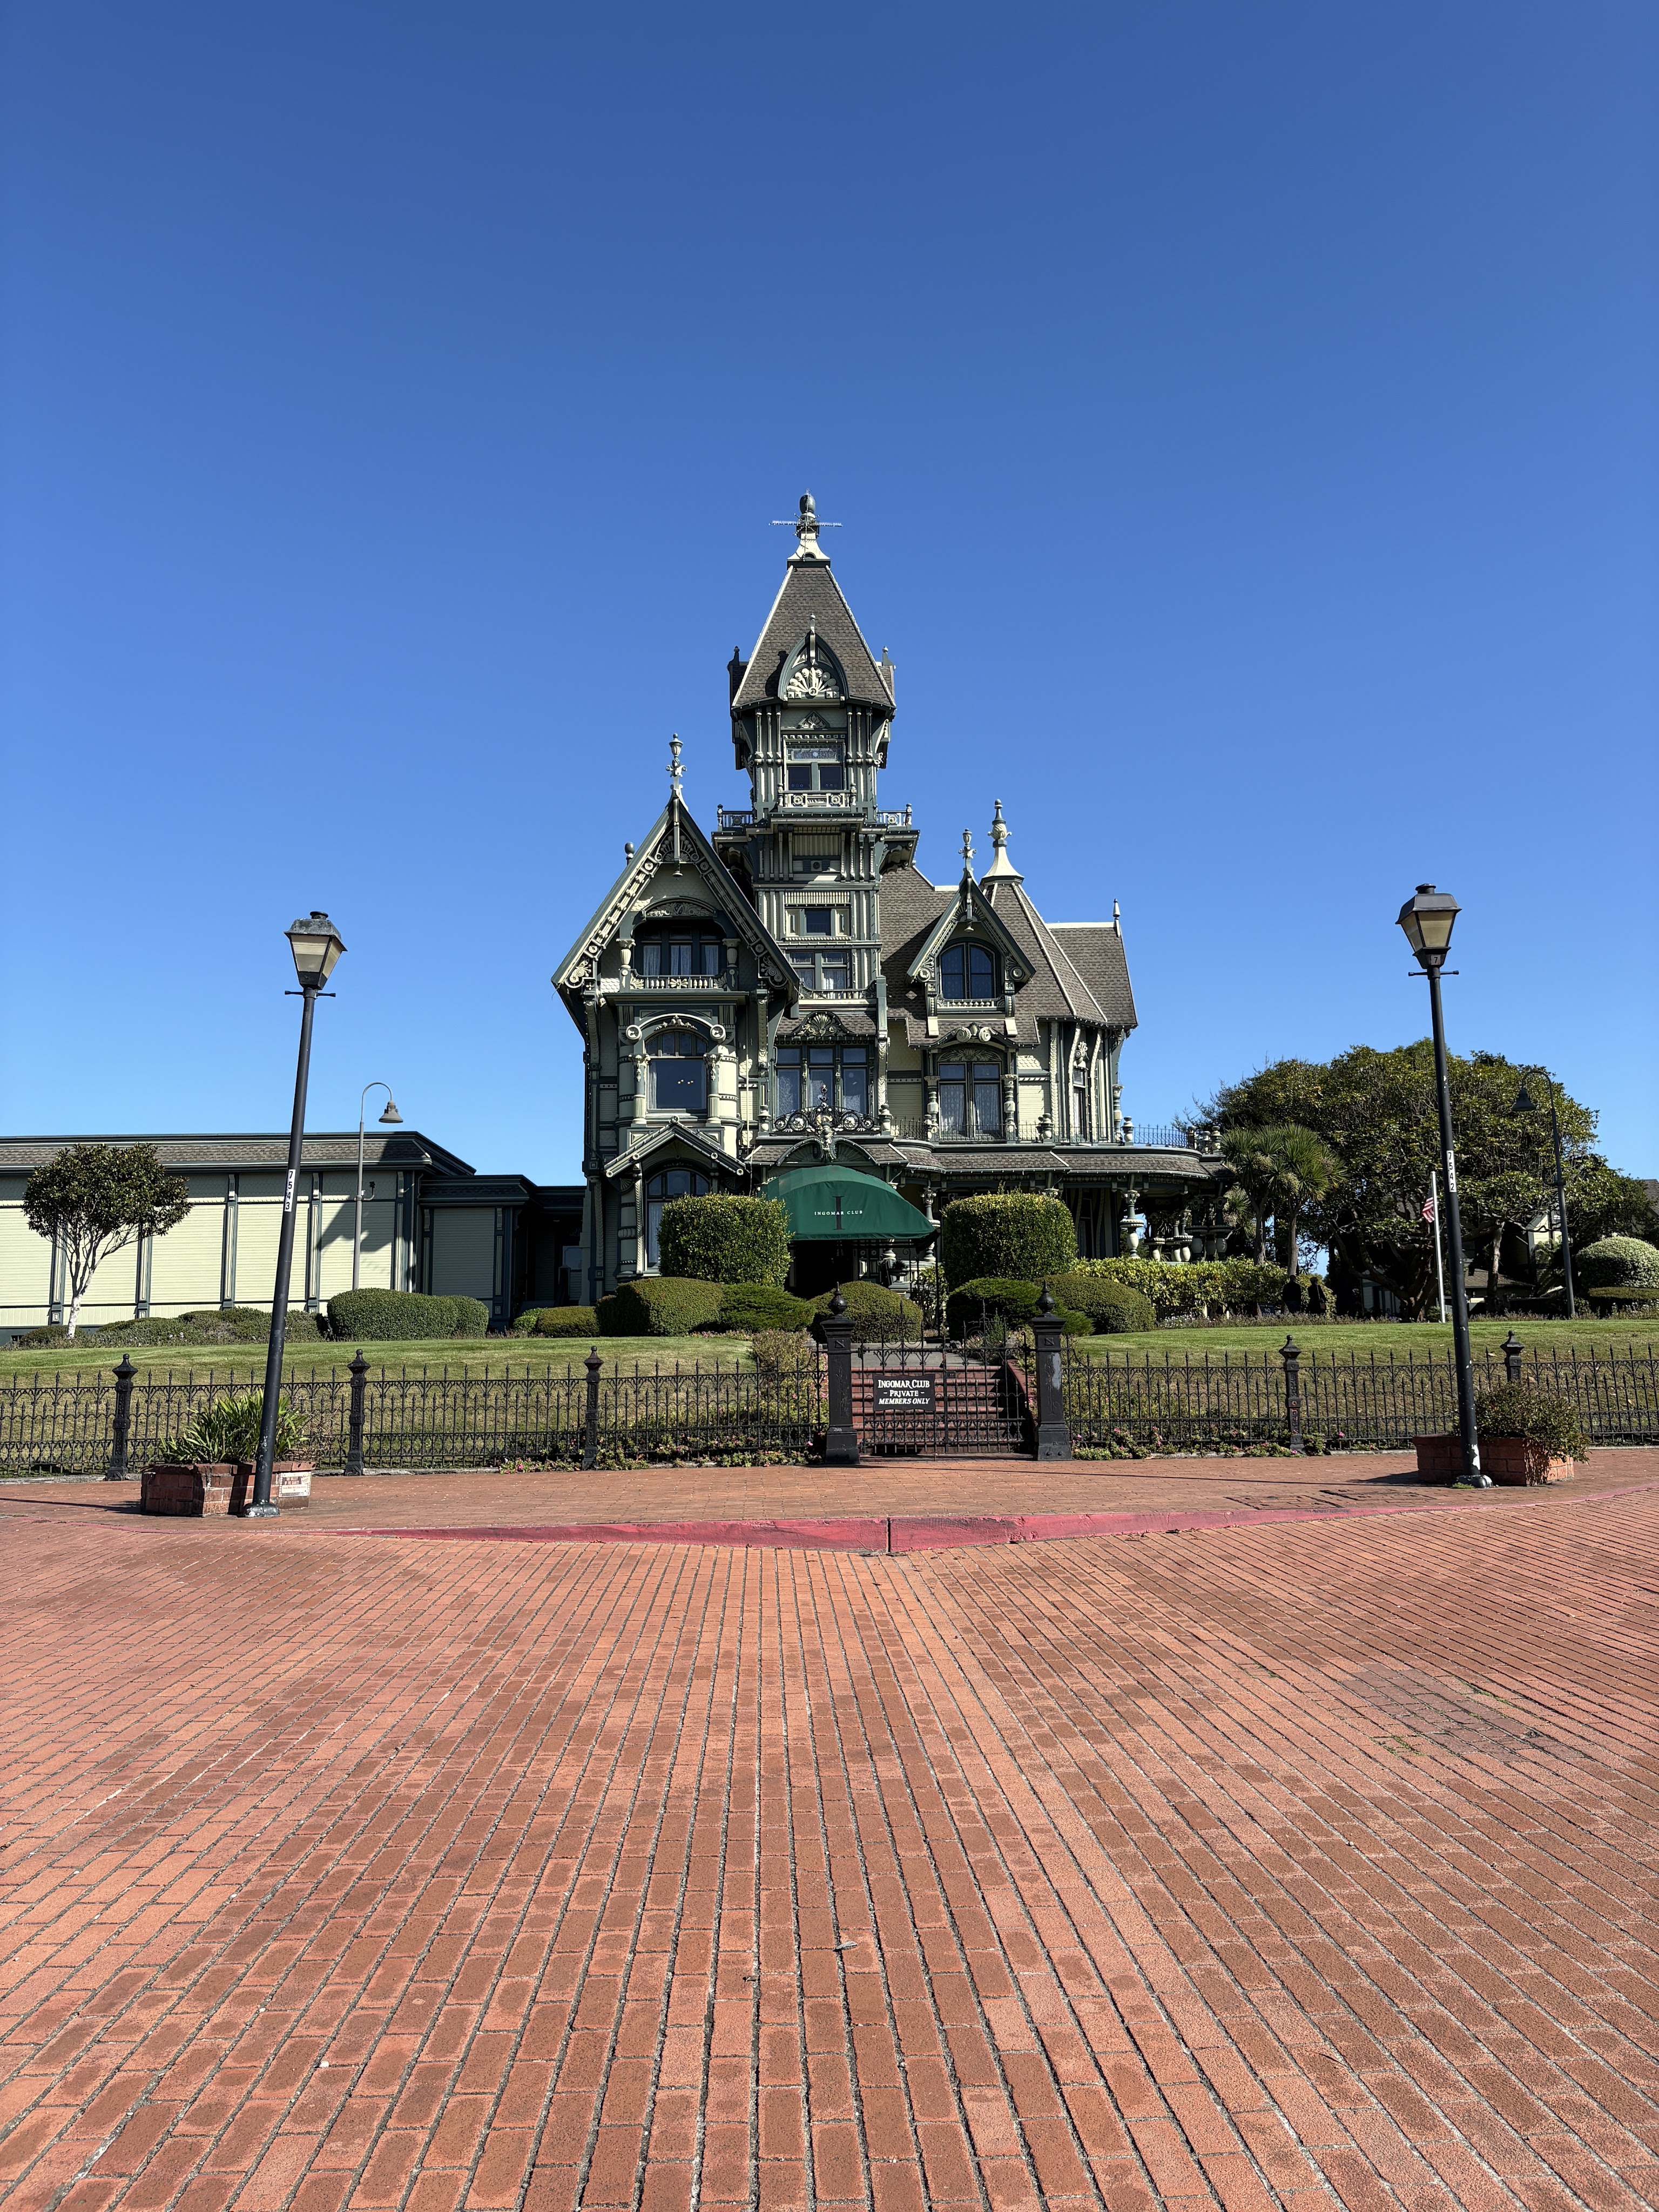
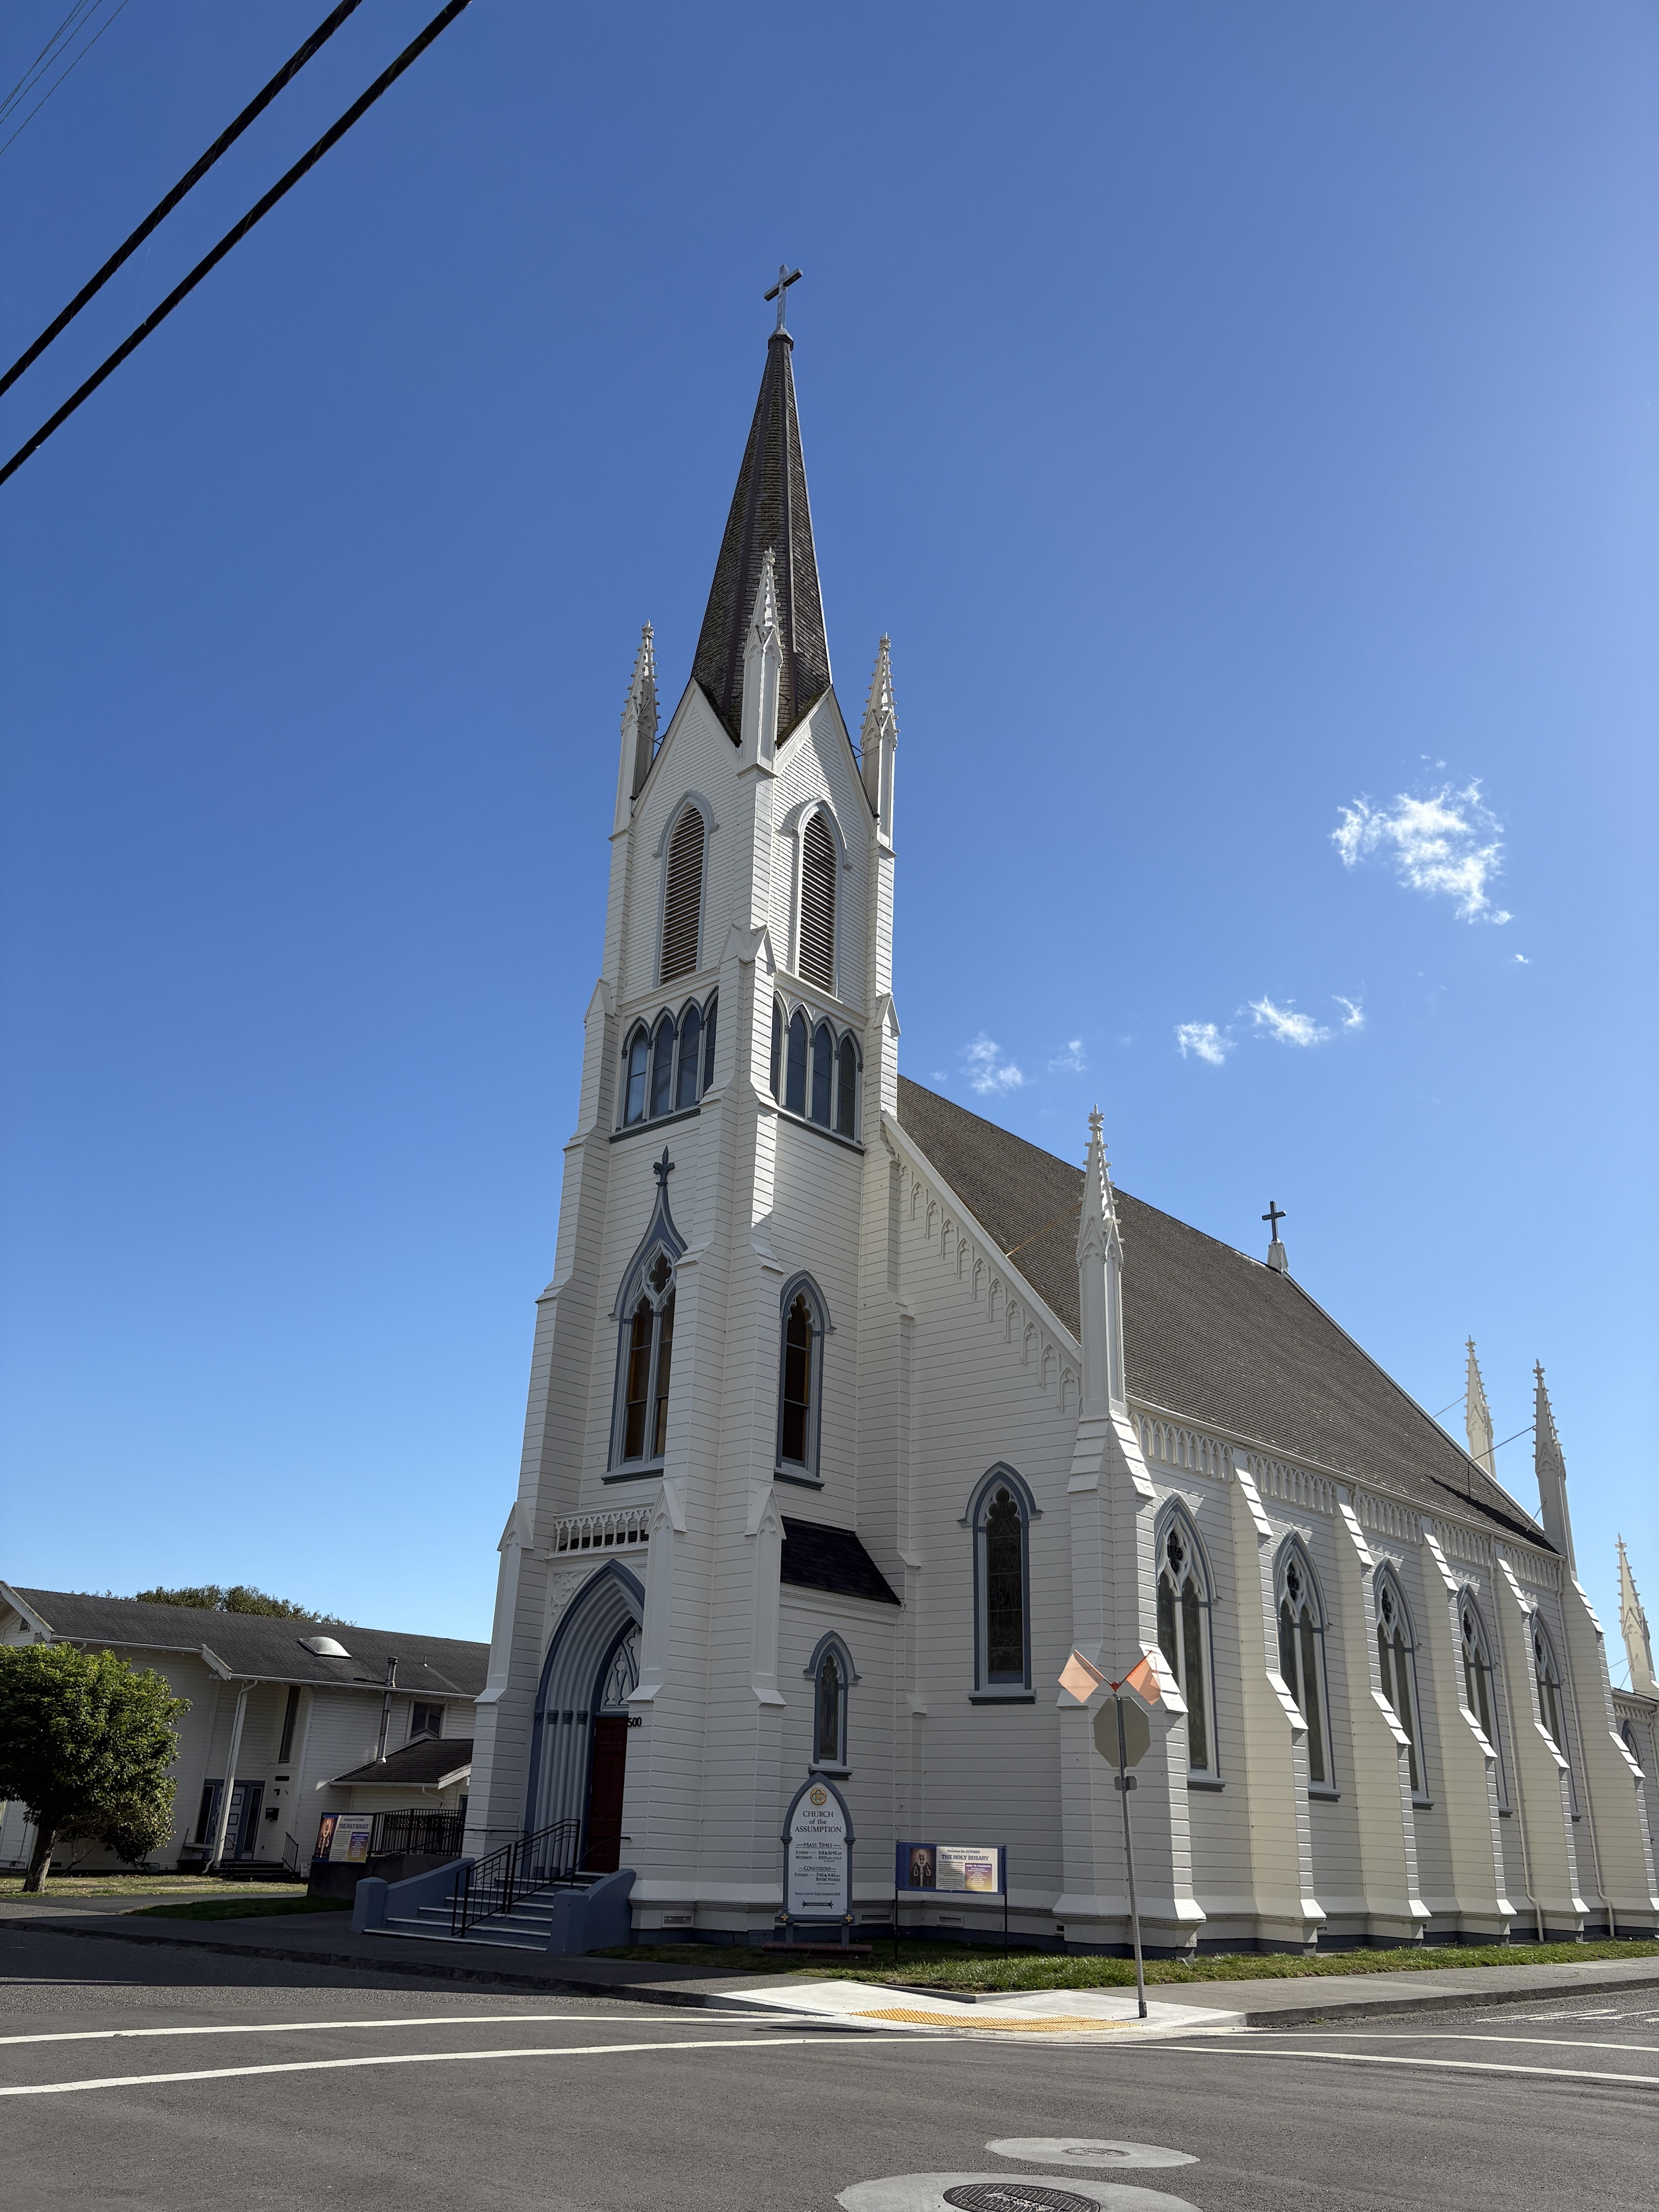
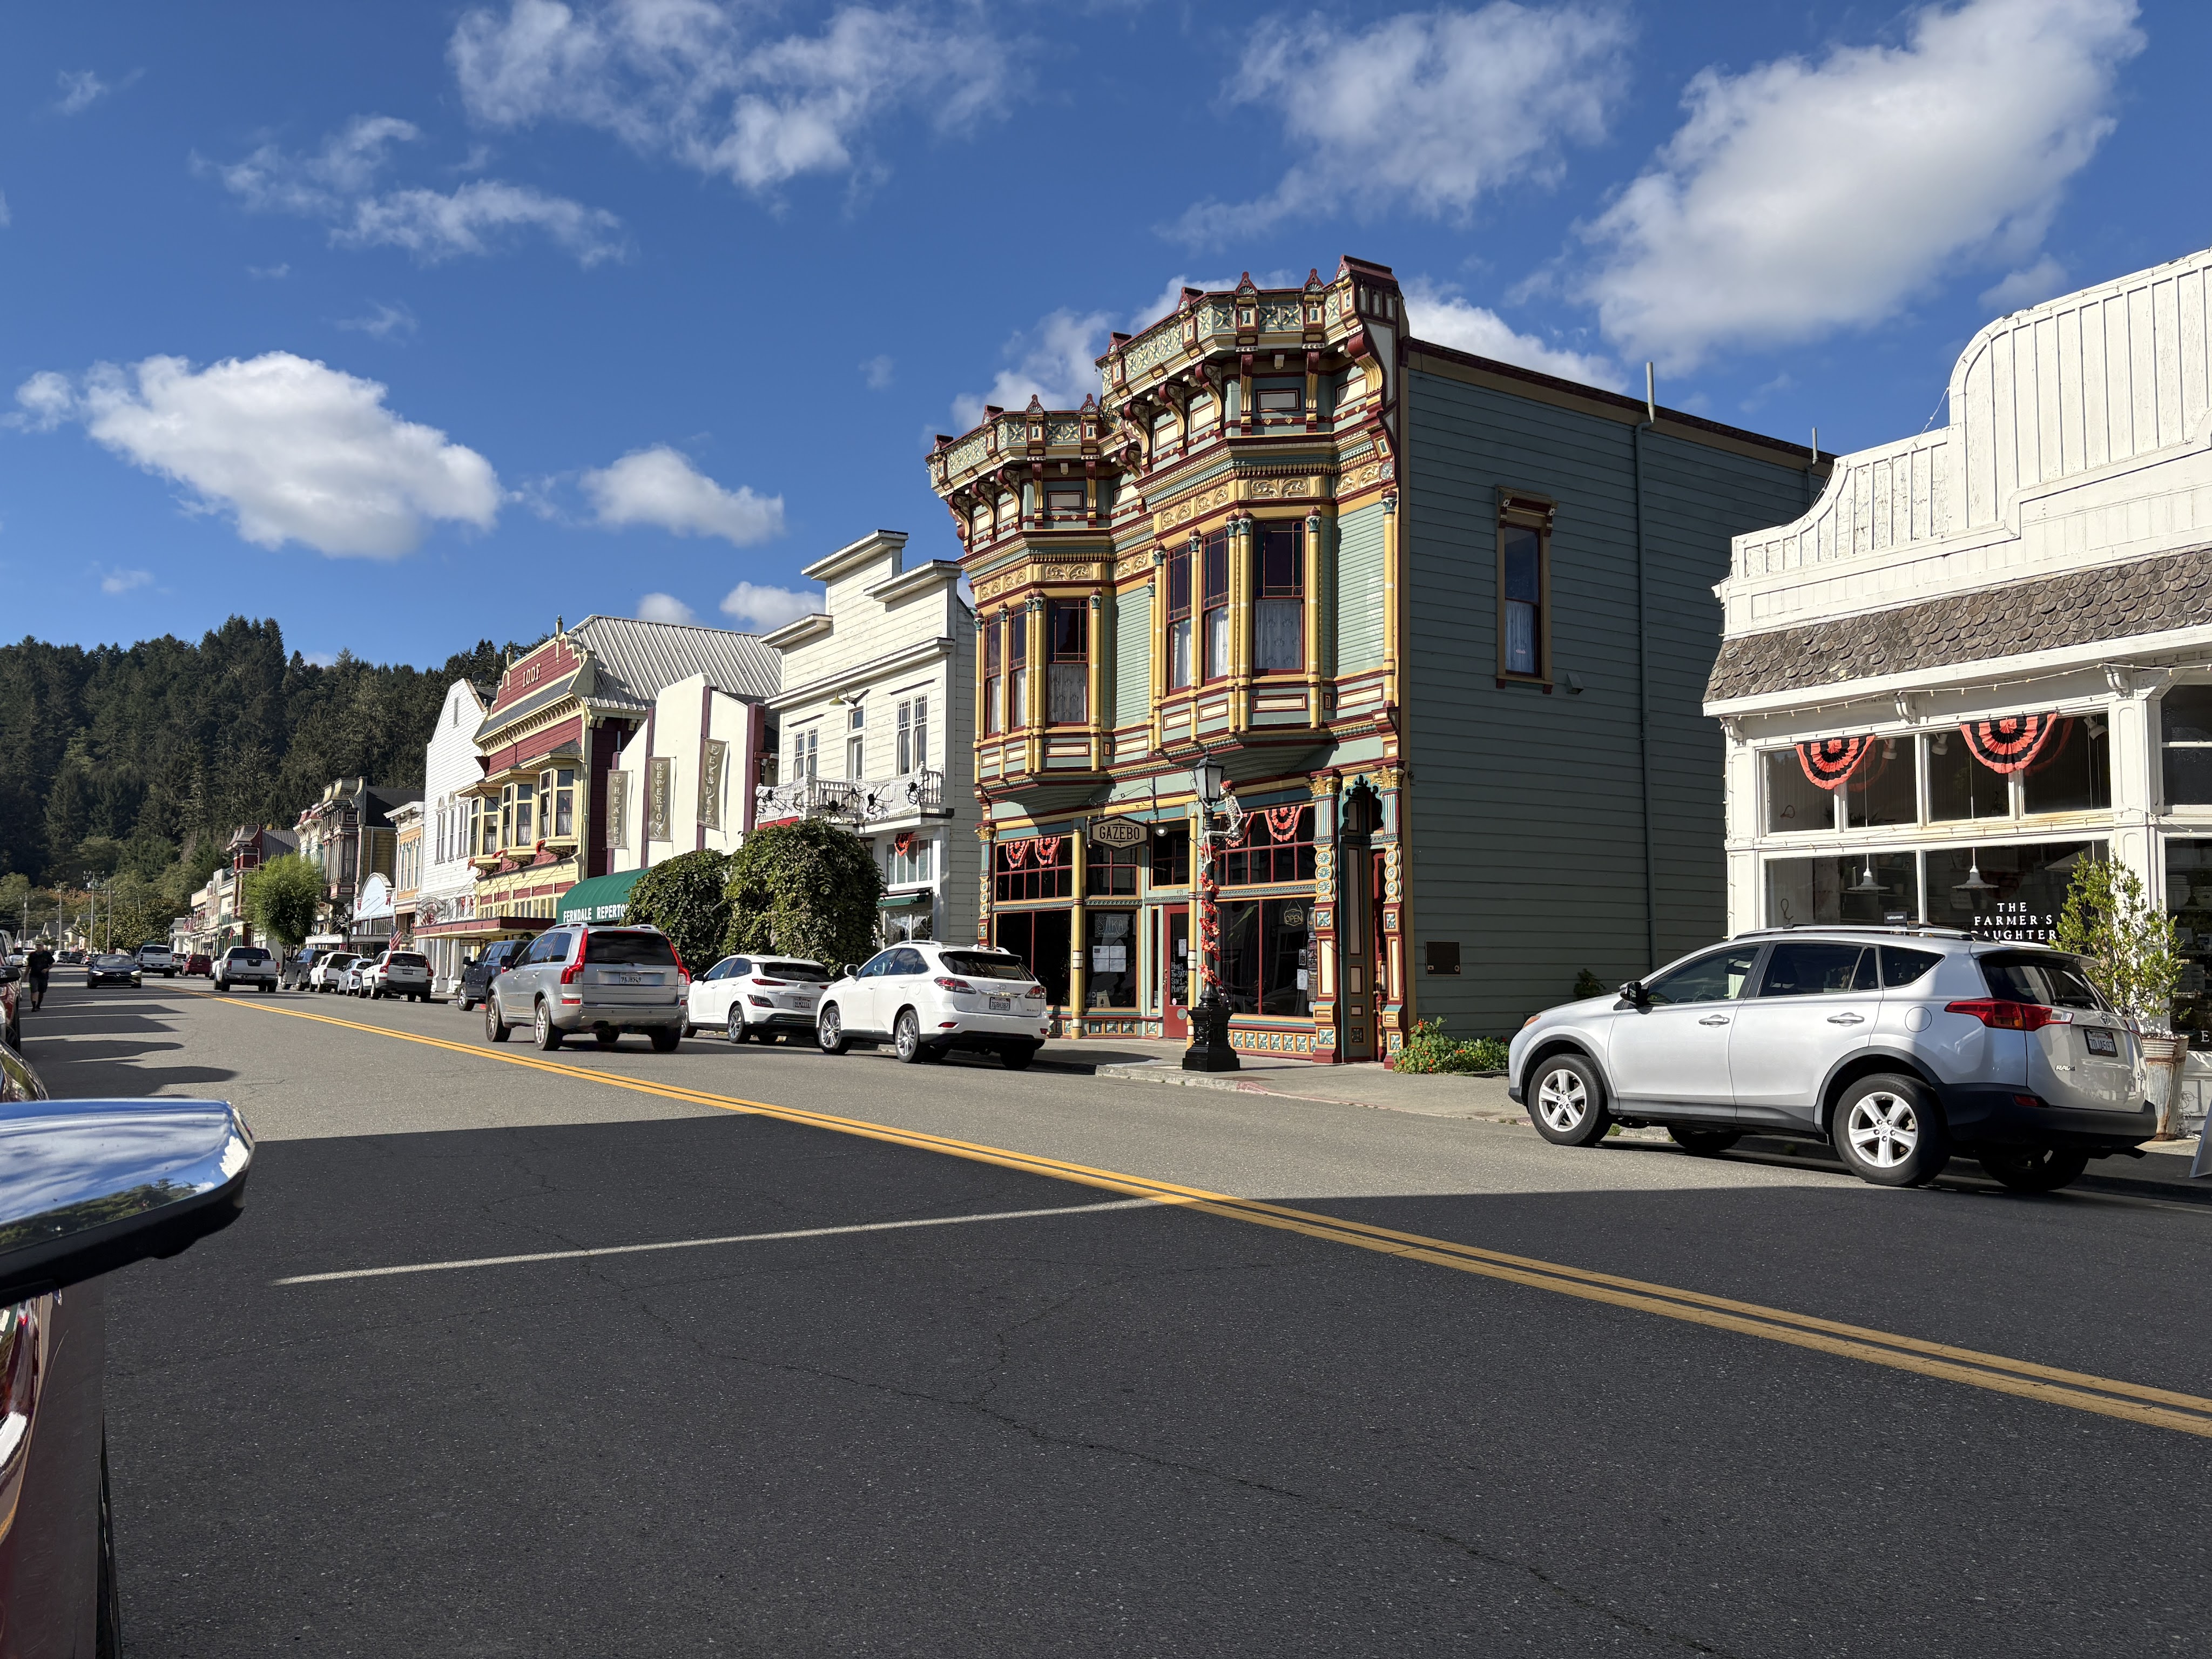
Victorian Architecture
We also spent some time exploring some of the wonderful Victorian-era architecture of the area. There were two great examples in Eureka and and then the entire town of Ferndale. They just don’t build them like that anymore.
Eureka

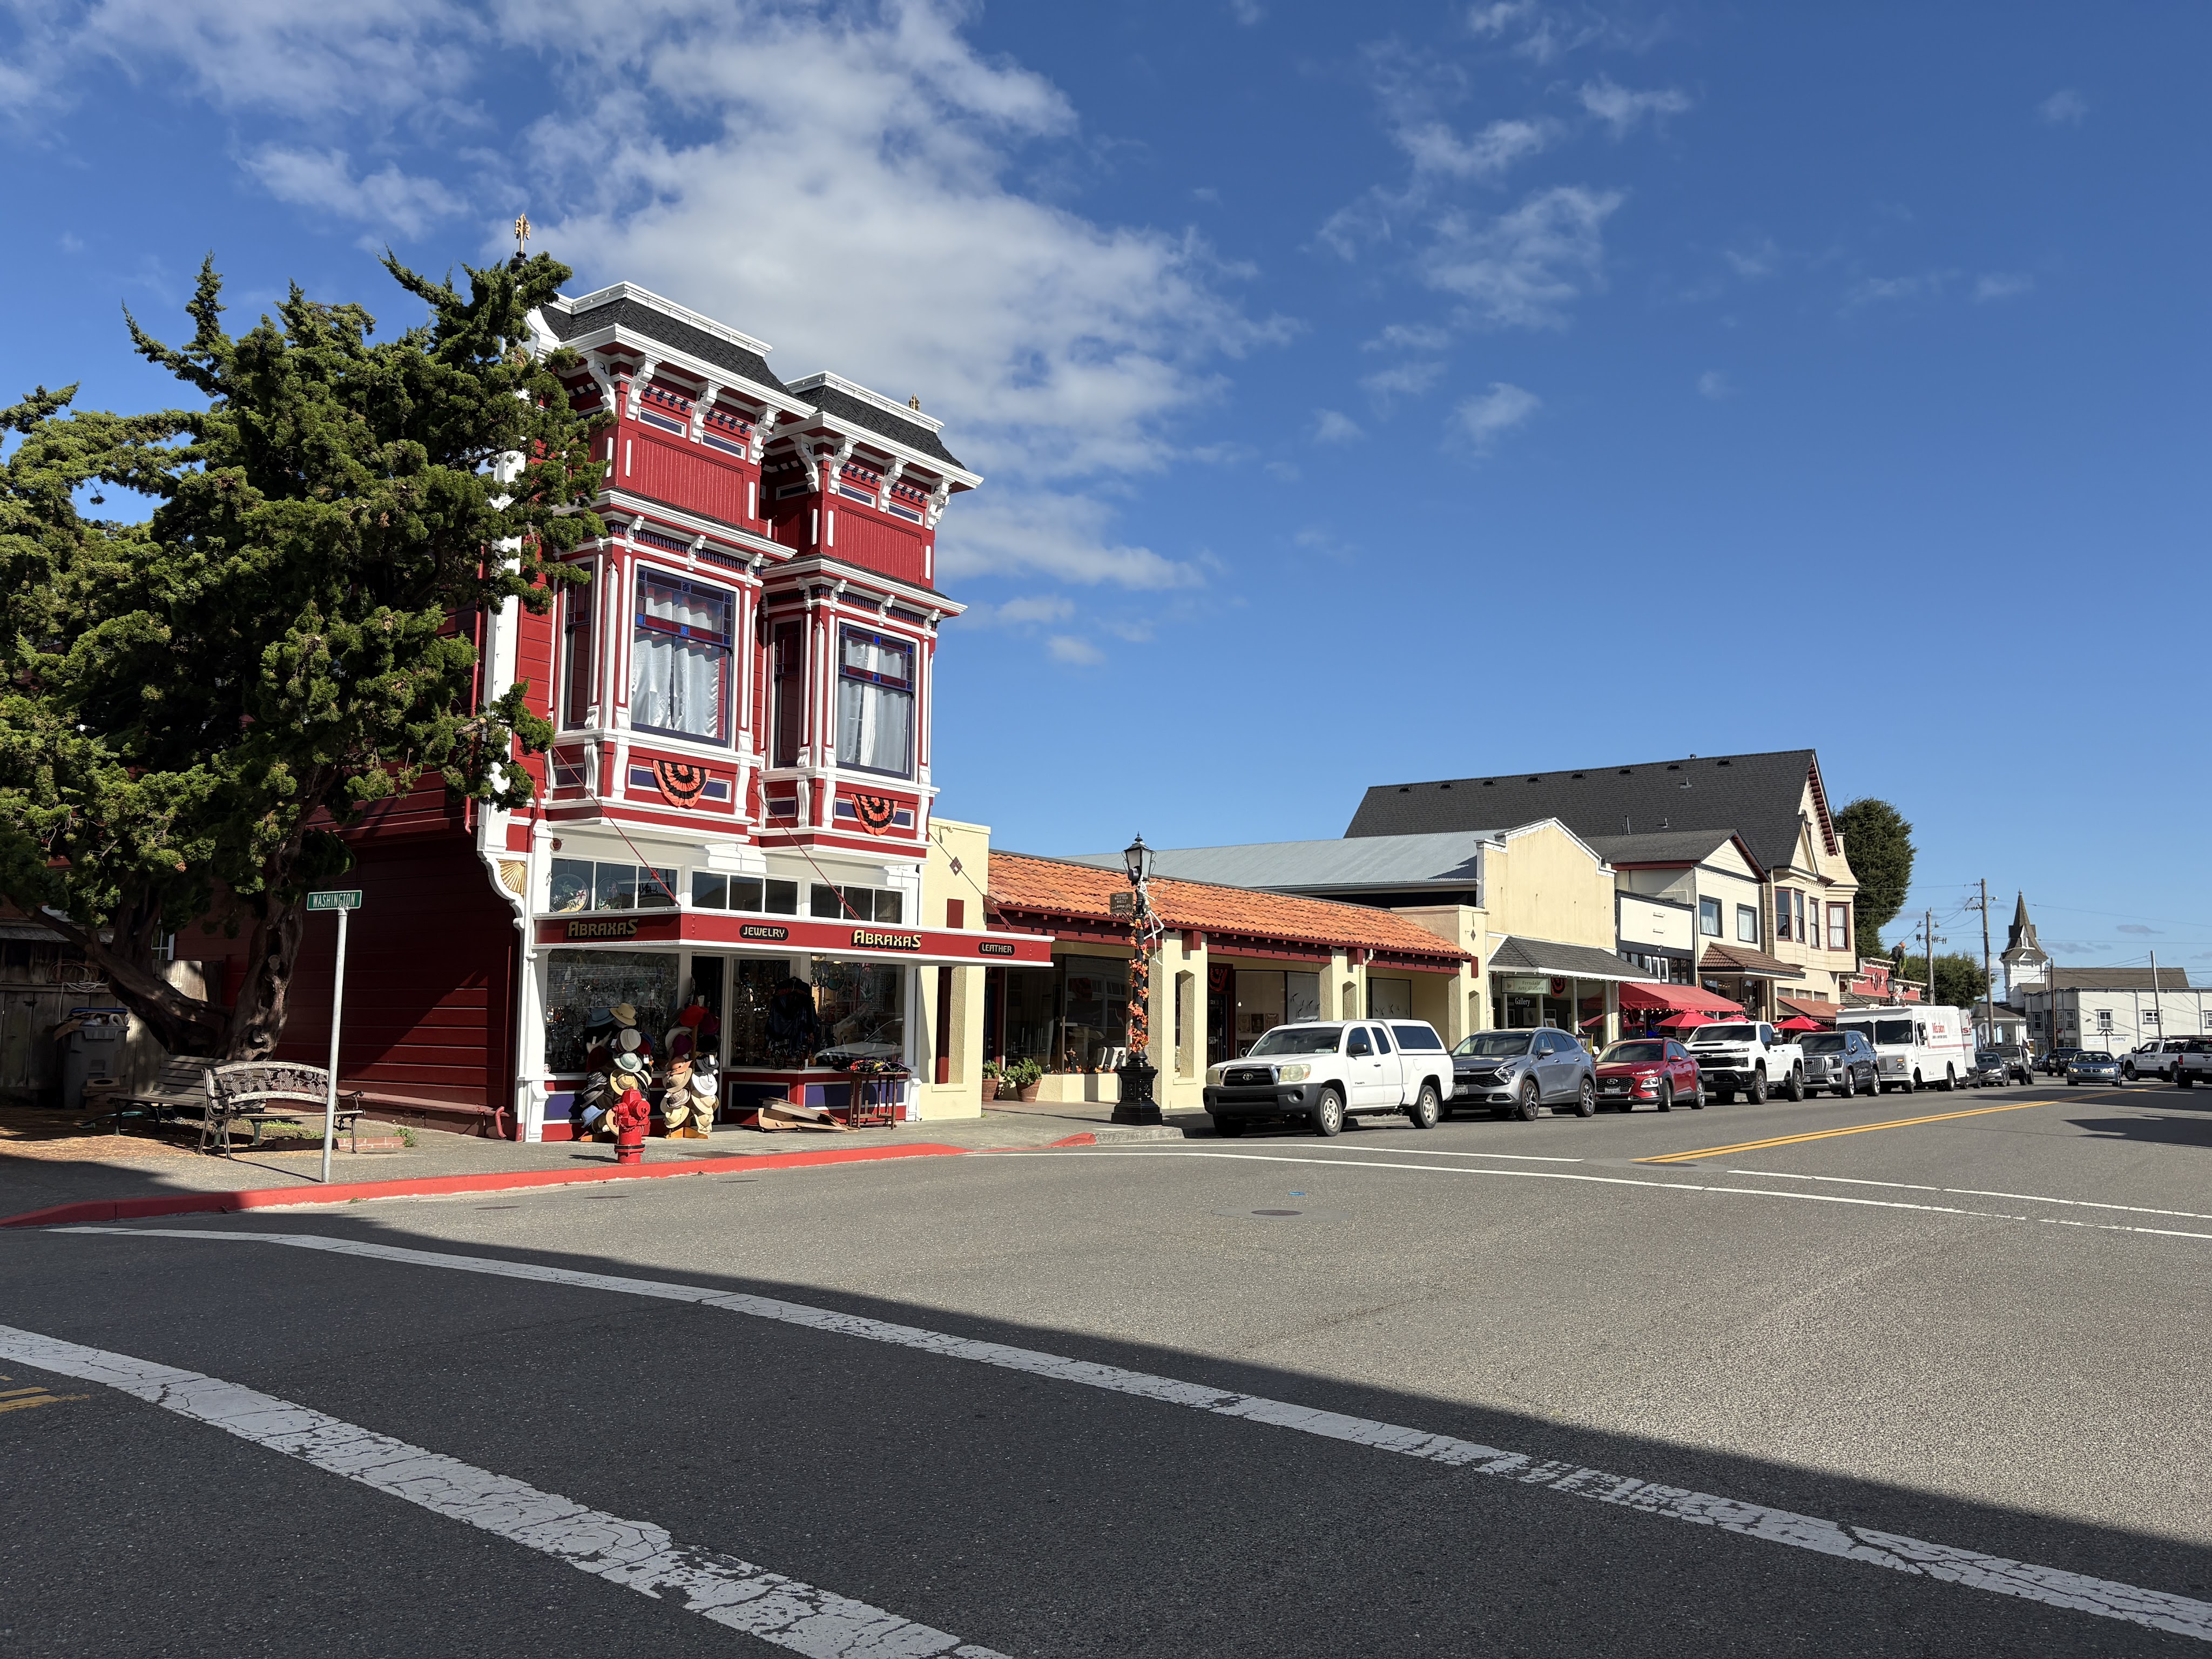
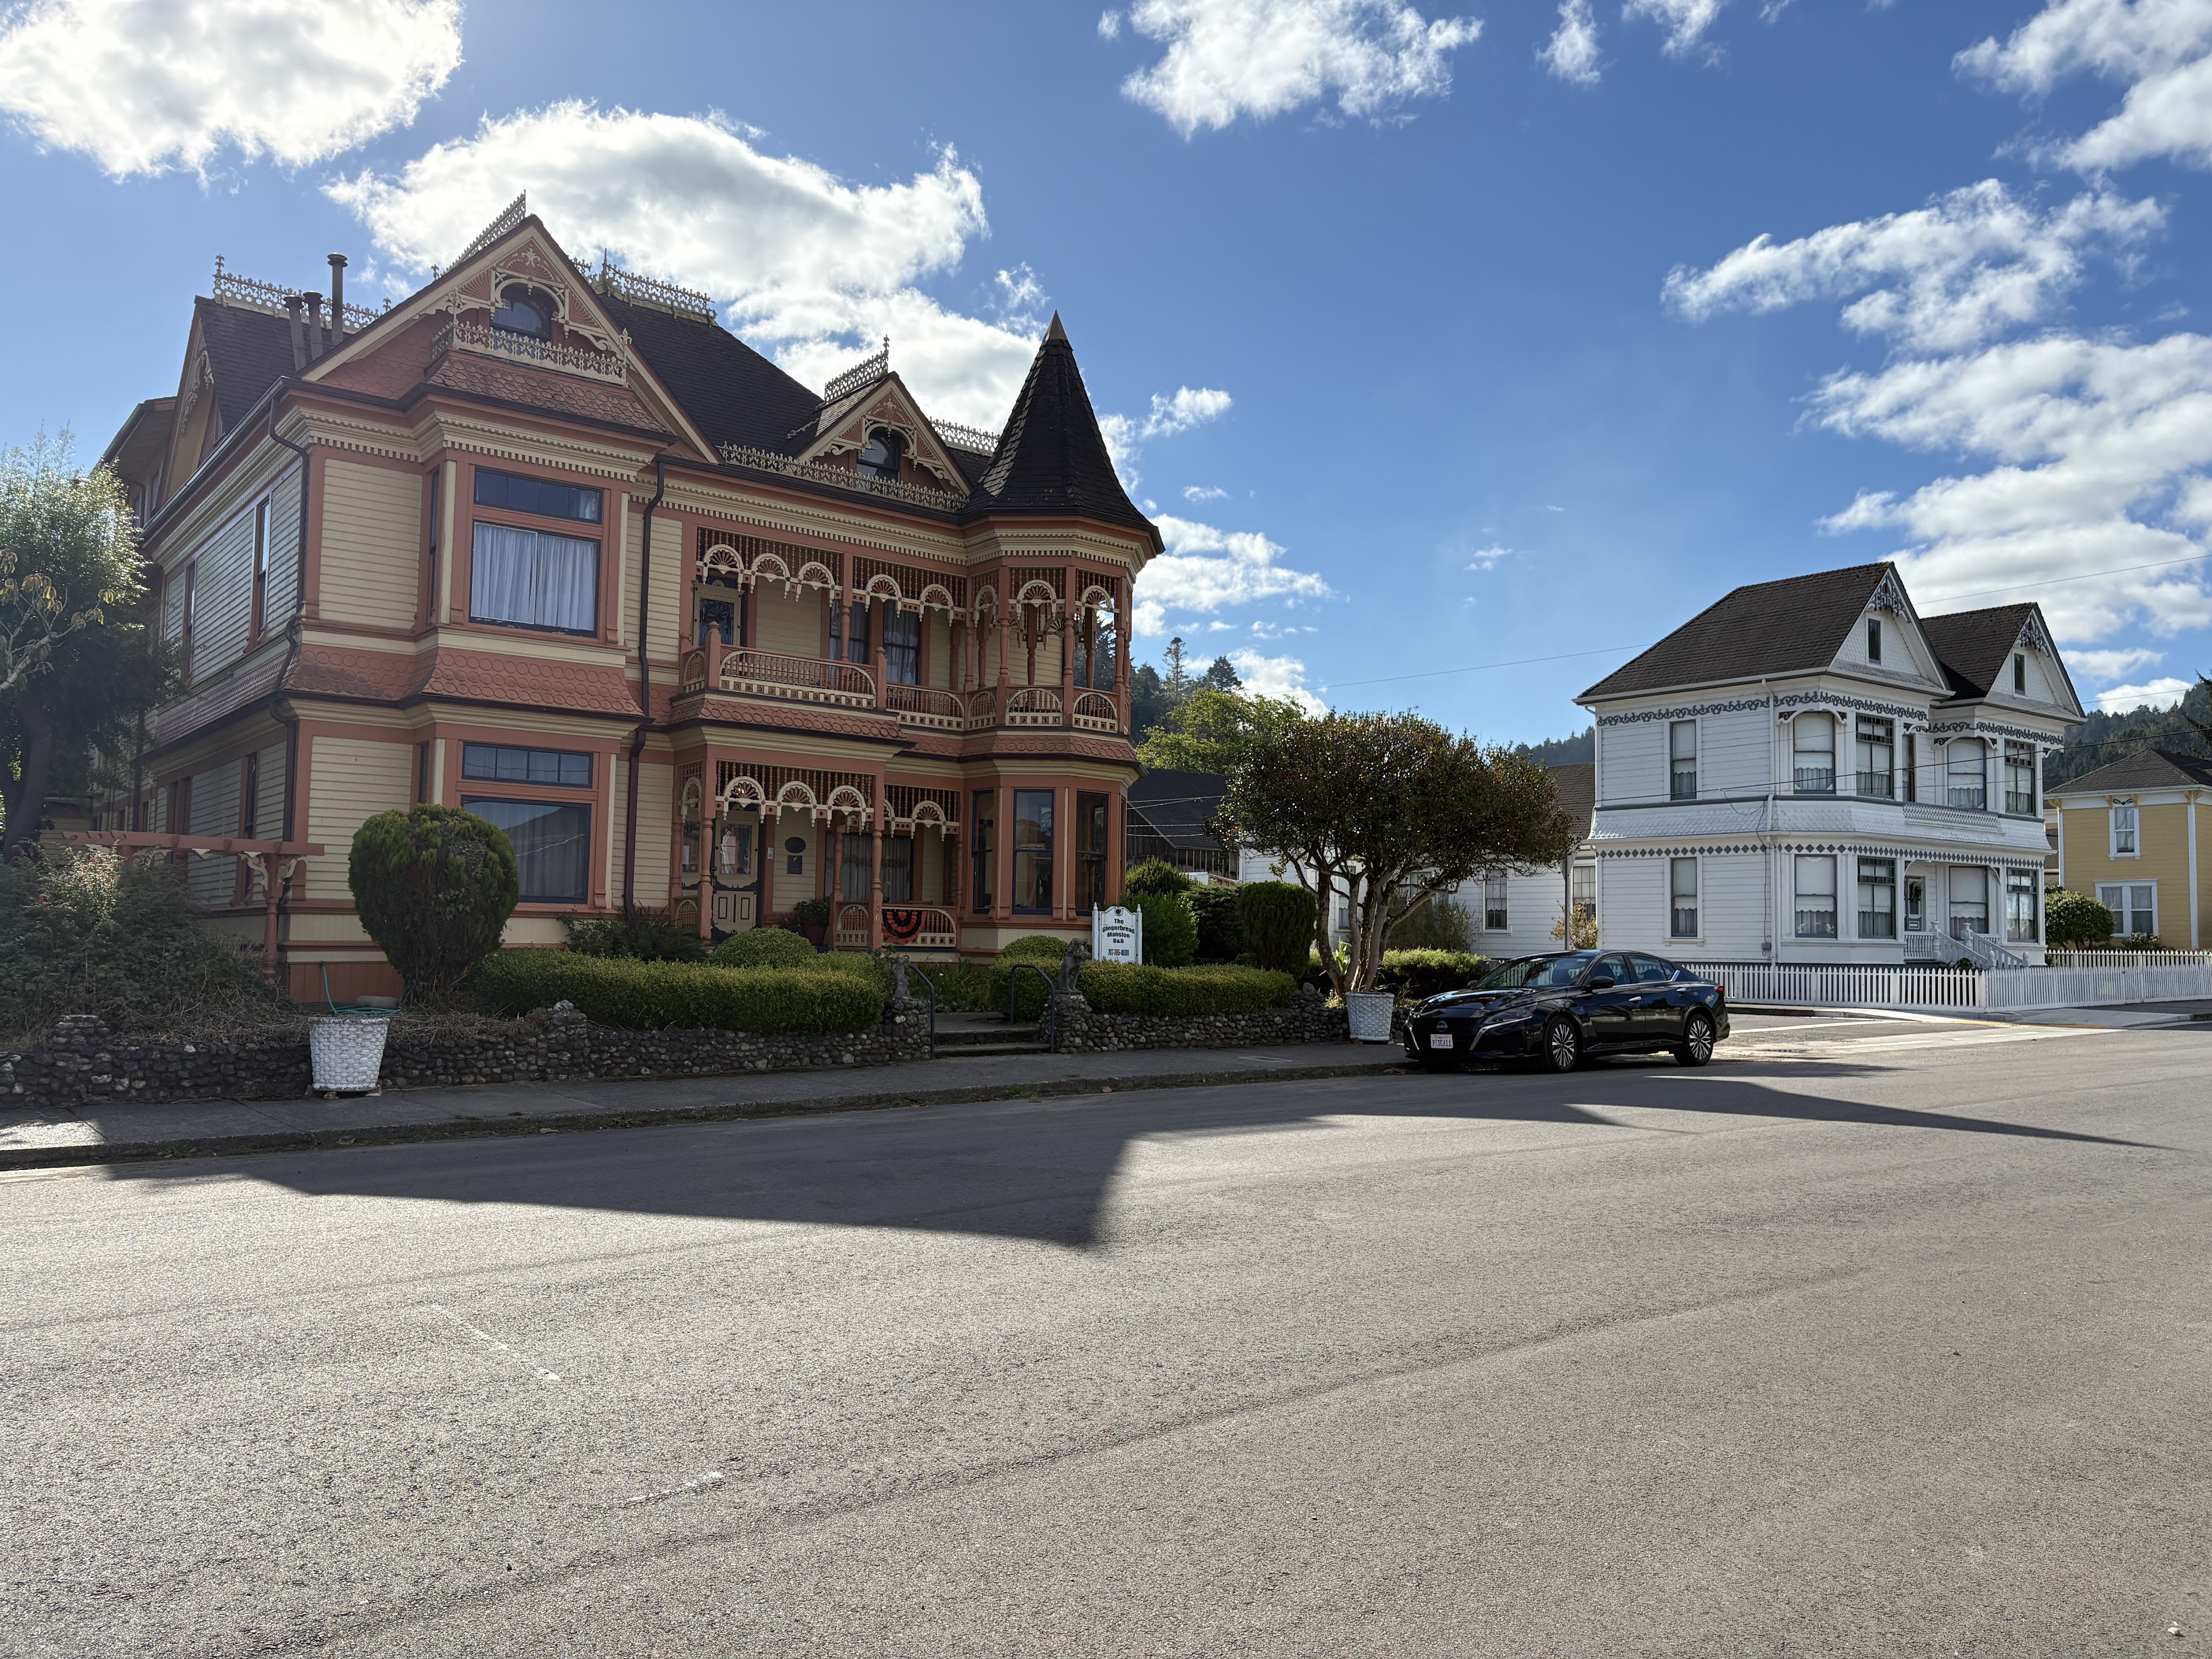
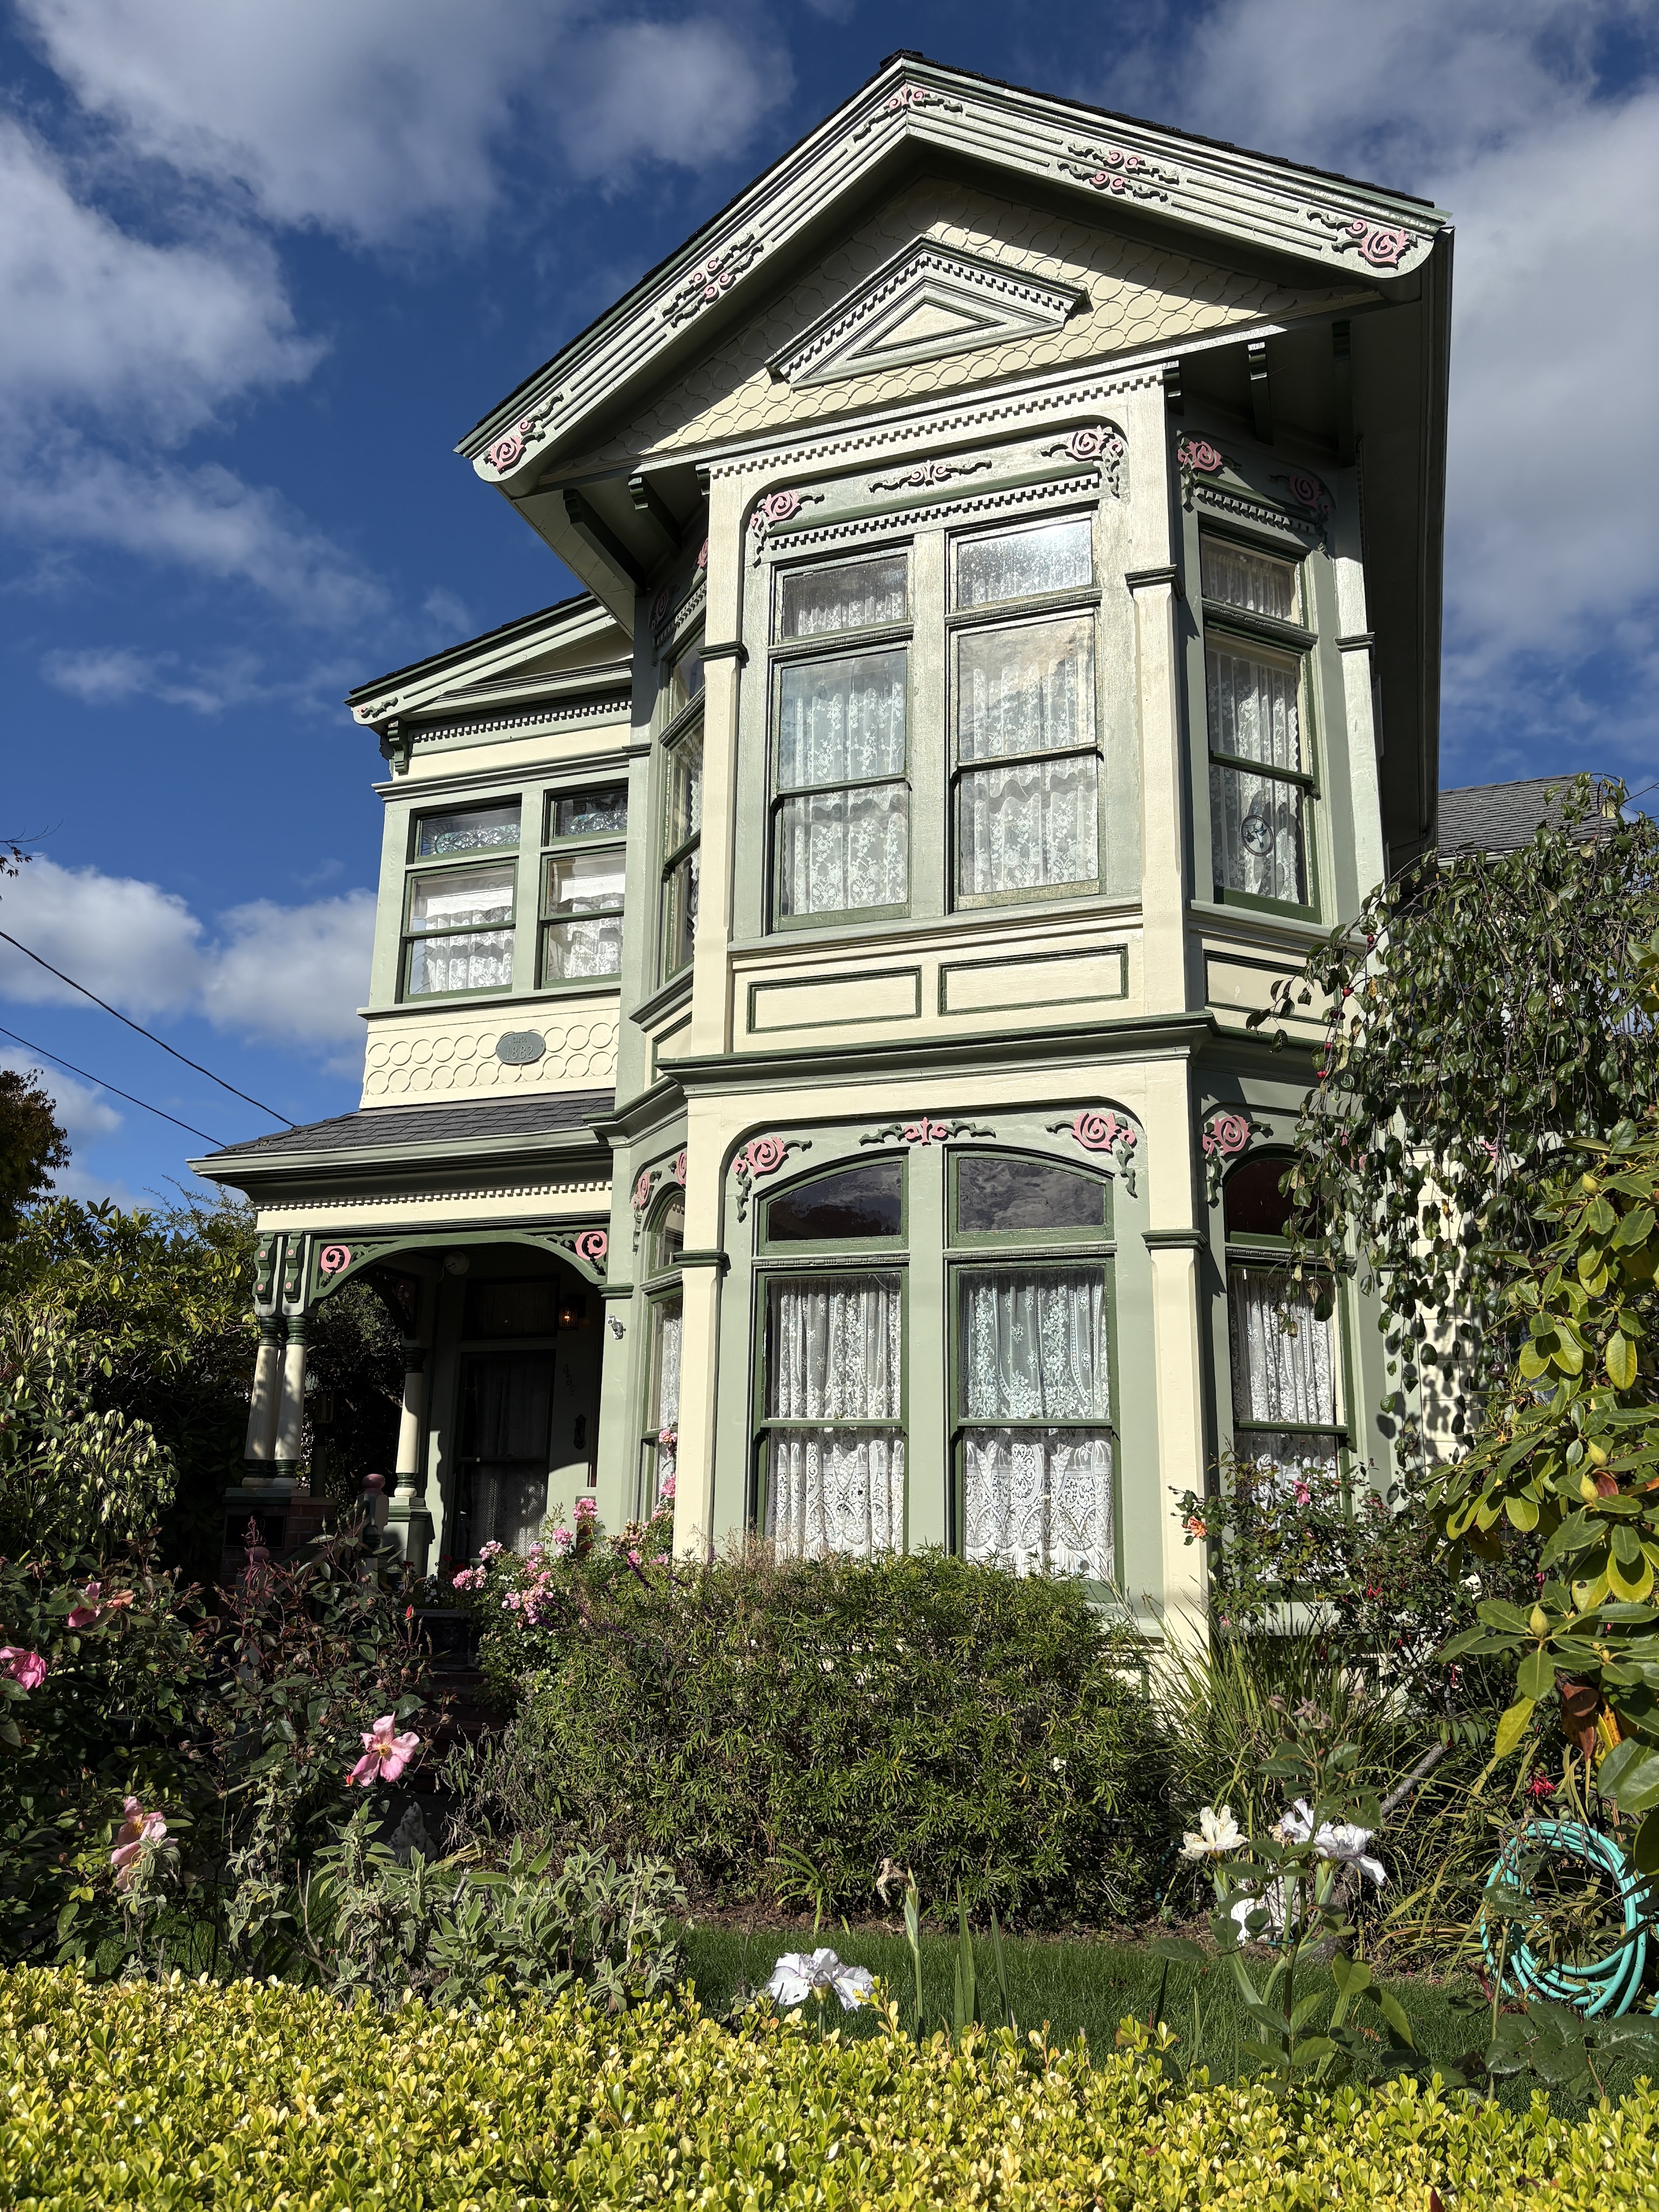
Ferndale


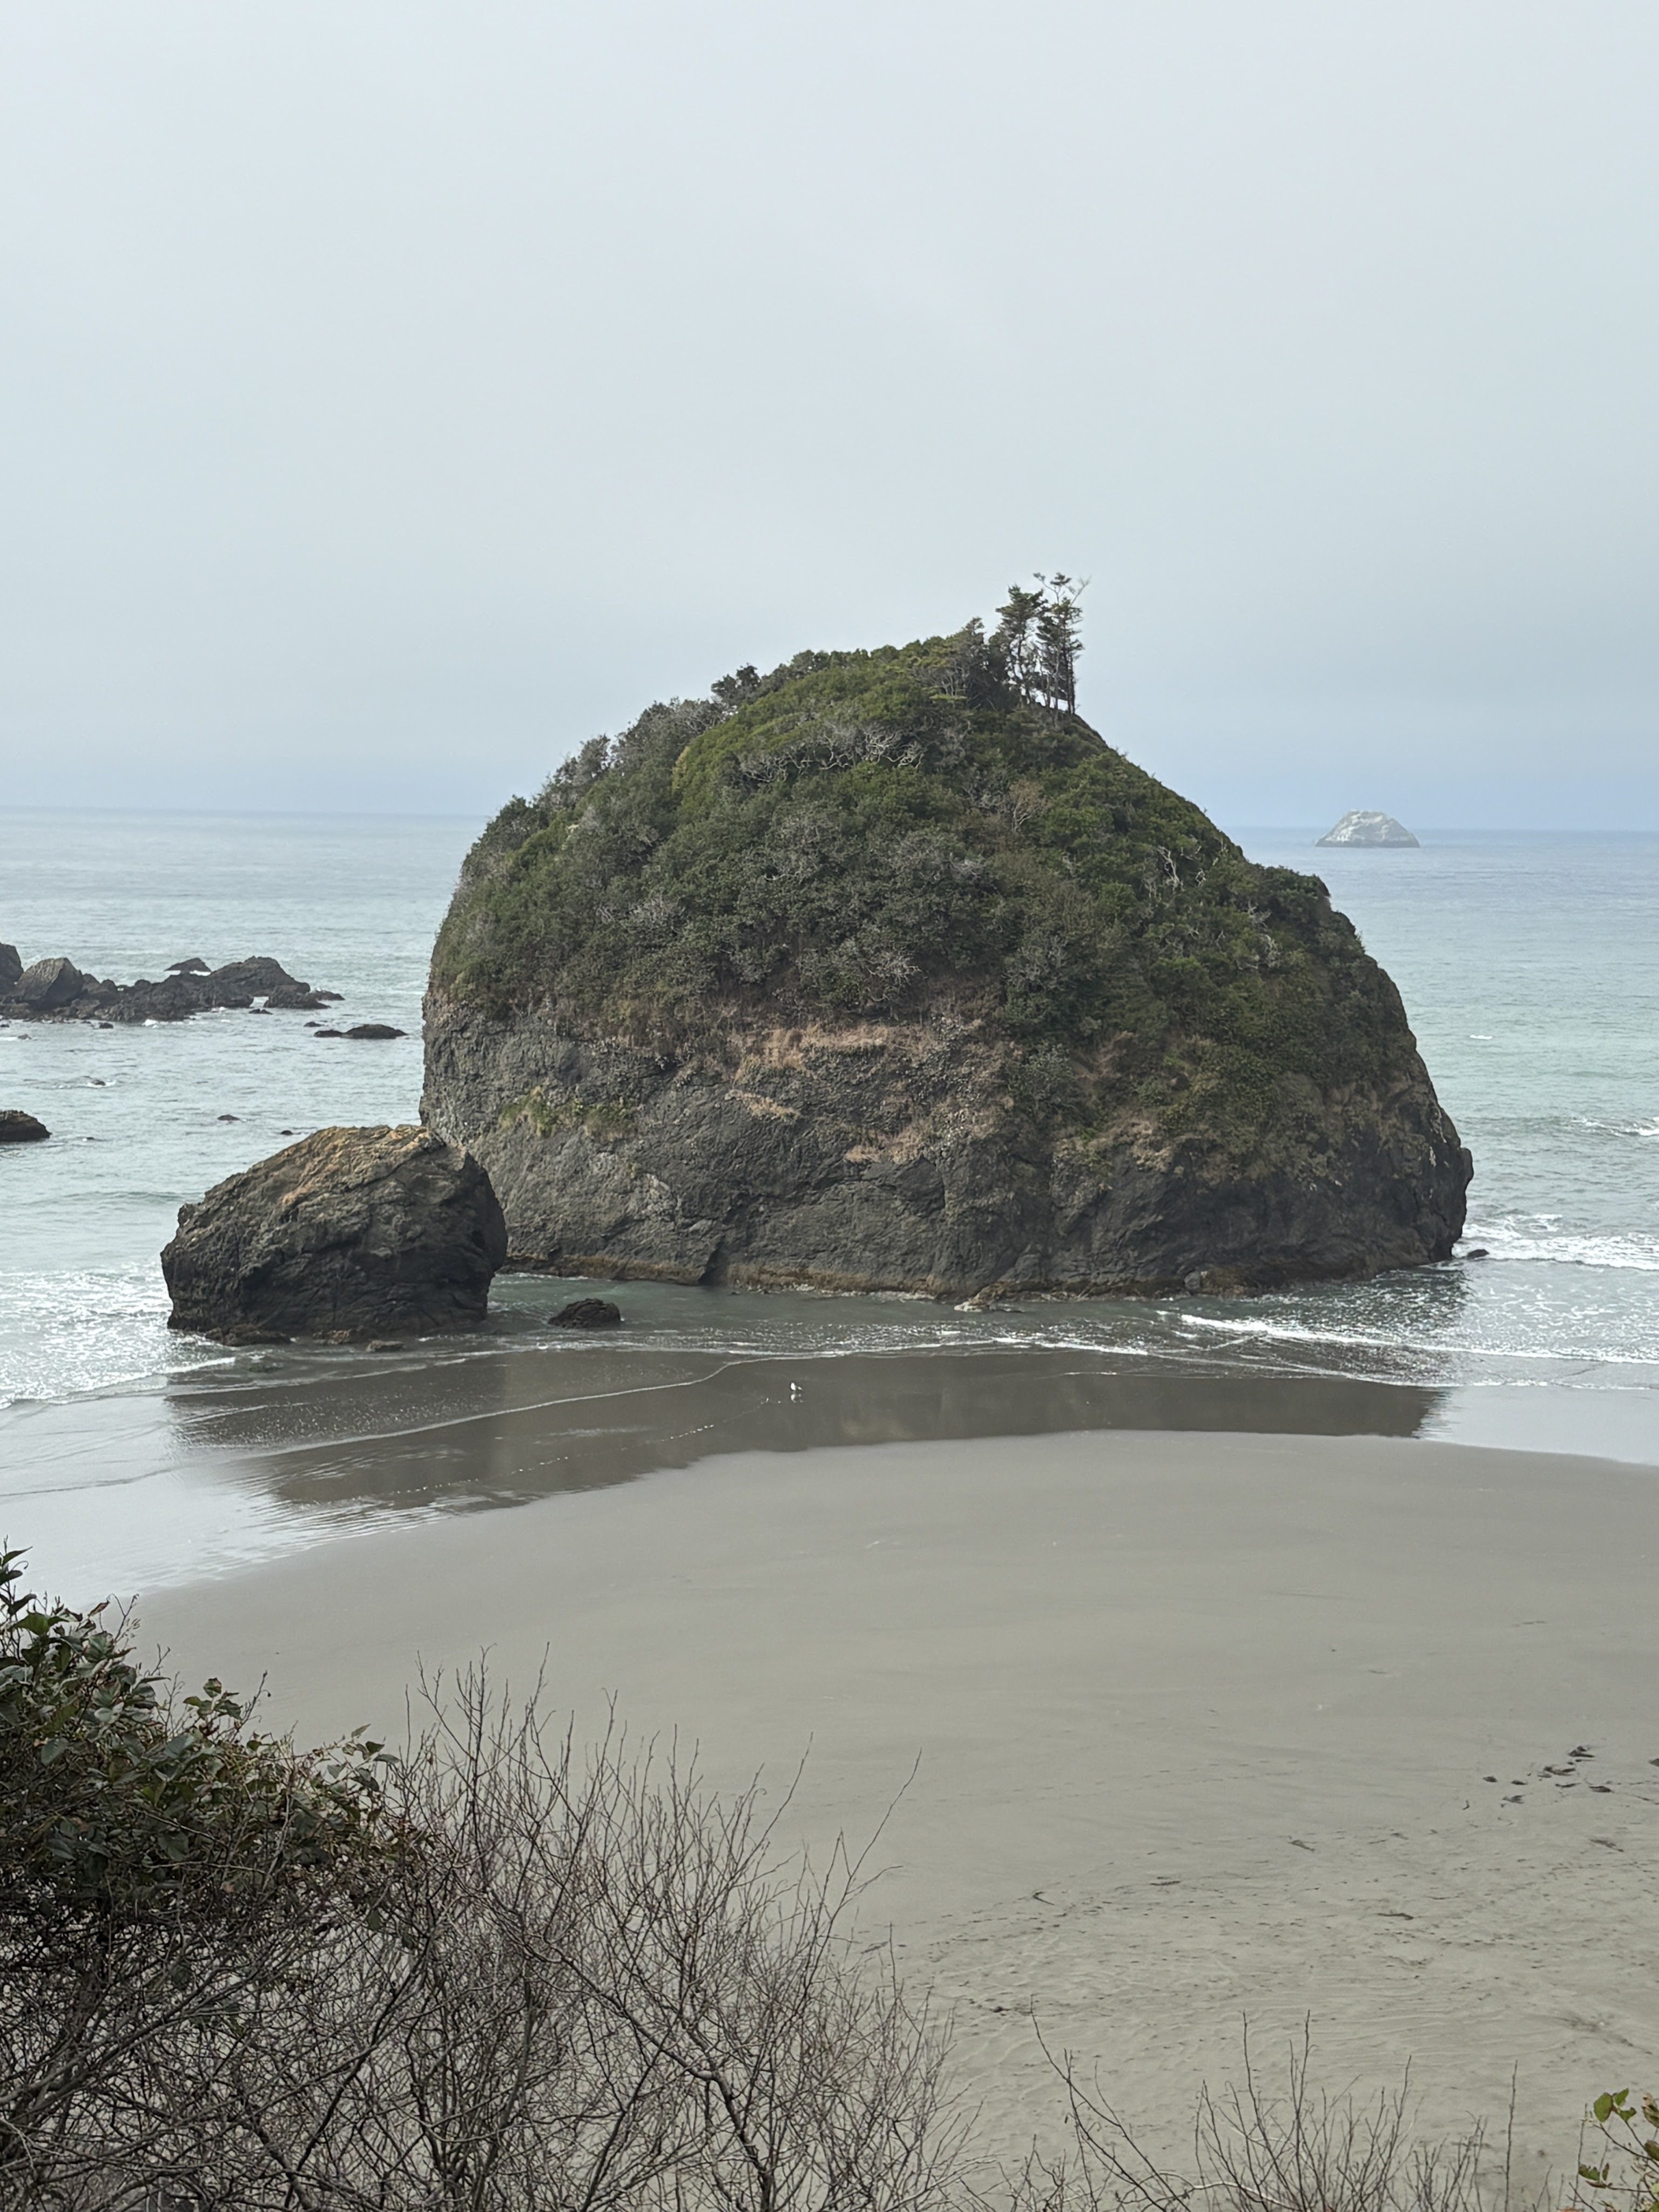
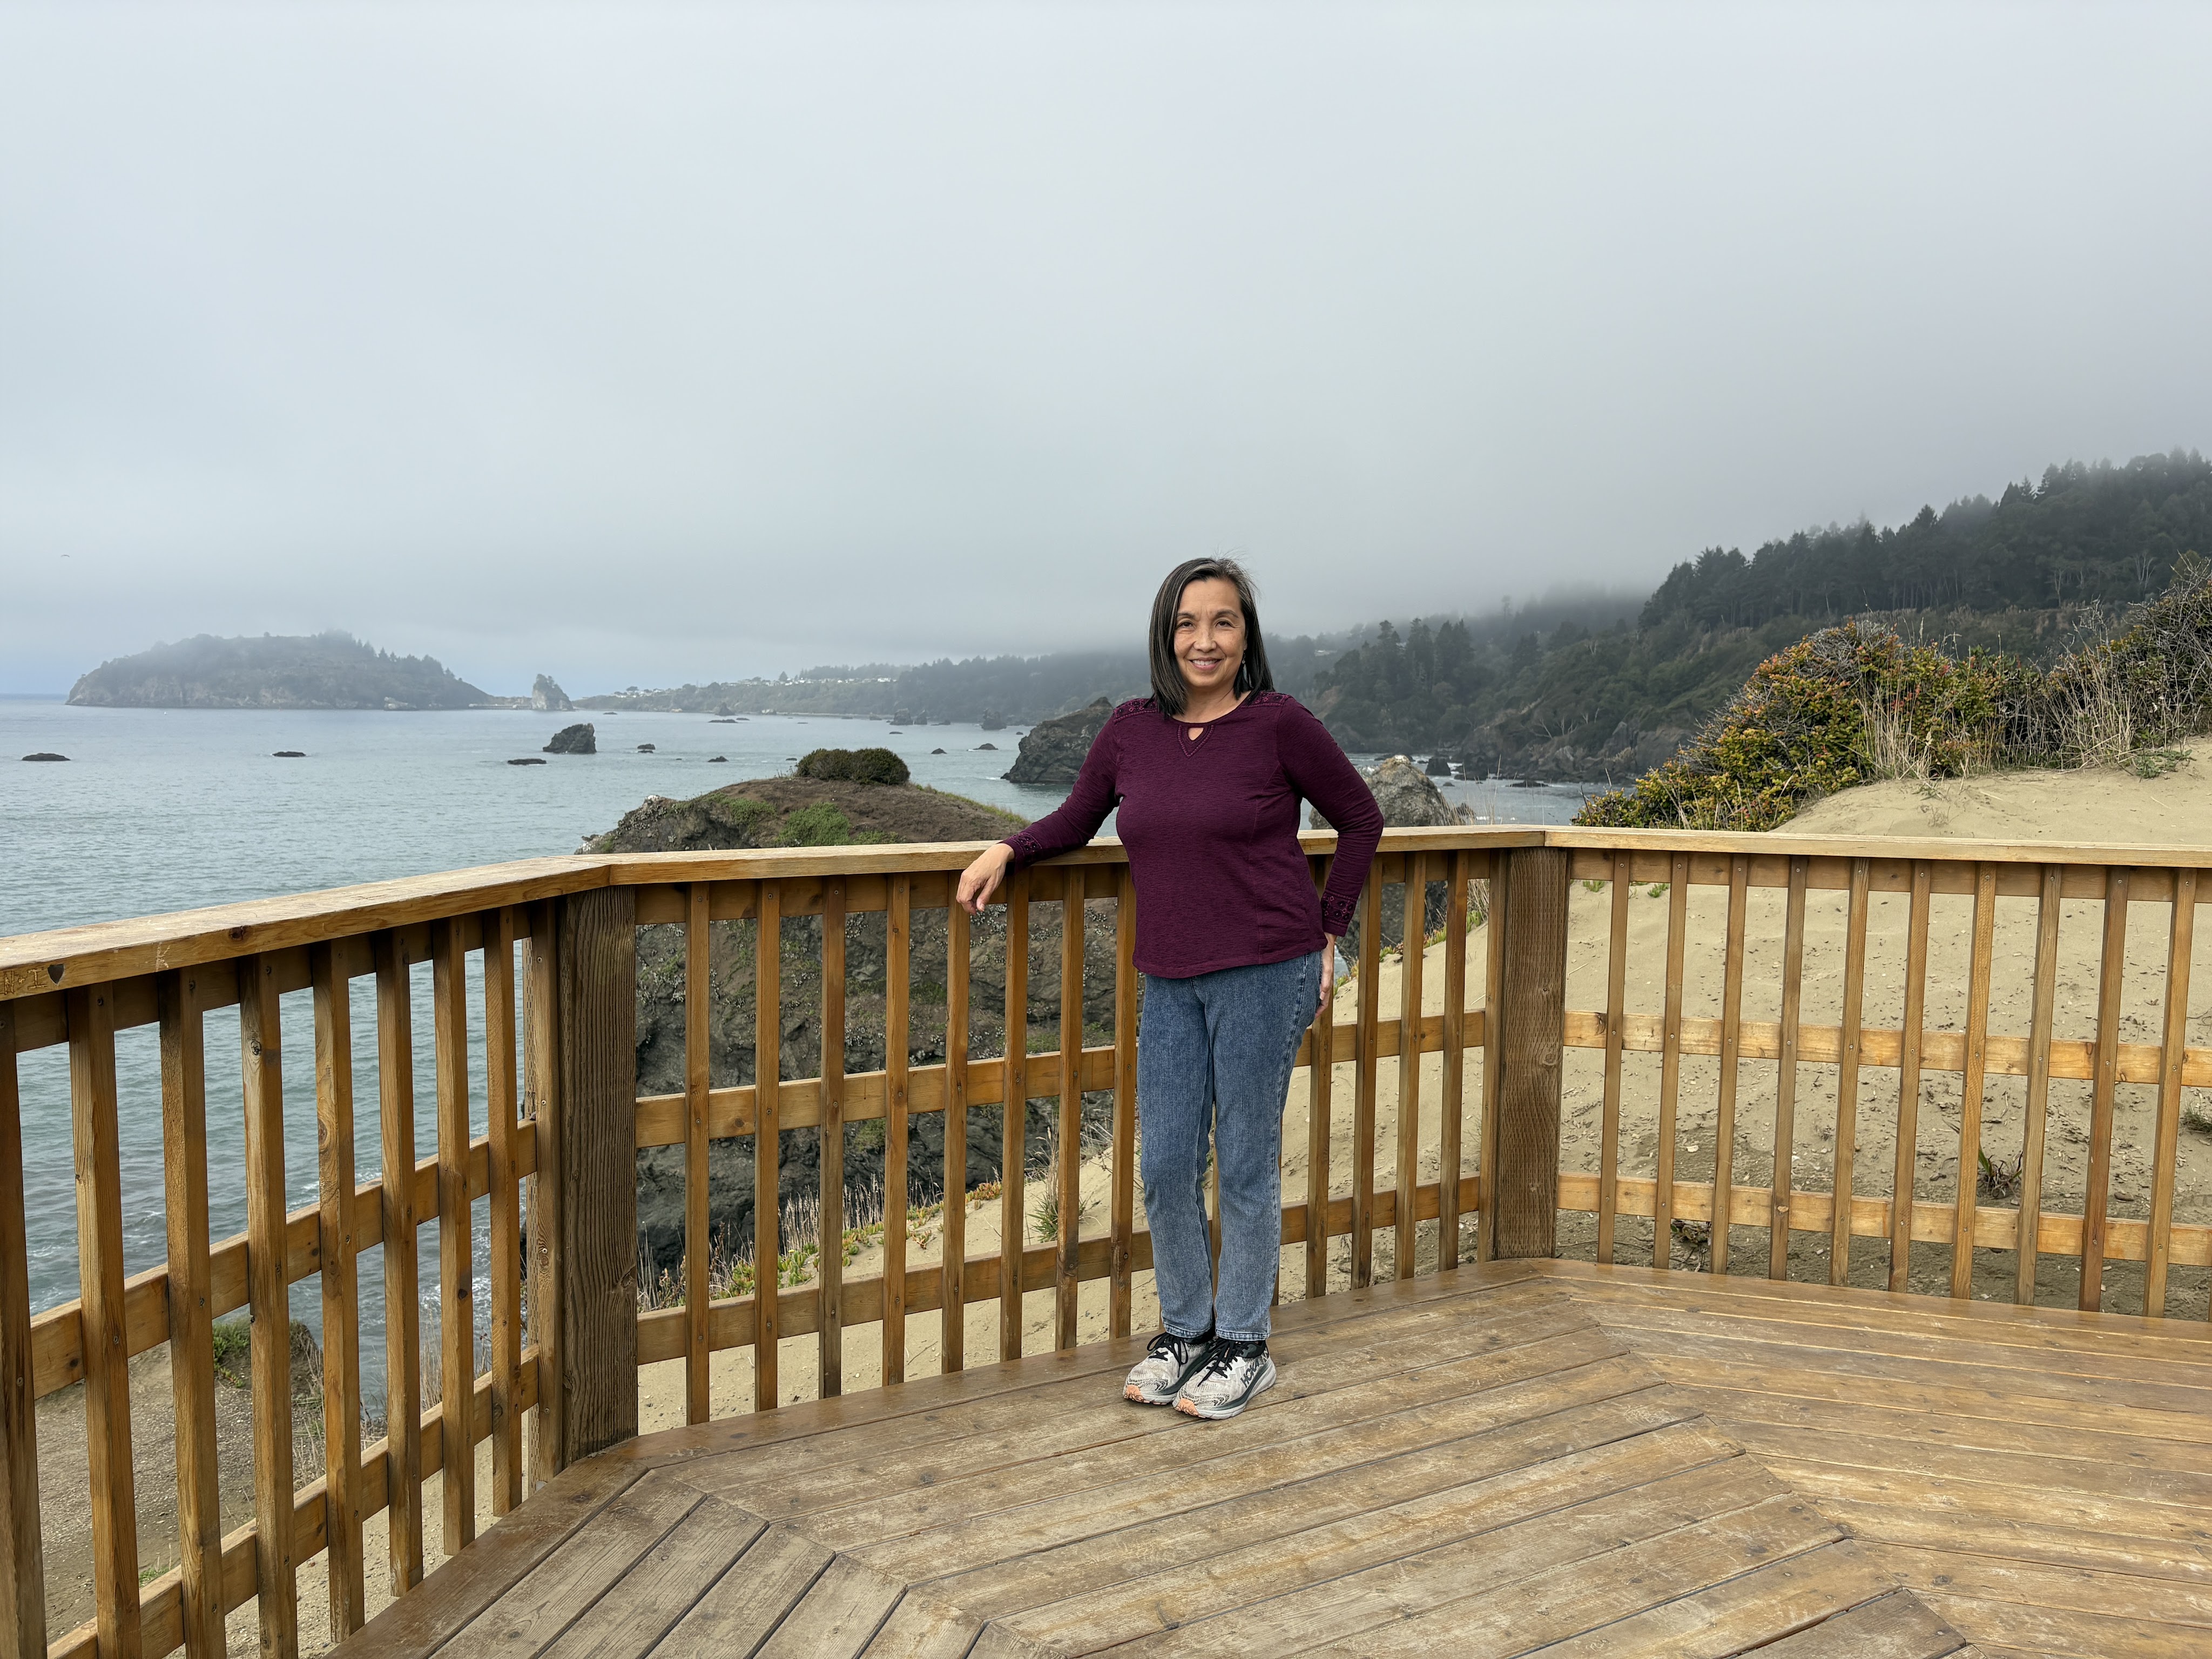
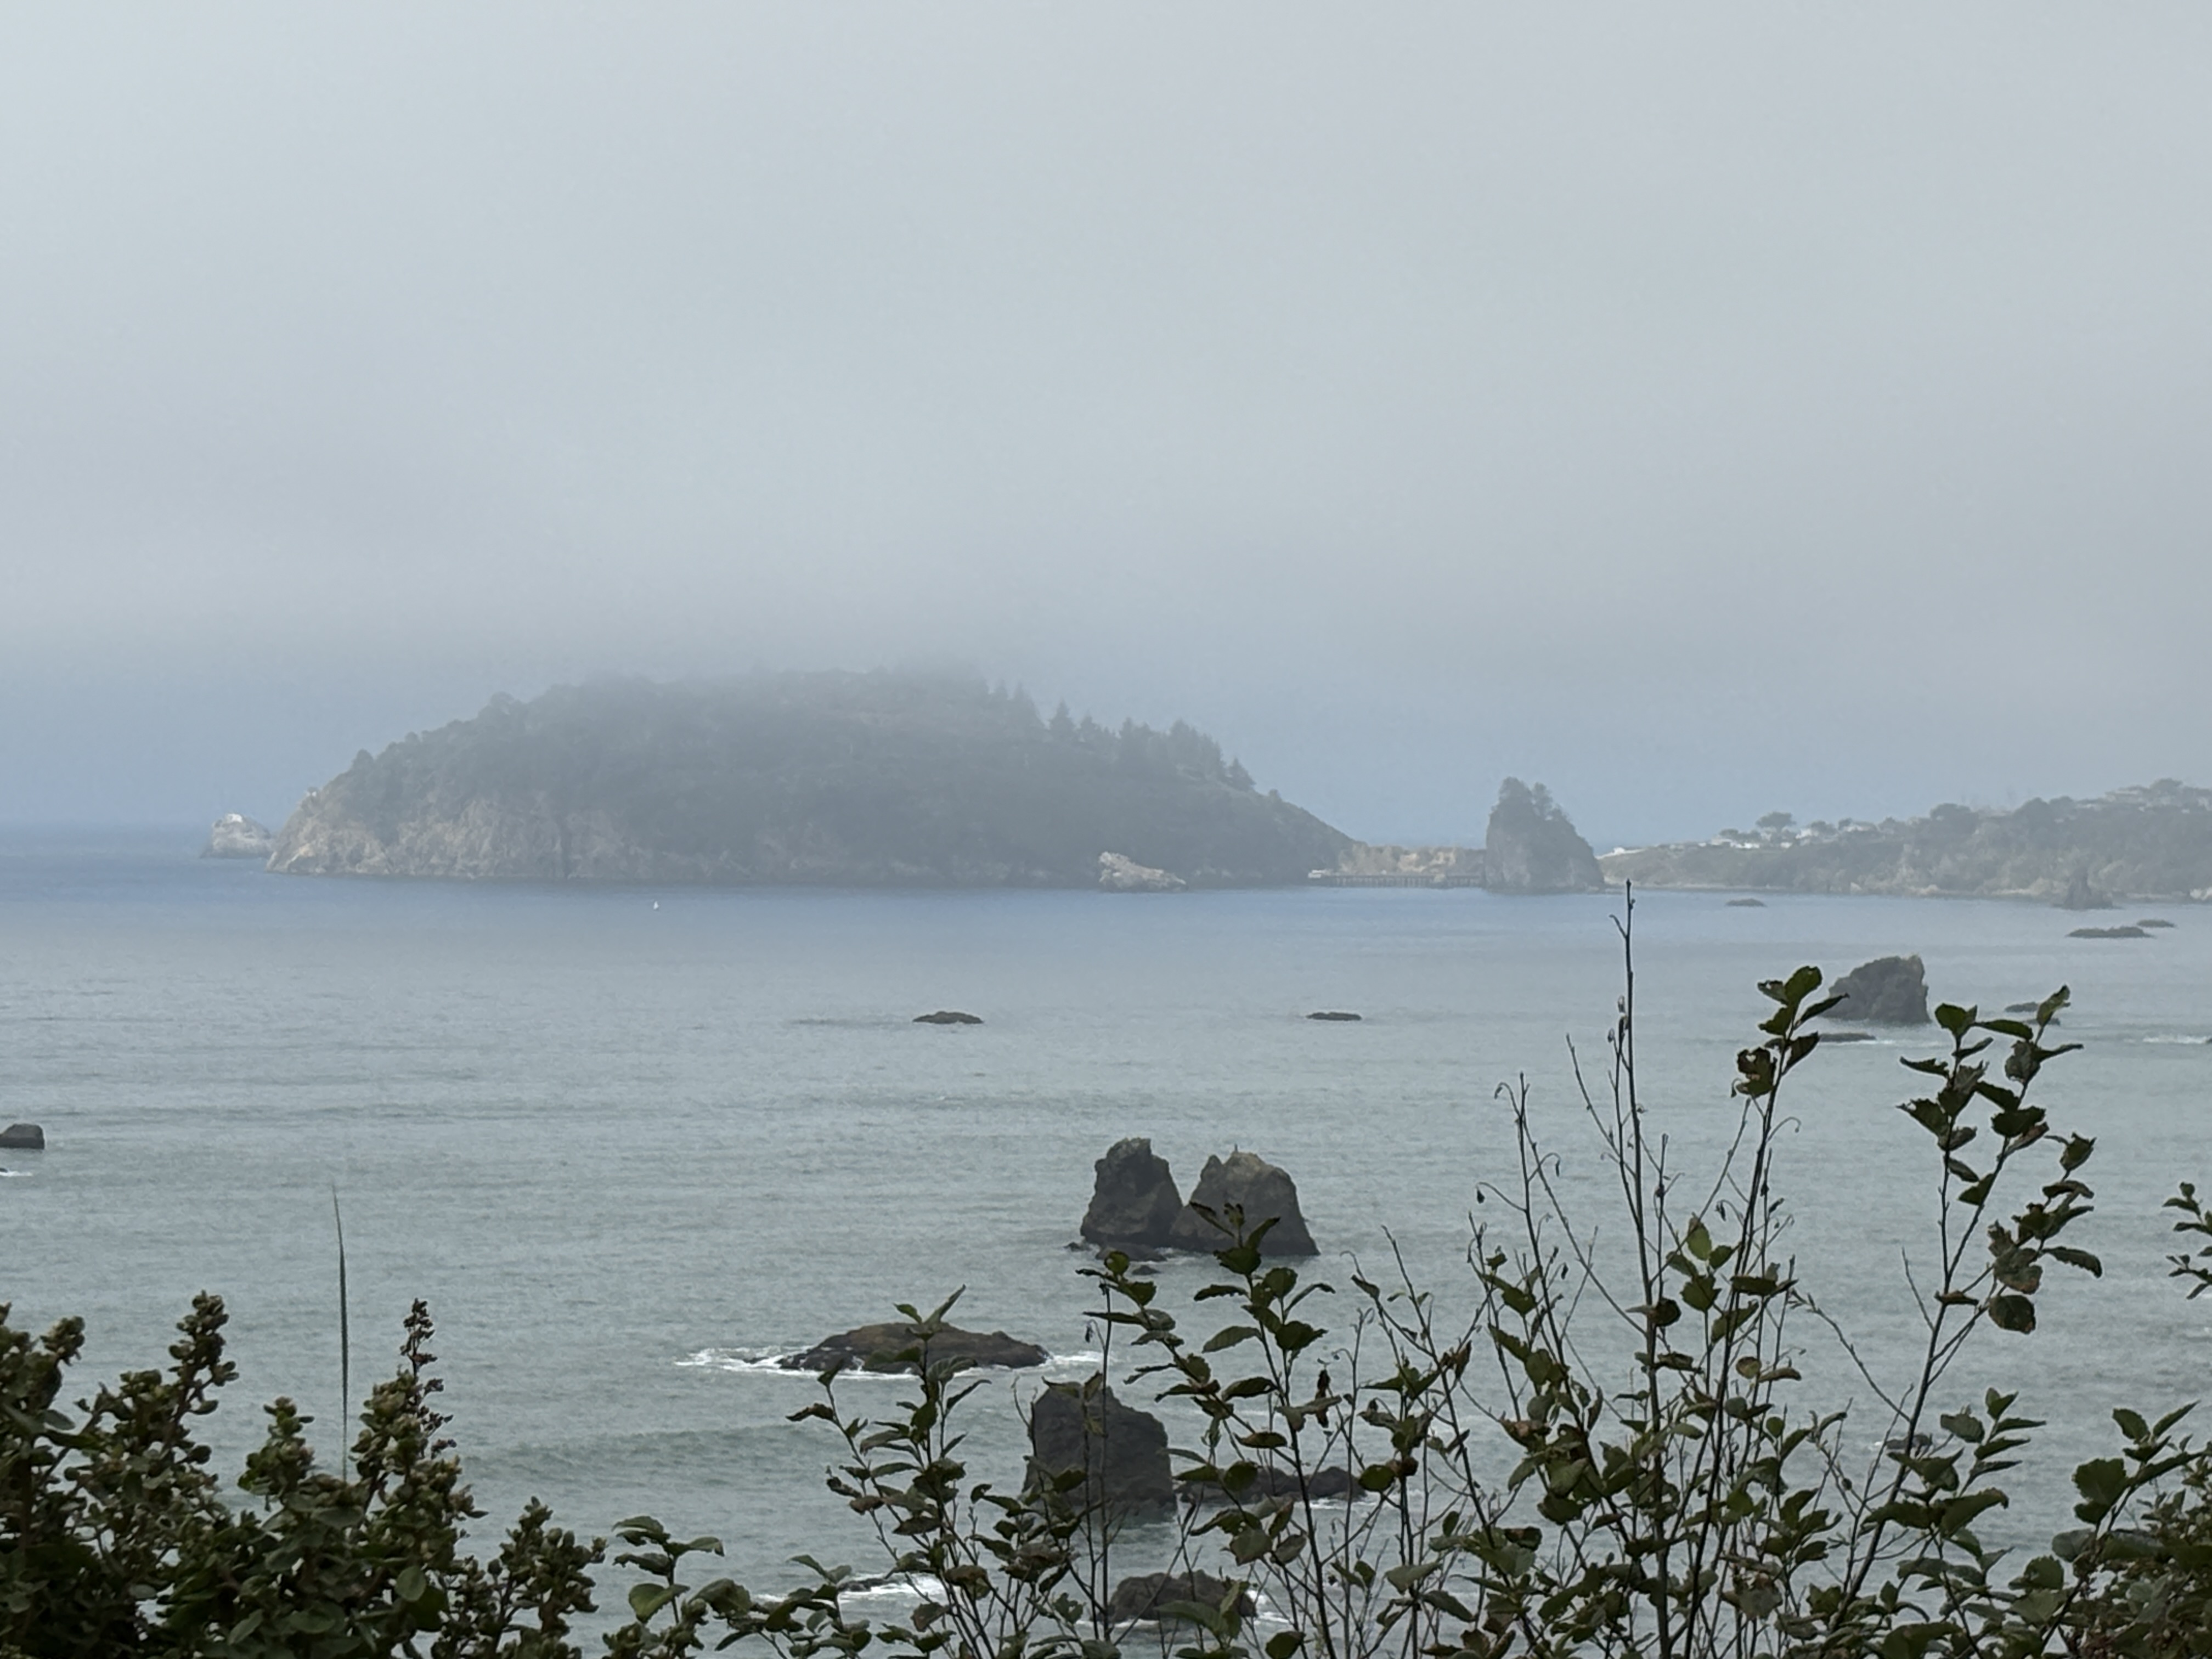
Coastal Drive
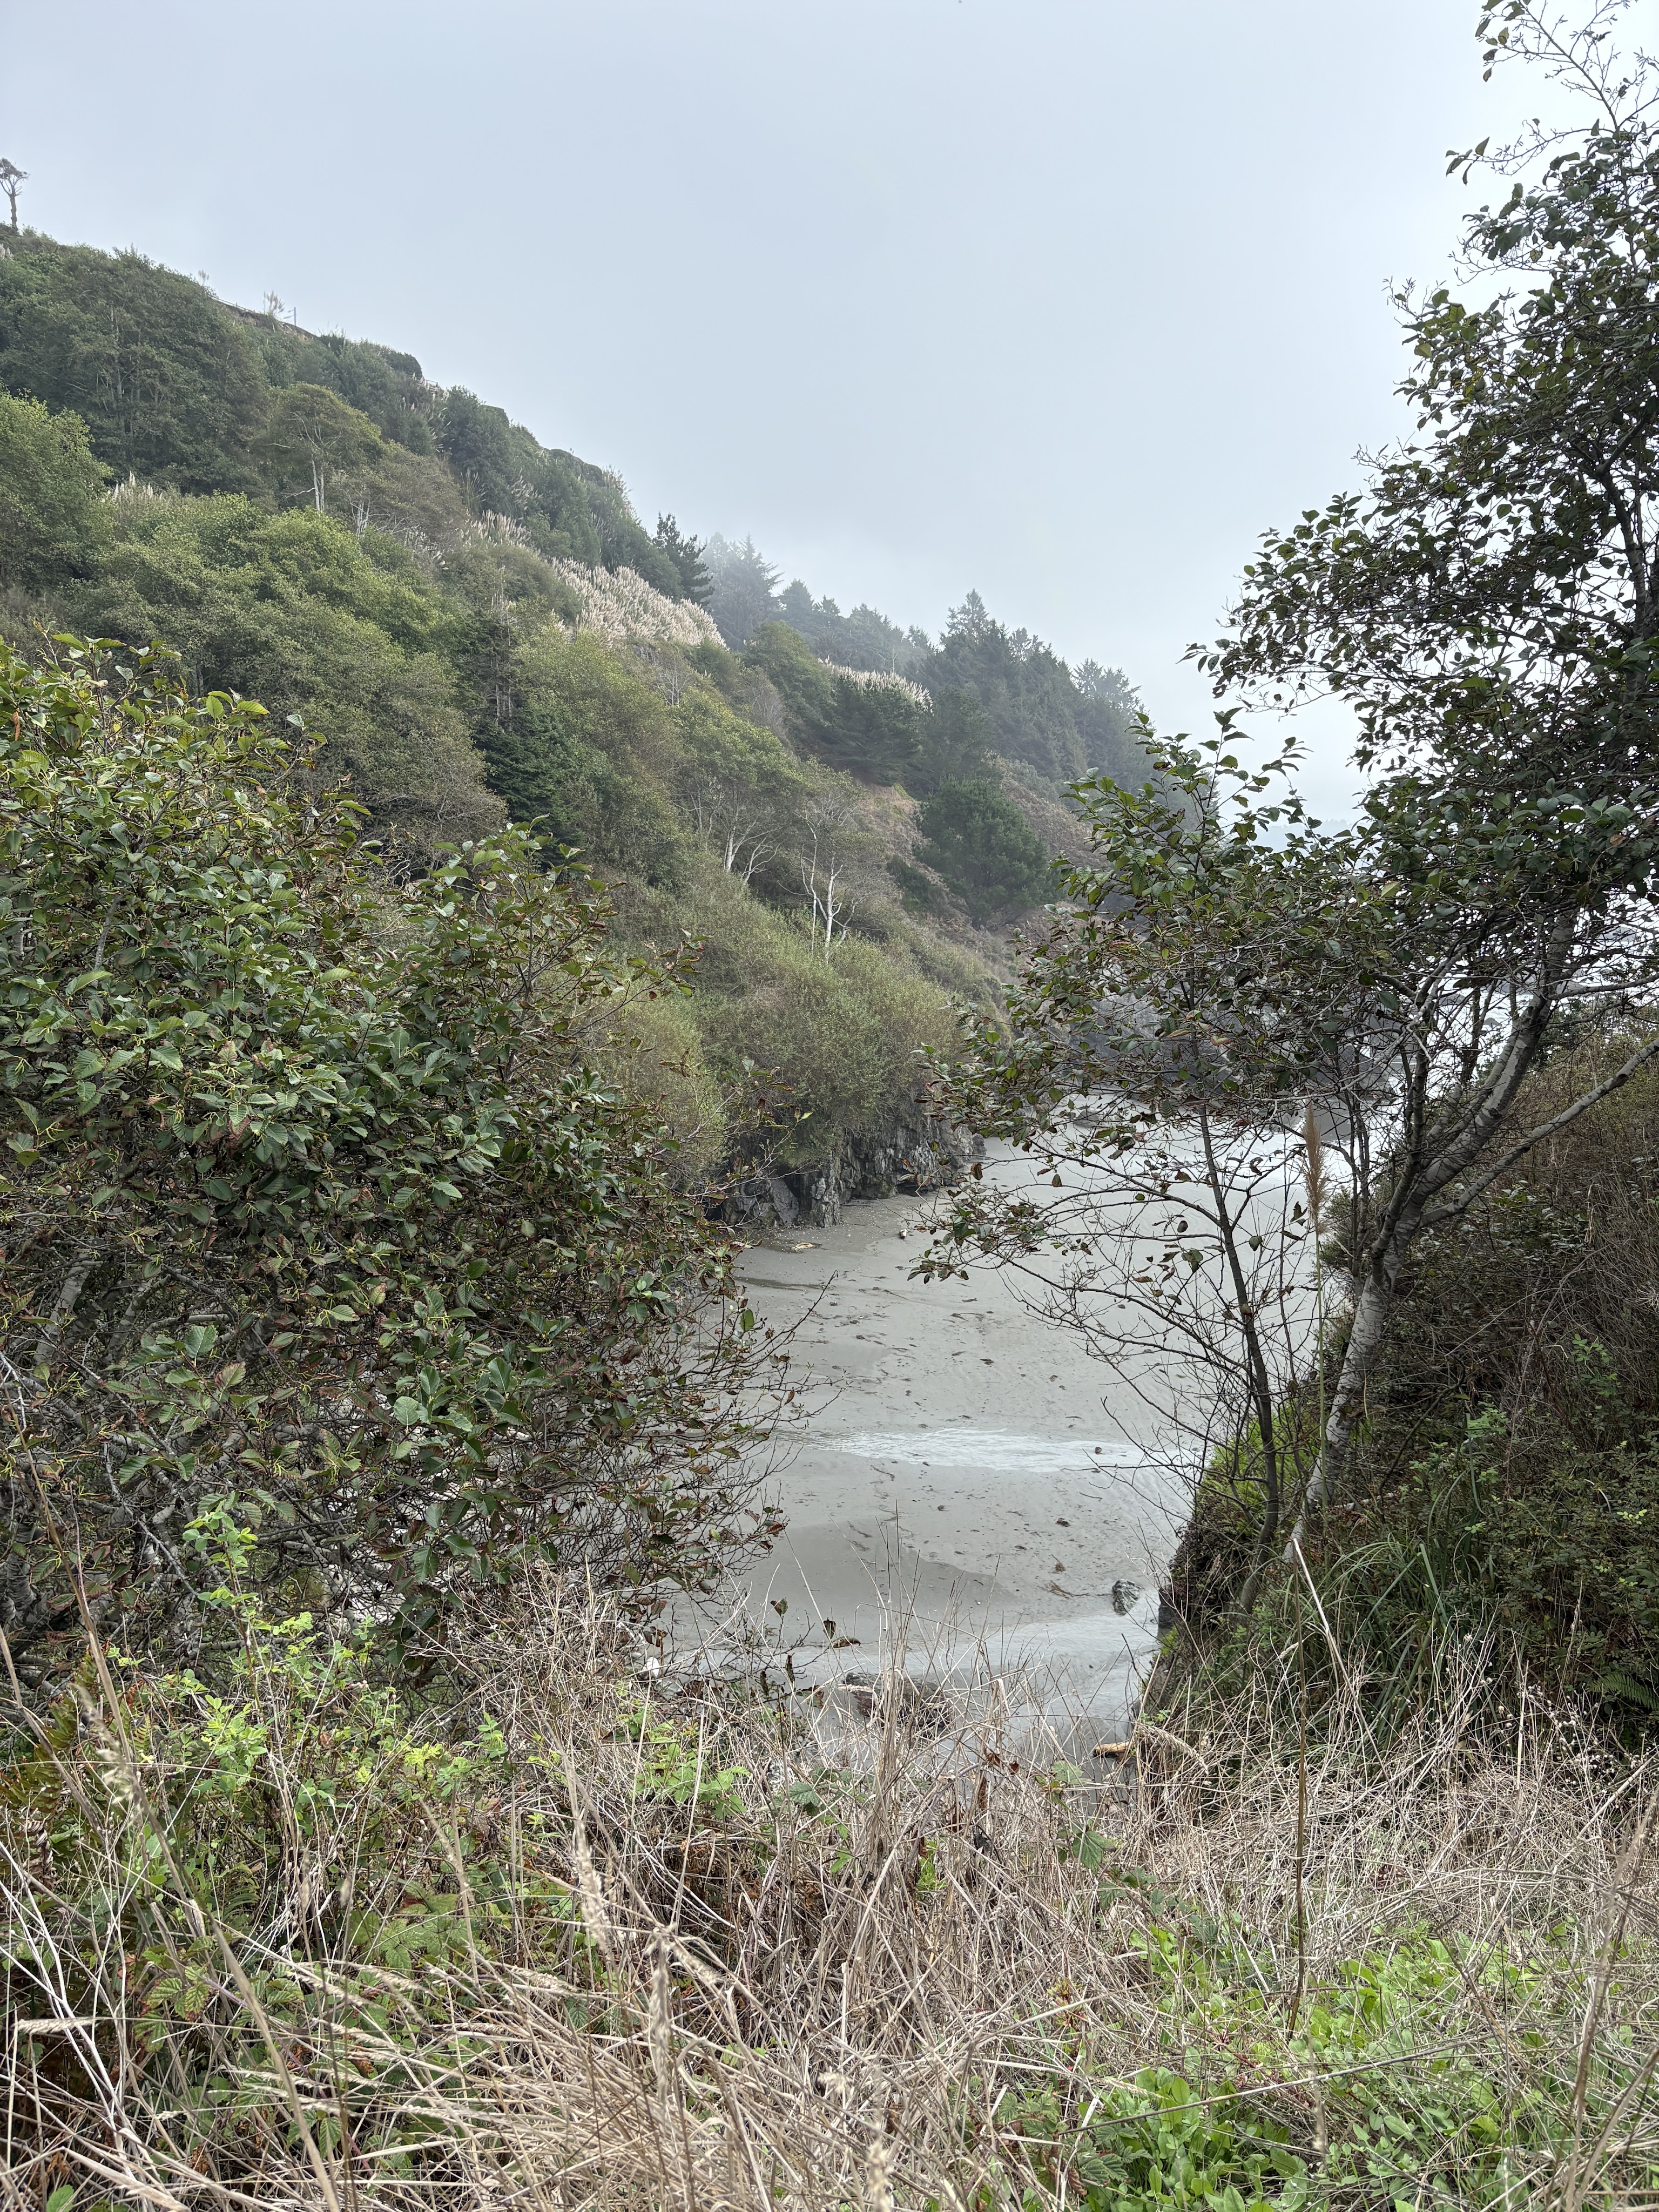
We also spent a couple of half-days at the local beaches. Just walking and breathing in the clean air. We pretty much had these beaches all to ourselves. The first was Samoa Beach, the second was Clam Beach. I don’t have pictures of the sandy beaches we walked on because they were pretty featureless very long strands of beach. I did get photos of the coastal cliffs and rocks we explored, and those are below. They were taken just south of Trinidad, Ca.


Shopping and Dining
Of course what trip would be complete without shopping and eating out, including coffee-getting. I’ll be honest, we were hoping to get some good seafood being that Eureka is a coastal town. However, the reality is that most fishing off the north coast has been shut down. Most of the seafood is deep-fried, sadly. However, one gem we did find is Vista Del Mar. It’s half-bar, half-cafe that served some killer grilled fish tacos. The other restaurants were so-so. Cristy did do some shopping in their downtown and picked up some oysters at another bar. While she was off doing this I was playing ham radio while parked on a waterfront street. I contacted the USS Iowa in Los Angeles and some guy doing Parks On The Air near Boise, ID. Not bad for a battery powered mobile high-frequency rig.


Coffee
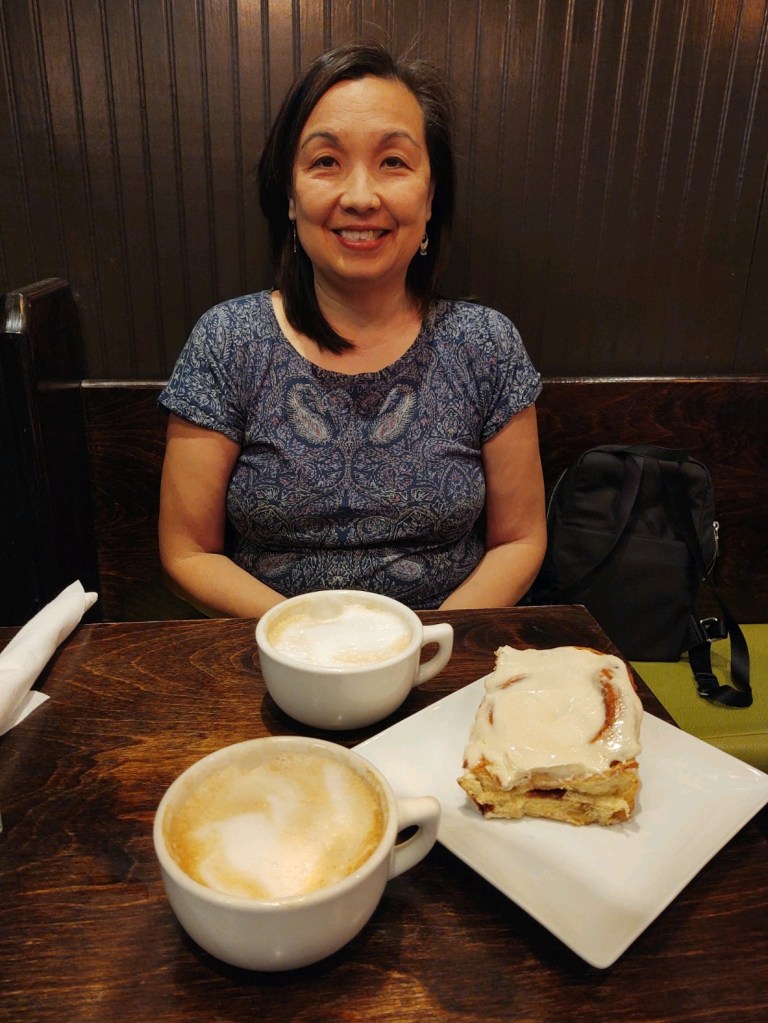
Although it never used to be, coffee has become a passion of mine. I hated coffee growing up but within the last 5 years or so I’ve experienced a sort of coffee renaissance. A few mornings I made my own coffee using some some coffee I pre-ground before the trip. My favorite coffee is purchased from Revive Coffee in Sonora, Ca. Their Confluence Espresso blend is my absolute all-time favorite so far for just straight-up coffee. On one of our coastal excursions we decided to try a local place. The highest rated in Eureka was Witness Coffee Roasters. We ordered caramel lattes, with Cristy getting her customary decaf. We were a little disappointed in how weak the coffee was. Looking to console ourselves we drove to Dick Taylor Craft Chocolate and got THE best coffee of the entire trip. It was rated lower that Witness but was much more flavorful. I ordered ANOTHER caramel latte and it was really good, but the magic happened when we poured the drinking chocolate Cristy ordered into my latte. We mixed to two and Cristy’s brain just lit up! Second best coffee of the trip was at Mind’s Eye Manufactory & Coffee Lounge in Ferndale.
And since all good things must come to an end our trip came to an end on Saturday when we drove back down to Nelson Family Vineyards to stay one more night before driving back home. It was just as peaceful as the first time we stayed there. These trips always feel too short when we’re on them and have to come back. Our consolation this year was that I wouldn’t have to rush home so I could get back to work next year! Looking forward to it!