
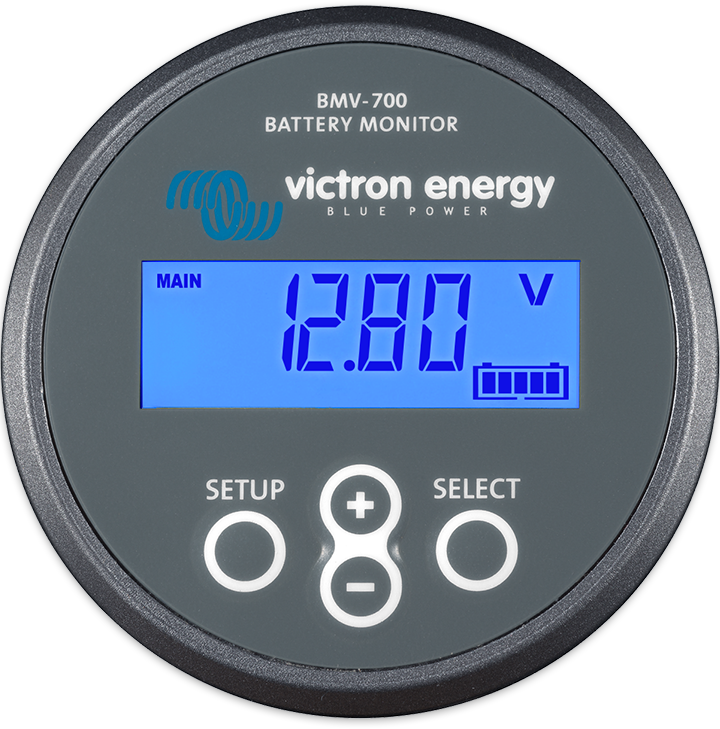
I just completed another mod on my Lance 1995 travel trailer. I installed a Victron BMV-702 battery monitor. It’s a simple device that displays the charge state of your battery. Rather than measure the voltage level it measure the amount of current that flows into and out of your battery. It learns over time and will give you an accurate reading of how much battery power you have left.
It was a simple install but getting at all the locations I needed to get to was somewhat of a challenge for my bad back. The first decision was where to put the shunt. A shunt is used by an ammeter (a device that measures electrical current). Normally they are built into the instrument but with the current levels involved with two car batteries it’s just not practical. You install the shunt between the negative terminal on the battery and the trailer’s ground. A wire then goes from the shunt to the instrument head to provide power and current measurements.
Luckily for me there is a convenient access panel next to the bed where the negative terminals of the batteries connect to ground.
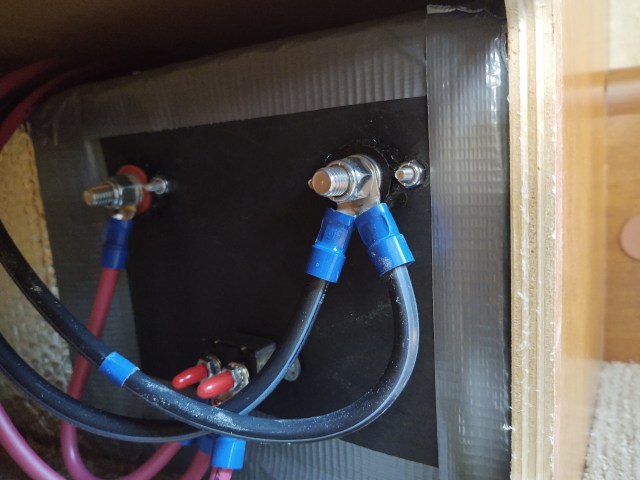
The black wire with the blue tape goes to ground. The other black wire goes to the 2nd battery. The black wire with the blue tape goes on one side of the shunt, and then a cable I made up goes from the other side of the shunt to the terminal with the unmarked black cable on it. This places the shunt between the batteries and ground.

First I had to mount the shunt. I screwed it to the side of the access compartment. The wood screws protrude into the wood block that the back of the nightstand drawers secure to. This made for a very sturdy mount for the 1 pound shunt. I also had to find a way to get the cable that connects the shunt to the instrument head down to the baggage compartment where I was going to mount the instrument. I did this by drilling a hole in the bottom of the access compartment down to the baggage compartment directly below.
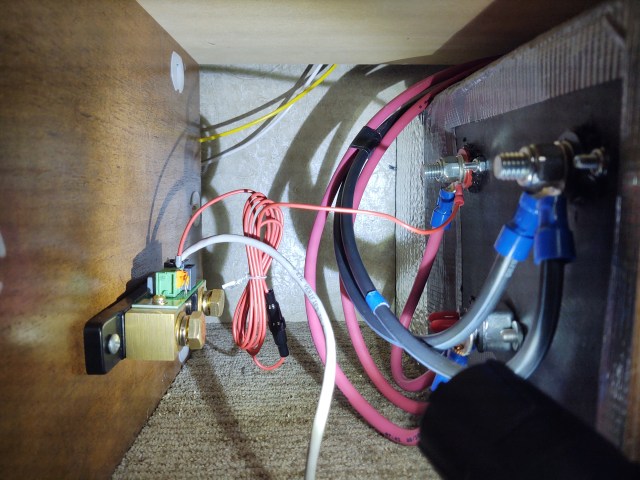
Here is a photo of the connected instrument cable. The red wire goes to the positive side of the battery to provide power to the instrument. The only photo I forgot to take was of the battery grounds connected up.
The next challenge was mounting the instrument in the baggage compartment. I decided to put it next to the battery disconnect switch. It’s the first switch you turn on when taking the trailer out of storage so it made sense to put the battery monitor there. Why not mount it inside next to the other instruments? I didn’t want to run that wire all that way and if I messed up the install, I’d rather it be out of site in the baggage compartment!

I had to use a 2 inch hole saw to cut the hole. I then used a Dremmel tool to cut a small mouse hole at the top to run the cable through. I’ll use some clear RTV to secure the cable to the side of the baggage compartment. It took a little patience and some extra work with the Dremmel to get the main hole just right but in the end it all worked out. There is a bluetooth add on that I’m going to get so I can check the voltage from my phone inside the trailer. I’ll add that later. For now I’m just glad I can get a better idea of how the batteries are actually performing and when I need to charge them.

Cool! Thanks for the install lesson! Enough detail and explanation, I was actually able to follow along.
You know Sheila would have been able to intelligently comment on this.
But perhaps you can enlighten me about a knowledge deficiency.—one particular item of ignorance—that has been thrown in my face for decades (by an older male sibling who shall remain nameless 😁).
What’s a capacitor? 🤣
But I also wanted to comment that this is exactly the type of improvement that makes used RVs such great deals—the little upgrades and tweaks and customizations made by previous owners. And often there are things that wouldn’t occur to an RV newbie as being practical, more efficient, helpful, etc. it’s great you are so handy this way. I love using my phone to rule my piece of the world…be it my house or an RV. 👍👍
A capacitor is basically two metal plates separated by some sort of insulator (a dielectric). Could be paper, non-conductive liquid (like distilled water), ceramic, or even air. When you apply voltage from a battery across these two plates (one side of the battery to one plate, the other side of the battery to the other plate) it will more or less store that voltage. The greater the capacitance, the greater the amount of storage. A car battery is basically a capacitor. A capacitor blocks and stores DC (battery) electricity. But, a capacitor does not store AC (what comes out of your wall) electricity, it acts just like a plain old wire to AC. But that is a whole ‘nother story. If you just say “A capacitor is a device that stores electrical energy in an electric field.” Then that should get you by.
Incidentally, the “flux capacitor” from Back to the Future is an oxymoron. Flux is used when talking about coils (transformers and the like). Coils and capacitors do almost the exact opposite things in electricity so saying flux capacitor is like saying you have a glass of dehydrated water. 🙂
Okay, so I’m memorizing this for the NEXT time Johnny says, “You don’t even know what a capacitor is” to me. LOL!