I haven’t written much about retirement plans lately because there isn’t much progress on that front except for the slow crawl of getting through the years to get there. After starting with my present employer I found out that to receive the pension I must put in 10 years of full-time non-probationary employment with them. As our probationary period is 1 year I have to work 11 years total before I can retire and get my pension. At this point I am at the 8 and 1/2 year mark.
The dream is to be able to get out from under the crush of “stuff” we have and travel. Since full-time travel won’t be a viable option for at least 9 more years we can still travel part time. And we can still get out from under our home and the crush of “stuff.”
My brother is doing just this. In fact he blantantly STOLE my idea of living in an RV full time and travelling. (That’s humor folks, don’t get upset.) But you did read it here first! It was MY idea. NO one EVER thought of this before me! 🙂 He and his wife are selling their home and embarking on a journey to Texas this week in his Airstream travel trailer. Good for them. I hope they enjoy this new chapter of their lives.
The Trailer
But as this post is titled, we haven’t given up the dream yet. This past year we have struggled over whether to get a smaller trailer and take shorter trips while having a small “home base” to return to. My wife has been looking at homes both near and far for several months now. This past two weeks have been a game changer for her. We went to look at the smaller trailer we were considering. I asked her to just spend some time in it with me. After 30 minutes or so she needed to get out. I then asked her to imagine spending a rainy weekend in that small trailer. Not a pleasant thought but the weather isn’t always sunny when you’re camping.
When we got home I showed her a slightly larger (yet oddly, less expensive) travel trailer. The Grand Design Iagine 2670MK Travel Trailer. It has a much more spacious floorplan and a desk which was a feature we loved! It was easy to just sit in the recliners and either nap or read. It alsoWe could see ourselves spending time in this trailer. The only thing we really didn’t like about it was how cramped the bedroom was.
The salesman that was showing us the unit told us that they had a 5th wheel with a similar floor plan but had a bigger bedroom. Now, we really didn’t want a 5th wheel but it wouldn’t hurt to take a look. We walked across the lot and he showed us the Grand Design Reflection 320MKS 5th wheel.
Now… this was more like it! It had all the same features; desk, outdoor kitchen, but it had a bigger bedroom WITH a closet! The kitchen had a larger refrigerator and a large pantry. Cristy was sold. We spent quite a bit of time in this trailer. There were some things we liked about the Imagine travel trailer better but the Reflection just seemed more rugged and spacious. Cristy almost fell asleep in the recliner.
If you’ve followed my blog you know that we’ve changed our minds several times. That’s the beauty of dreams! But this is the dream at the moment.
The Truck
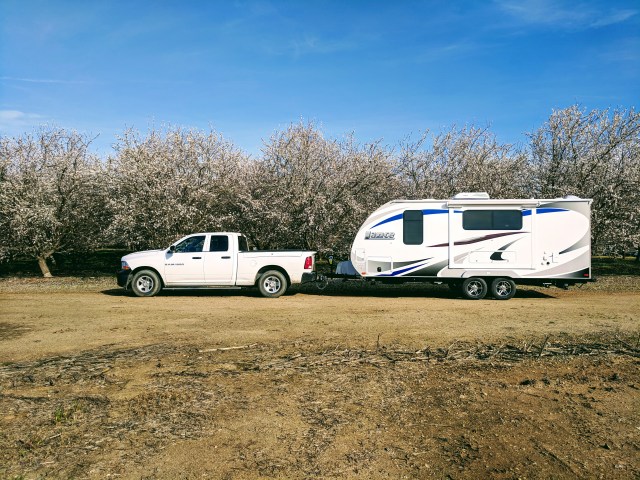
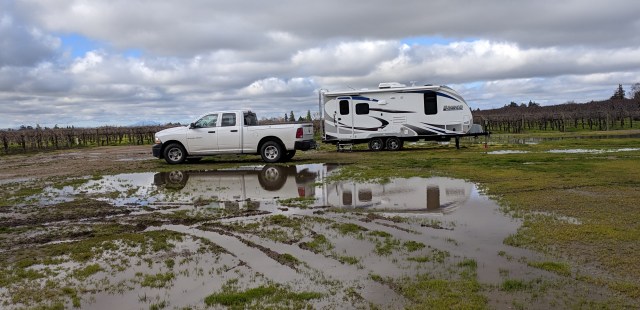
Trailers don’t pull themselves, you need a tow vehicle. When we were going with the Lance my RAM 1500 was enough to pull it. The moment we decided to go with a larger trailer the decision was made for us that we had to scale up the truck. I want to stick with RAM trucks so that part of the decision was made. The only thing we needed to decide was to go with a RAM 2500 or 3500. While the RAM 2500 is enough to pull the Reflection 5th wheel, that’s really all it could do. There would be very little load carrying capacity in the truck beyond the hitch weight of the trailer. Therefore it had to be the 3500. It would EASILY tow the trailer and anything we could cram into it. Decision made.
So… when can all this happen? We think it’s best to make this all happen while I’m still earning money. After retirement we’ll be on a fixed income. So step one is to finish paying off my current truck. Then we’ll trade it in and buy the new truck. A few years after that we’ll buy the trailer and hopefully get it paid off before retirement. We are also talking about selling our house prior to retirement and just living in the trailer in the final few years before retirement. But dreams are cheap and easily changed.
We’ll see.
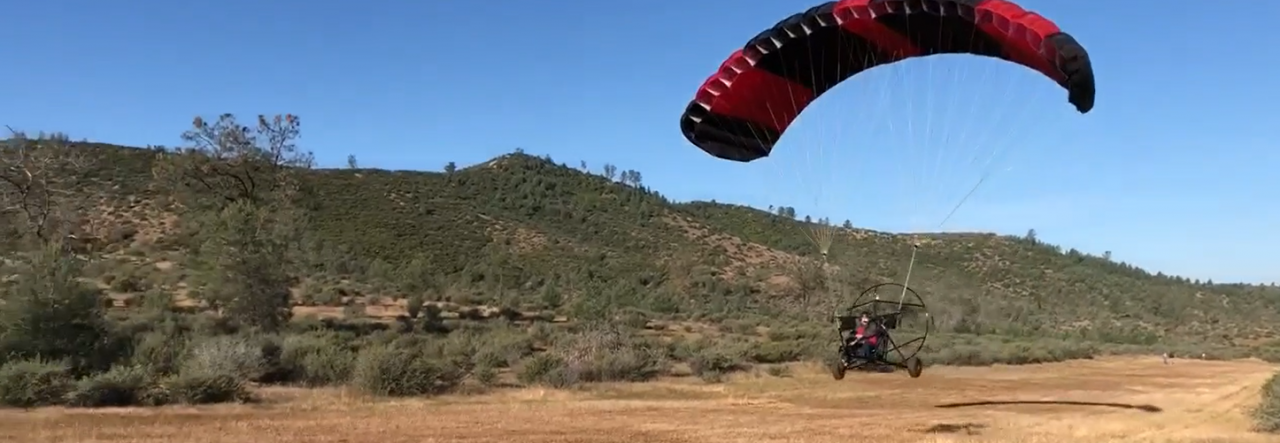


 Well, a mere one week after our first Harvest Host stay at


 mud daubers out of the furnace exhaust and water heater vents while the trailer is being stored. The little buggers are everywhere out here and while they are not aggressive and don’t sting (at least I’ve never been stung by one) they build their mud nests in small holes and clog things up.


