I just returned from a 1674 mile round trip to pick up my PPC (powered parachute) in Wenatchee, WA. They had the airframe done and the trailer ready (or so I thought, more on that later.) The trip was ultimately an beautiful and as it would turn out, adventurous drive. I’m not eager to repeat it but one day when I have more time and my love is with me, it would be a great trip.
I began my trip first thing on Thursday morning. My first day’s travels would take me from Modesto, CA up to Redmon, OR. This was a pretty unremarkable drive. I just kicked back, turned on the cruise control and enjoyed the sites.
About 9 hours later I arrived at an unremarkable Motel 6 in Redmond, OR. I was pretty beat so I didn’t do much other than take a shower, order a pizza, and veg for the rest of the night. Didn’t get much sleep. I don’t normally get much sleep when I stay in a motel. Pretty noisy.
Friday morning I jumped into the truck and started the drive up to Wenatchee, WA. Lots of interesting sites along the way.
One of the more interesting sites along the way was a scale model of Stonehenge built to honor veterans of WWI.
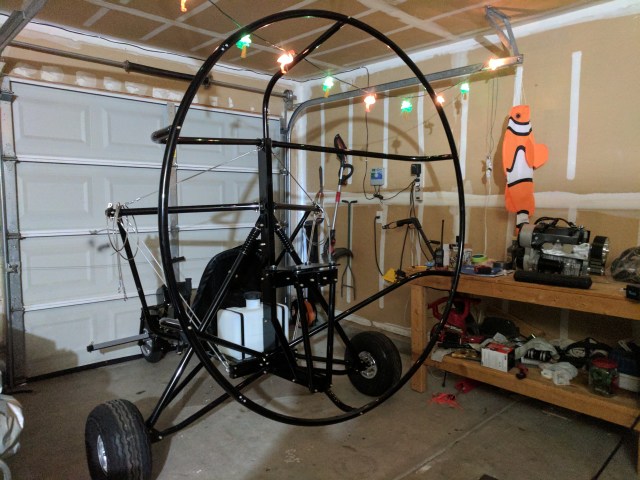
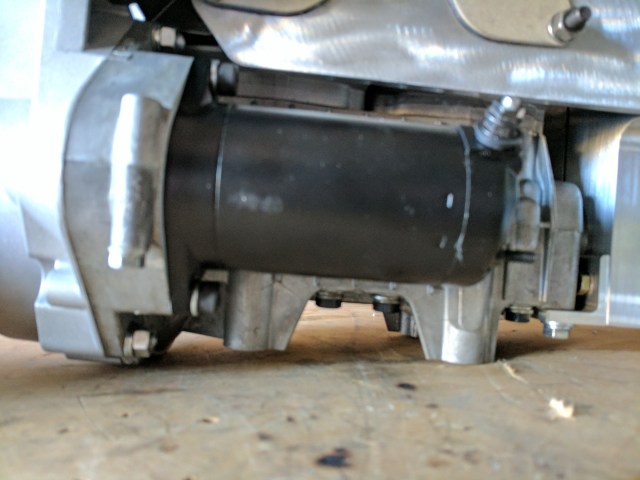
I finally pulled into Wenatchee around 2:30pm in the afternoon. I got directions from Jacky of Six Chuter on how to find them and pulled in front of their hangar. I finally made it! Brief introductions were made as Jacky introduced herself, her dogs, and finally Tom, who basically does… whatever needs doing. They showed me the rolling airframe,
They got the airframe and boxes of assorted goodies loaded up into the trailer and tied down for me. All set! Or so I thought. Later in the day I was bored so I went back up to the airport. Tom and Jacky had both left already. I decided to practice hitching up the trailer and making sure the lights and brakes worked. I hitched up, connected the 6 way plug (uh-oh) using the adapter they gave me. Lights – check! Now to raise the landing gear and check the brakes. I started the truck and let it idle forward. I moved the manual brake lever on my brake controller and… nothing. Kept rolling. Uh oh.
My brake controller was showing an error code; sb. It looked like the number 56 but eventually I found out it meant battery short. I did some research and found the number one cause was water in the connector. I blew into the connector and sure enough water came out. I finally got all the water out and connected it again. No error code! Good! I checked the brakes again and… no brakes! Bad! I suspected my brake controller so I bought a new one at O’Reilly and wired it in. Another brake test… nothing.
Dang. I decided to give up for the night and sleep on it.
I drove up to the airport the next day and continued trying to figure out the problem. Tom showed up shortly after and I explained my problem to him. Tom was very apologetic and tried to help me test out the plug to the trailer all to no avail. Tom drove me into town to find an RV repair place. He knew about where it was but couldn’t remember the name so we just went out looking for it… and found it. A guy named Buddy seemed to be in charge and told us that the sooner we got the trailer to him the sooner he’d know if he could fix it or not.
Tom and I hightailed it up to the airport and hooked the trailer up to my truck. Tom told me to send him the bill and he would make it right. I can’t express how helpful and gracious Tom was.
I got the trailer back down to A’s RV Repair and Buddy dug in with some testers and confirmed the brakes were not working. He tore into the 6 way plug and found most of the wires had rusted out. Only two wires were still intact. “Just like I thought” he said. He got a brand new 7 way plug and wired it up. After a few tests he confirmed the brakes and lights were working and then even set up the gain (how much braking power is applied) on my brake controller. All in all it took 30 minutes and cost just shy of $150.
If you are ever in East Wenatchee, WA and need some RV repairs, I cannot recommend A’s RV Repair highly enough! Friendly, helpful, and fast!
The drive home was slightly less eventful thank goodness. I took basically the same route back home. Just followed US 97 south all the way to I-5. Here are a few pictures from the trip.
After another overnight in Redmond and a 5 hour drive south I finally got home. Now let the fun and games begin!


 Assembly is super easy. Put 8 bolts (with washers) through one of the prop hub halves, lay the pitch blocks in, lay the prop blades in, more pitch blocks, and then the other prop hub half. Add 8 nylock nuts and washers and torque to 120 inch lbs. Done!
