PPC Assmbly Complete!

This is my wrap-up video for my Six Chuter P3 Lite powered parachute.   I only have to items to finish; connect the gas line to the fuel tank, connect the voltage regulator to the battery.  Everything else is complete.  I had to move a few things around when I found I had mounted them in the wrong place.  Now I have holes where I don’t need them.  We call those lightening holes.  An aircraft term used to refer to holes cut to save weight in the airplane. 🙂

Anyway, here’s a wrap-up video…

PPC Assembly Day 11

Progress for today:

  1. Strobe mounted and wired in.
  2. Fuel tubes and squeeze bulb fabricated.
  3. Battery ground cable installed.

I found that I mounted the started solenoid in the wrong place.  It can still work here.  The only problem would be the longer rear wire.  If I can’t tuck it away safely, I’ll move the solenoid.

IMG_20170413_183736

PPC Assembly Day 10

A few more minor things done today.  There were a few bolts that I wasn’t happy with the sizes, a little too long, a little too short so I ordered some more bolts from Aircraft Spruce.  So with the bolts in hand I was able to mount my starter contactor (solenoid), and mount the regulator more securely.  I also started on the fuel hose and primer bulb.


There has also been some talk about fuel pumps.  I’m inclined to keep it in the factory position as they say they have not had any problems reported to them with this setup.

IMG_20170412_182906

However, I’m not opposed to mounting it in a more favorable position, which would be above the fitting on the crankcase (follow the clear hose on top of the fuel pump.)  I just can’t see a way to do that.  Any ideas?

IMG_20170412_182934


PPC Assembly Day 9

Today I had to work late so I didn’t too much done.  But we only have to do one thing a day right?  So today I ran a wire for my strobe from the instrument pod to the top of the prop cage where I’m going to mount the strobe.  I wanted to find a position on the key switch that provide +12V whenever the key was in any position other than OFF.  Unfortunately this key switch does not provide that.  So I tapped off the +12V terminal that goes to the battery.  I just have to remember to turn the strobe switch off.  I would have liked for it to turn off if EITHER the strobe switch were turned off, or the key switch were turned off.  I’ll have to look for a different key switch down the road.

PPC Assembly Day 8

This was another one of those days where I just try to get one thing done.  Today I finished wiring up the switches and gauges in the panel.  Well, almost.  I added a switch for my anti-collision strobe light and need to run the wires for that still.  But all the other wiring in the panel is done.  Tomorrow I’ll run the last two wires for the strobe.  I also labelled all the wires at the far end of the wire loom.  I’ll finish wiring those up when I permanently mount the wire loom in the back of the PPC.


PPC Assembly Day 7

Sundays are for spending with family so I didn’t get much done today.  I was able to do some wiring and wiring cleanup.  I attached the wire loom to the frame and began connecting up the switches.  I’ve only got to connect the gauges and the electrical wiring is done.

I also need to check with the factory to see if they have designated certain wire colors for certain things.

wires

PPC Assembly Day 6

Got a lot accomplished today.

  1. Fuel pump installed
  2. Regulator installed
  3. Engine mounted
  4. Tachometer mounted and wires run
  5. Wire loom run from from instrument panel to engine area
  6. Began wiring regulator
  7. Carburetor mounted

I also mounted the starter contactor but mounted it in the wrong place so I’ll have to move that and put a bolt through the “lightening hole” I created.

I still have lots of questions that I’ll email to the factory on Monday.  Tom would answer my questions all weekend but a guy needs some time off.  My questions are:

  1. How is the carburetor supposed to be oriented?
  2. Does it have a choke?
  3. If so, where can I get a choke cable?
  4. The instructions reference a brown wire on the regulator, but the only wires left are a black wire and a red wire.

I’ll hit Tom up with those on Monday.  For now I’ll just keep doing what I can.  Tomorrow I’ll try wiring up the instruments.  I also need to go back, apply loc-tite to the engine bolts and torque them to the proper values.  I’ll have plenty of time tomorrow for that.


PPC Assembly Day 5

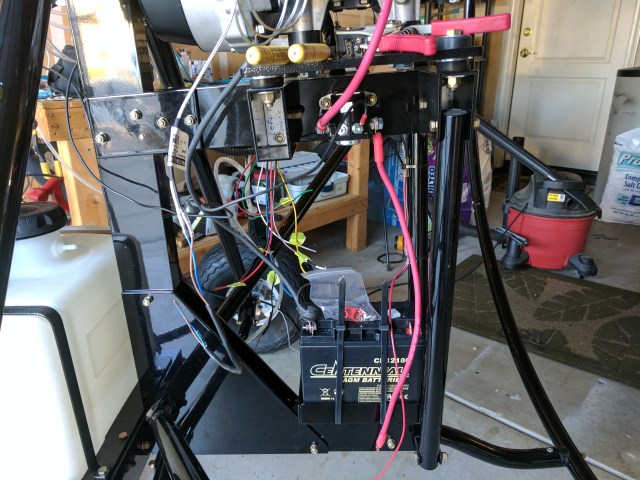
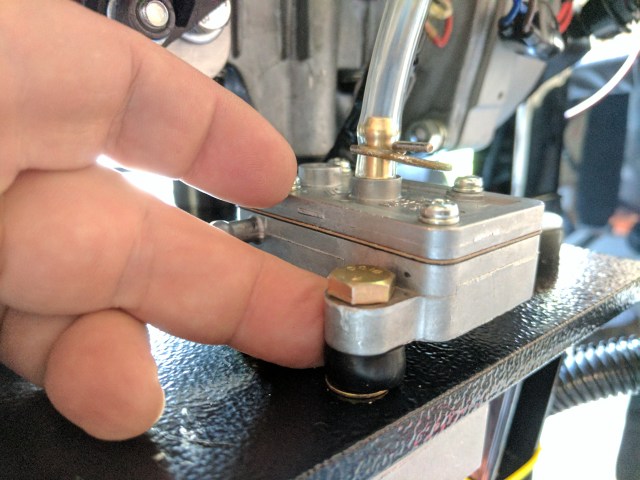
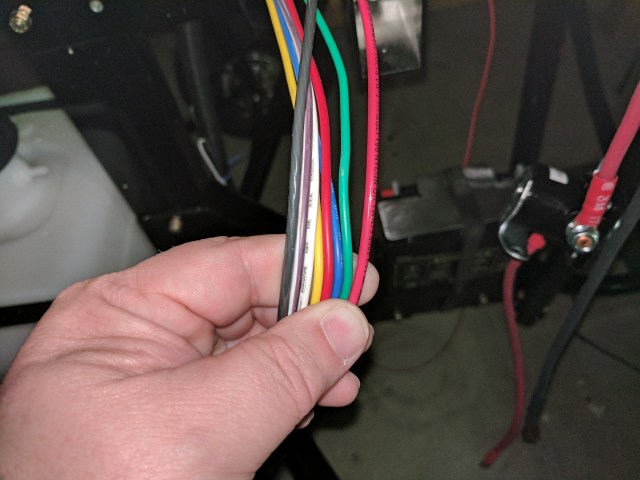
I’m still on hold for mounting the engine while I’m waiting for my fuel pump to show up so I decided to move to the other end of the airplane.  I drilled the holes for the instruments and switches in the instrument pod.  Tom Connelly gave me a panel template on a sheet of paper.  When I looked at it though, the holes didn’t quite look right.  Then I realized it was a mirror image of what the layout was supposed to be.  I turned the sheet around and traced the cutouts on the opposite side and then things lined up right.  I taped the template to the instrument pod and started drilling.  A step drill took care of most of the holes.  I had some 2 inch hole saws left over from my other airplane projects.  I selected the least ratty one and cut out the holes for the engine gauges.  The tachometer is just taped in place for now.  I couldn’t find the screws for it so I may just pick some up at the hardware store.

Here is today’s progress…

template

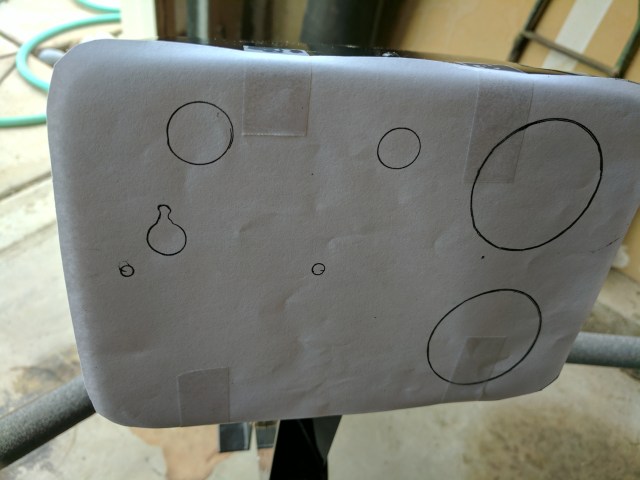
This is the original template.  I had to flip it over and trace out the cut outs on the opposite side.  The template as-is is a flipped, mirror image of what the template should be.

panel

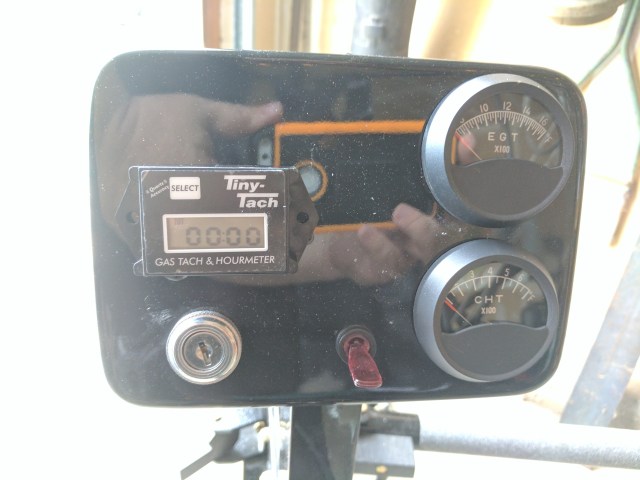
Here is the finished product.  The tach is just taped in place for now.  Everything else is mounted.

PPC Assembly Day 4

Today’s project was mounting the battery box.  This is a simple matter of drilling two 1/4 inch holes through the top of the frame tube straight through out the bottom.  This is about a 4 inch span between the top so it was a little tricky.  I just took my time and everything turned out okay.  After attaching the bottom of the battery box to the frame, I cut two notches in the plate that covers the top of the battery.  This is so it wouldn’t interfere with the wires that connect to the battery terminals.  I’ll paint this plate black so that it matches the rest of the PPC.

battery-box